Set up the shared folder - Exercise
The shared folder in Design Collaboration serves as a common location within the project, containing subfolders for each team. When a team shares a package, its contents are copied into the relevant shared folder.
How to set up the shared folder
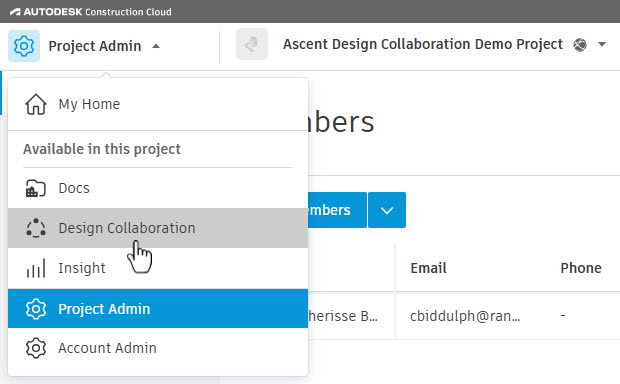
- In Autodesk Construction Cloud, select the Design Collaboration product from the menu in the upper-left corner.
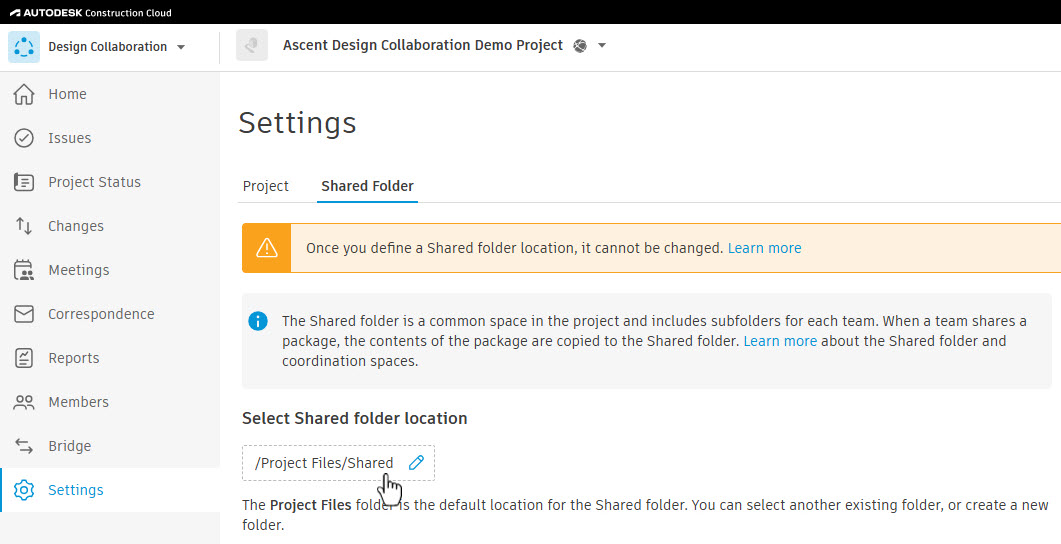
- You will be directed to the Shared Folder tab in the Settings tool. You must complete the shared folder setup before team members can use the project's Design Collaboration product.
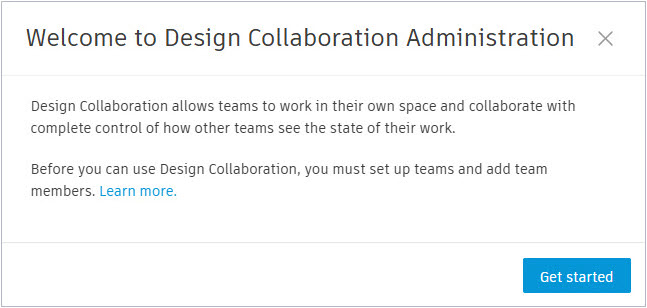
- In the Welcome to Design Collaboration Administration dialog box, click Get started.
- Under Select Shared folder location, you can accept the default location, which is the Project Files/Shared folder, or you can specify a different folder by clicking on the pencil icon to edit the location.
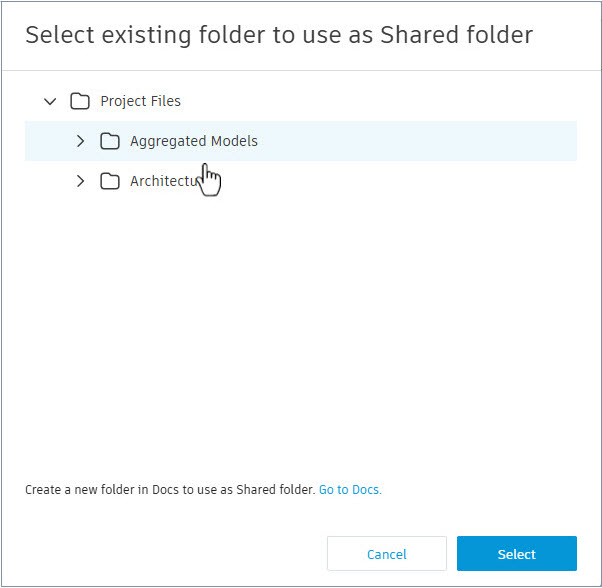
- In the Select existing folder to use as Shared folder dialog box, you can either expand the Project Files folder to navigate to the folder you want to use as the shared folder for the project or click Go to Docs to create a new folder to use. Once you select the folder, click Select.
- If you want to revert to using the default folder after selecting a different folder, click Use default location under Select Shared folder location.

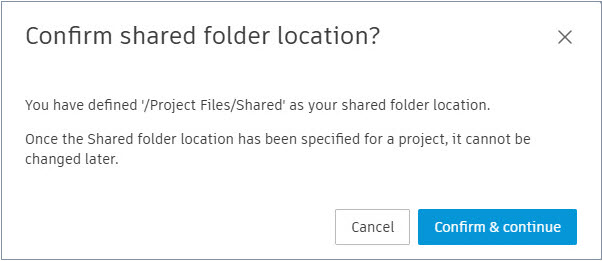
- Click Next in the lower-right corner of the Shared Folder tab, then in the Confirm shared folder location? dialog box, click Confirm & continue. It is important to understand that you cannot change the shared folder location once you complete this step.
