Adding Markups using the BIM 360 Mobile App – Practice Exercise
Task 1: Adding a Polycloud Markup to a Revit 3D Model
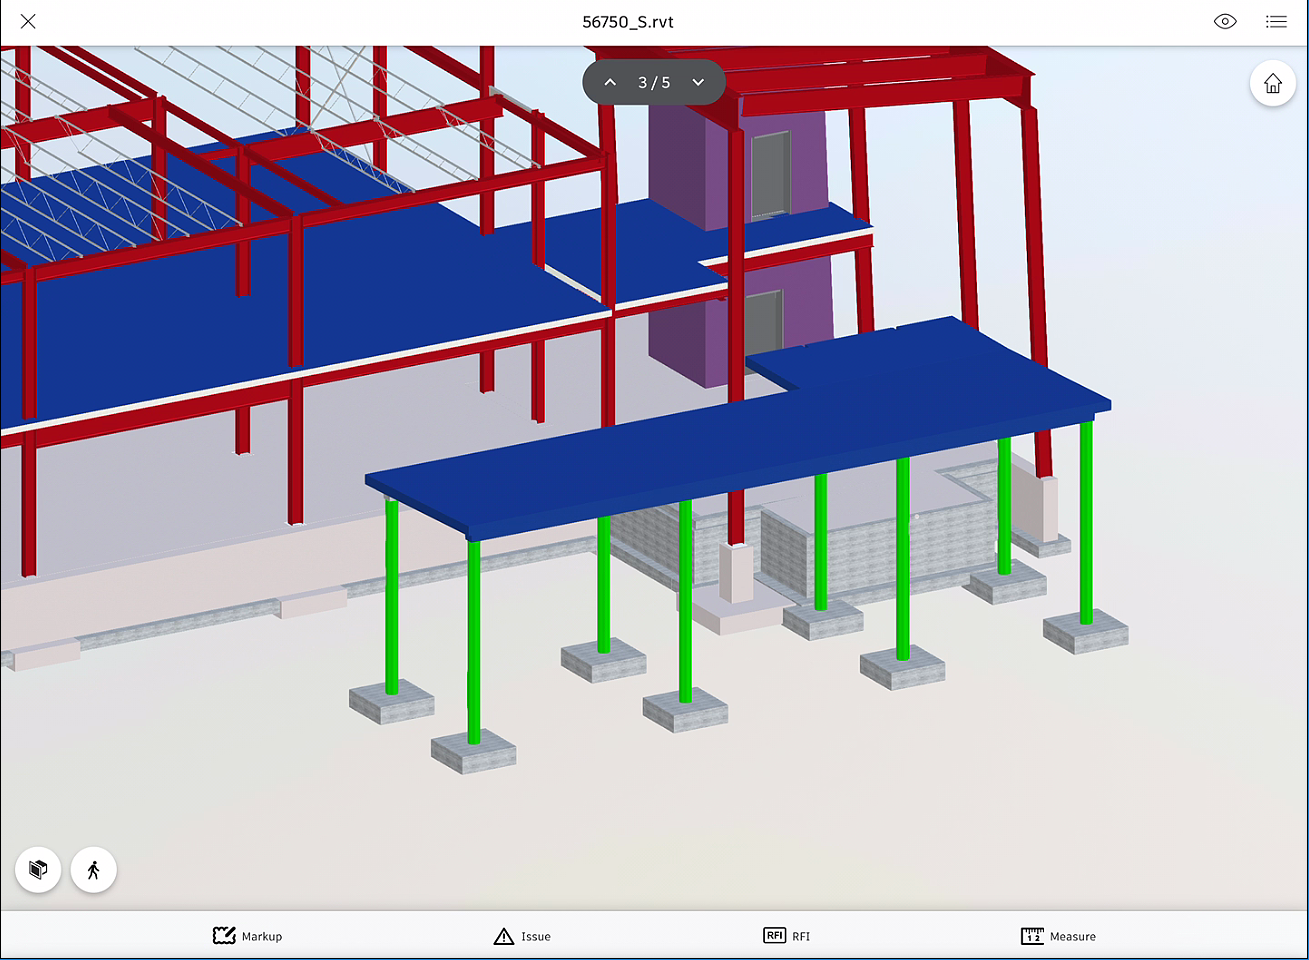
- From the Project Files > Structure folder, tap on the structure model to open it.
Because the markups environment in the 3D model is a static view, you cannot navigate in that environment. Therefore, you need to navigate to the area where you want to add markups before entering the markups environment.
- Navigate to the area shown in the following figure:
From the bottom toolbar, tap on the Markup option to enter the markups environment. Notice that in this environment, there are several markup tools available on the bottom toolbar, as shown in the following figure:
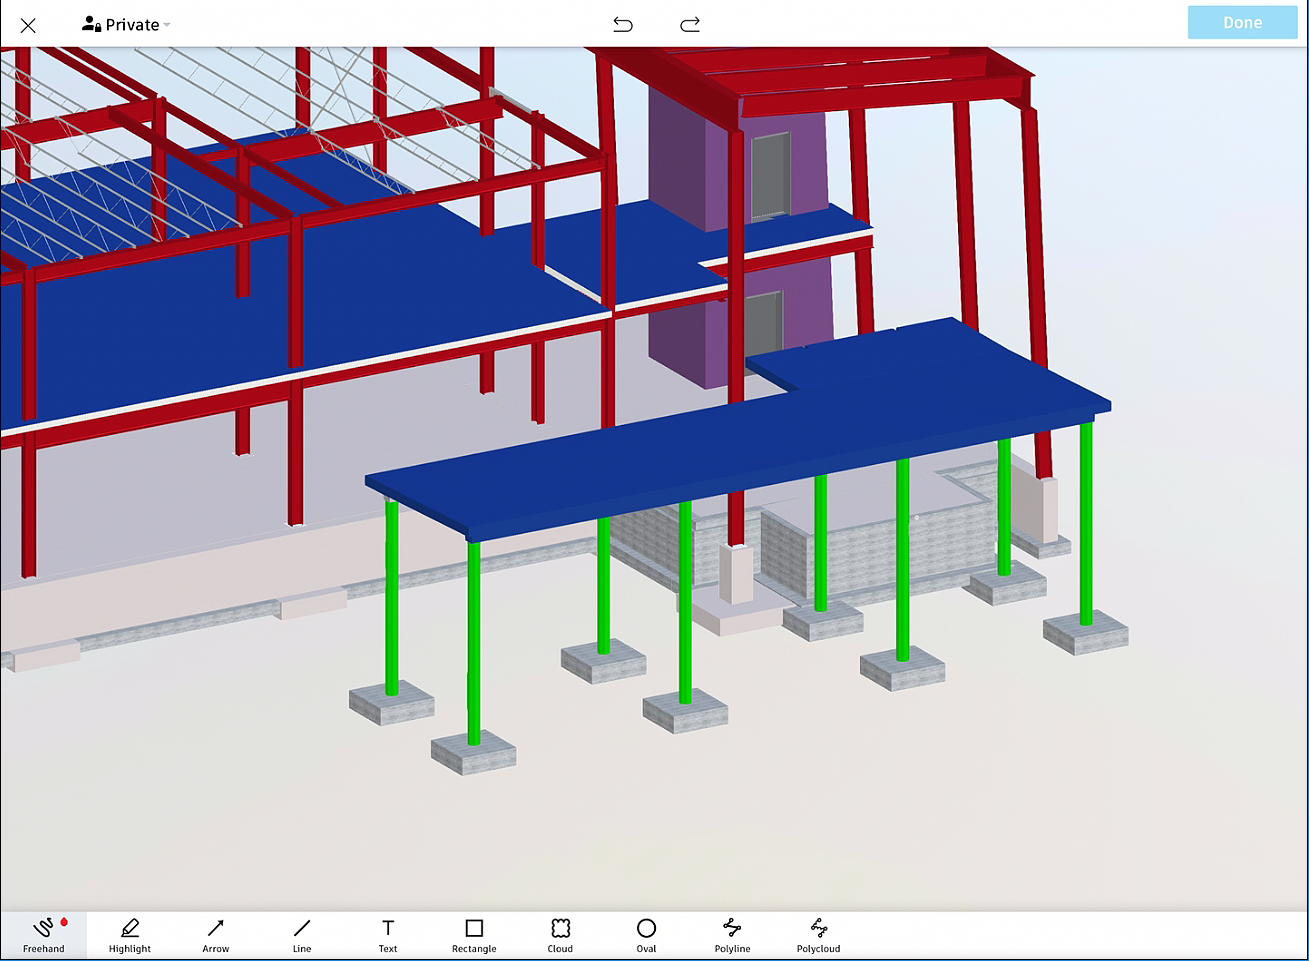
- Tap on the Polycloud tool.
- Create a polycloud by tapping on the points shown video. The polycloud is shown in the following figure:
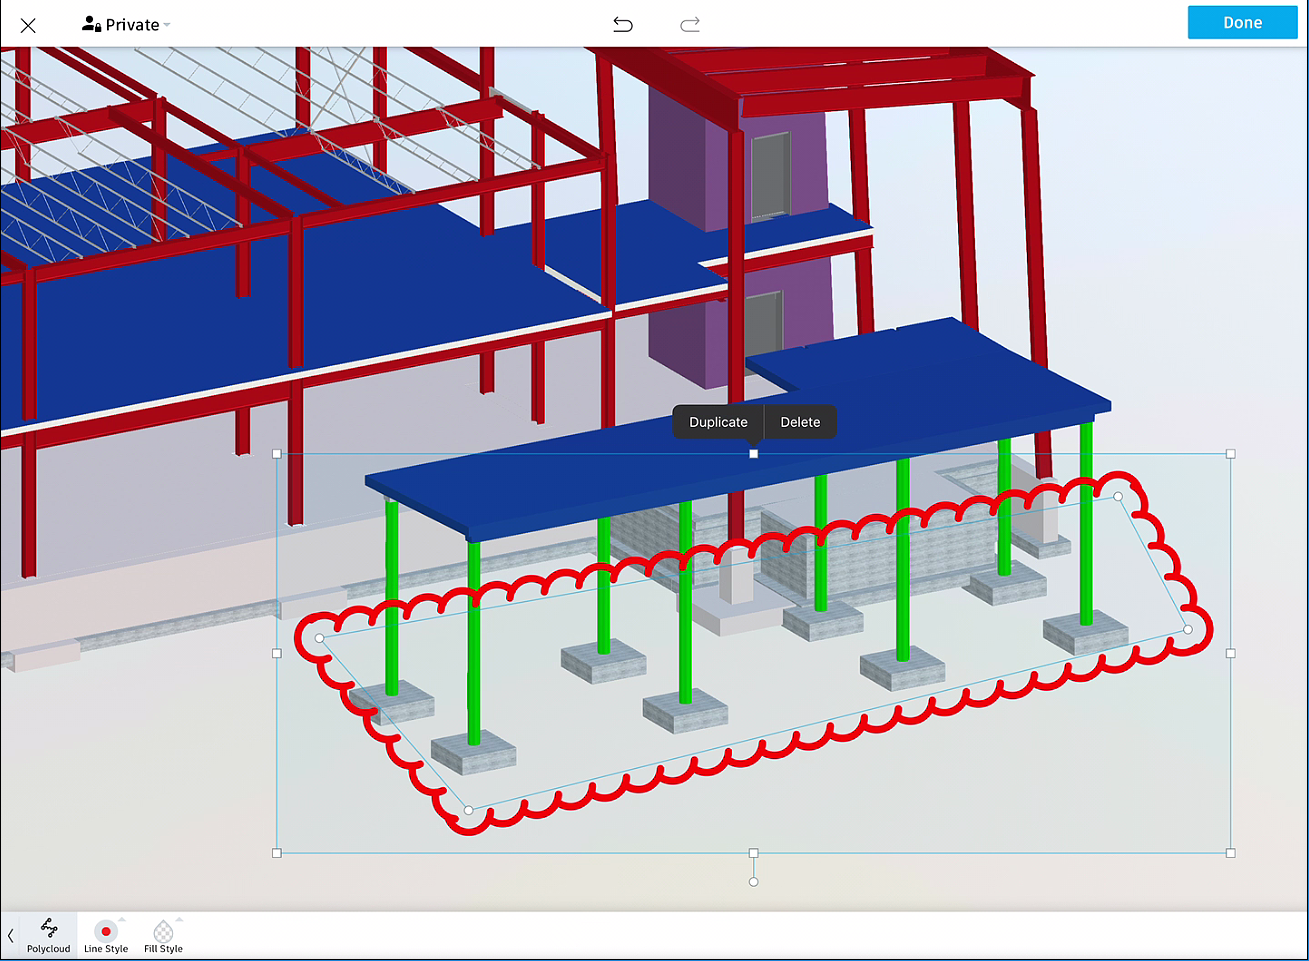
- On the bottom left, tap on Line Style and select the first line thickness option.
- Tap on Fill Style and fill the polycloud with the Cyan color, as shown in the following figure:
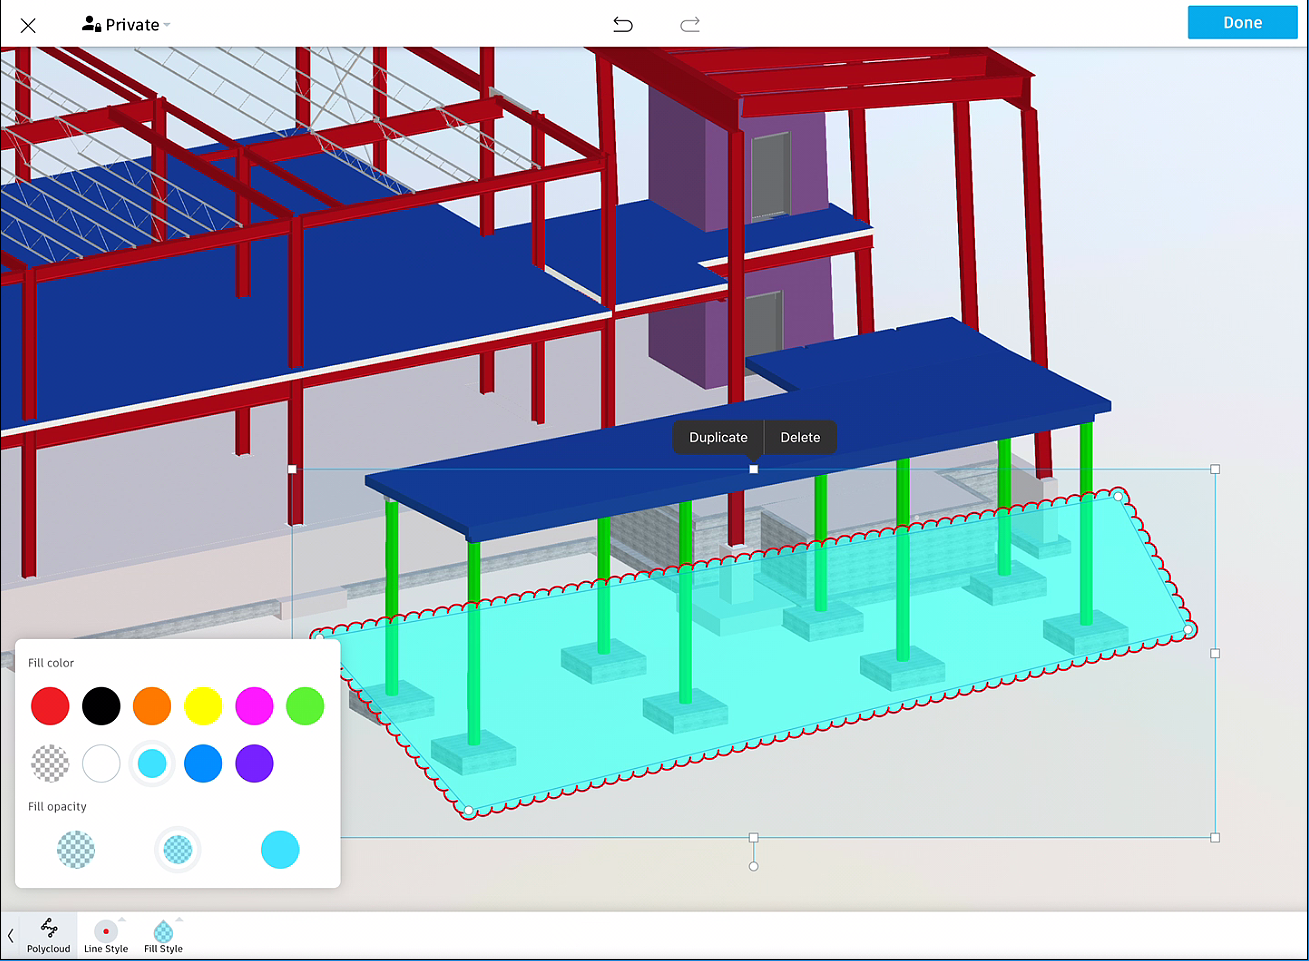
- Tap in the blank area to deselect the polycloud and redisplay all the markup tools.
Task 2: Adding a Text Markup to a Revit 3D Model
- From the toolbar at the bottom, tap on the Text tool.
- Tap below the polycloud markup.
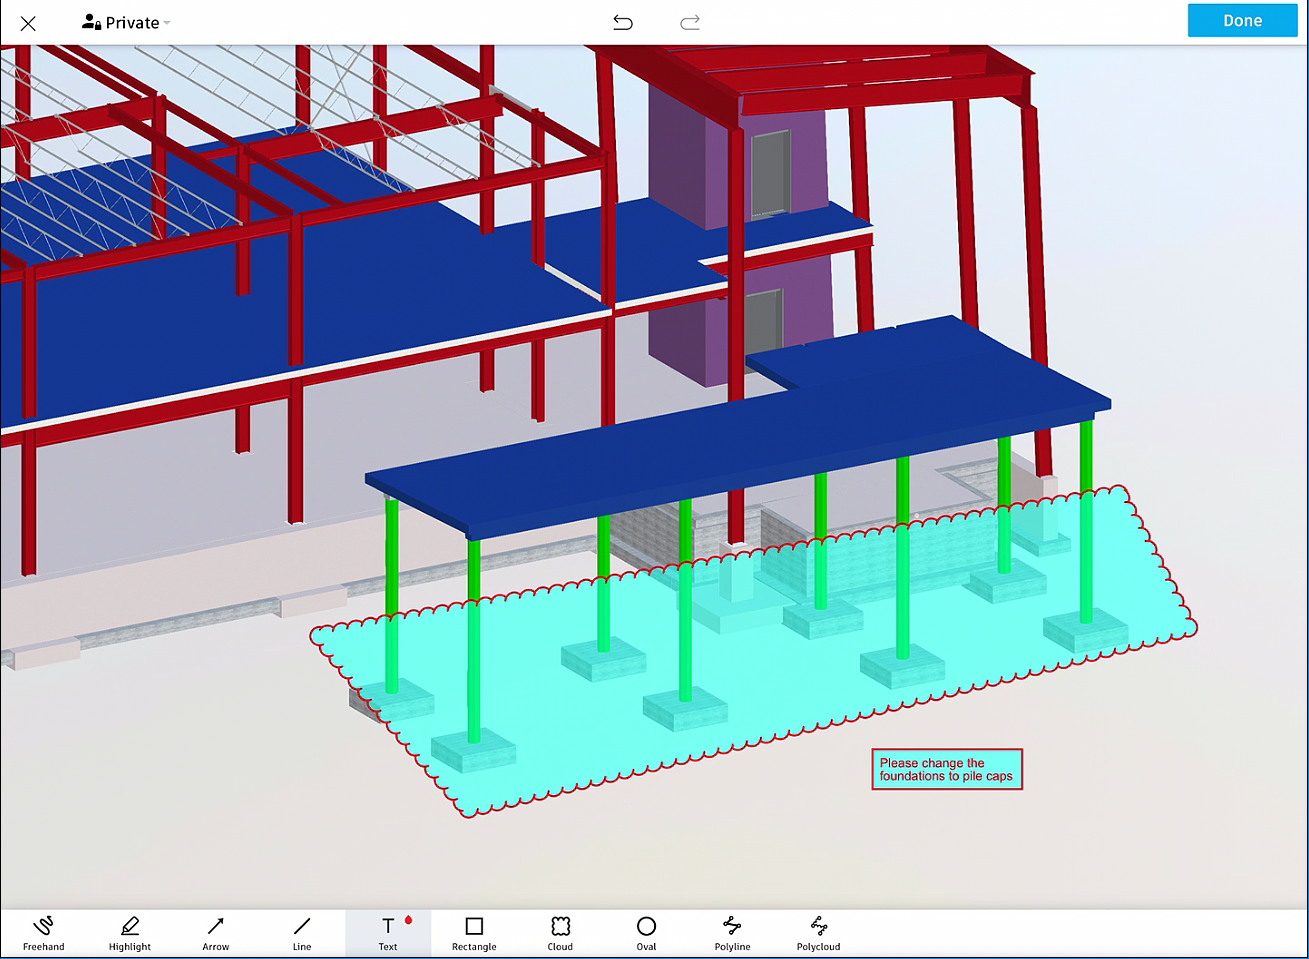
- Tap on Default Text in the text box and change the text to Please change the foundations to pile caps.
- Tap outside the text box. The text markup is added, as shown in the figure below.
Task 3: Adding an Arrow Markup to a Revit 3D Model
- From the toolbar at the bottom, tap on the Arrow tool.
- Tap on Line Style on the bottom left and select the second line thickness option.
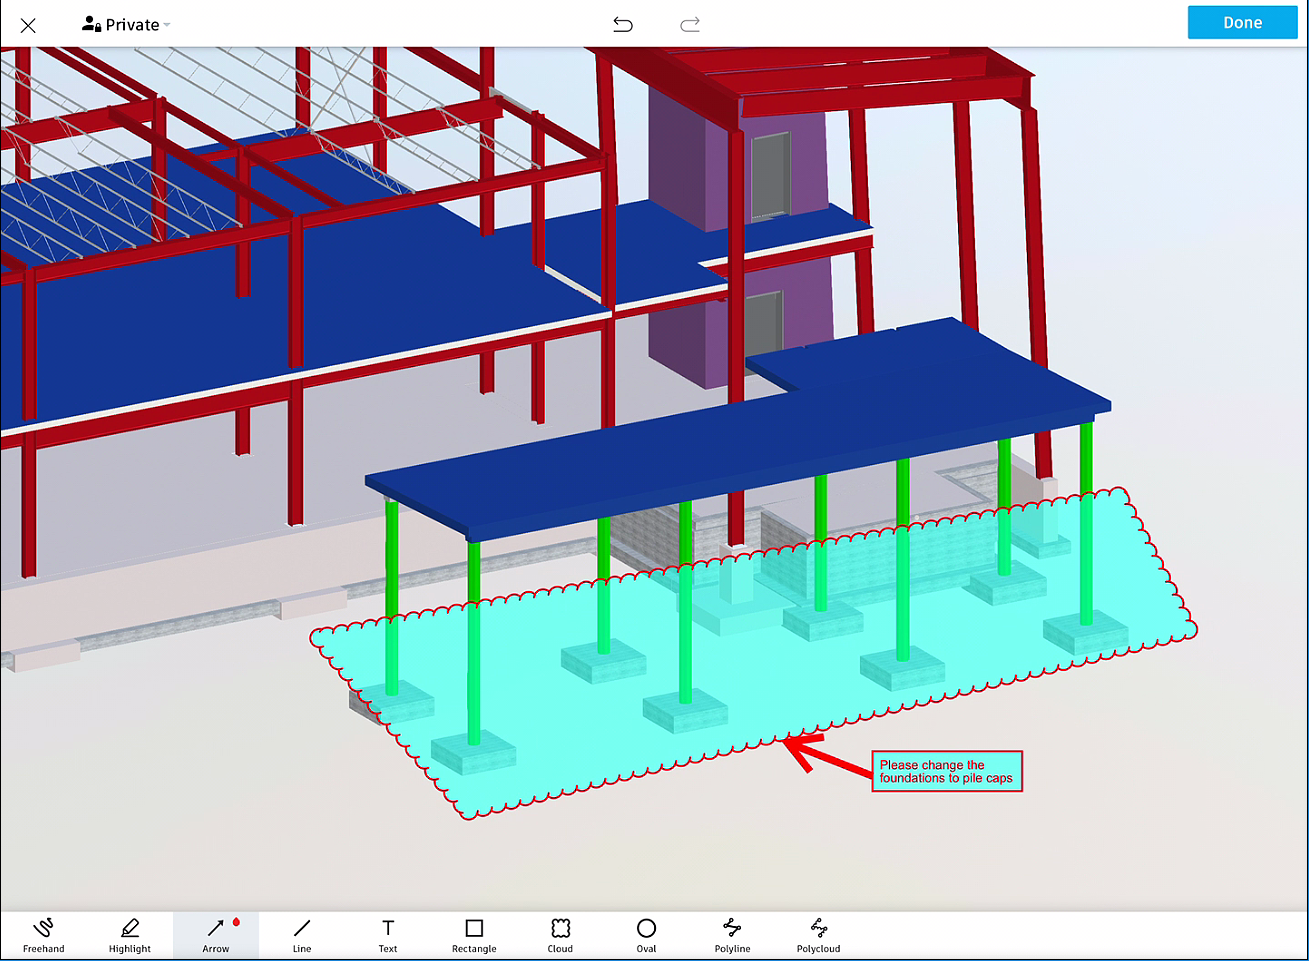
- Tap and drag the arrow from the middle left of the text box to the polycloud markup.
- Tap in the blank area. The arrow markup is added, as shown in the following figure.
- On the top right, tap Done to finish adding the markups; the markups are finalized.
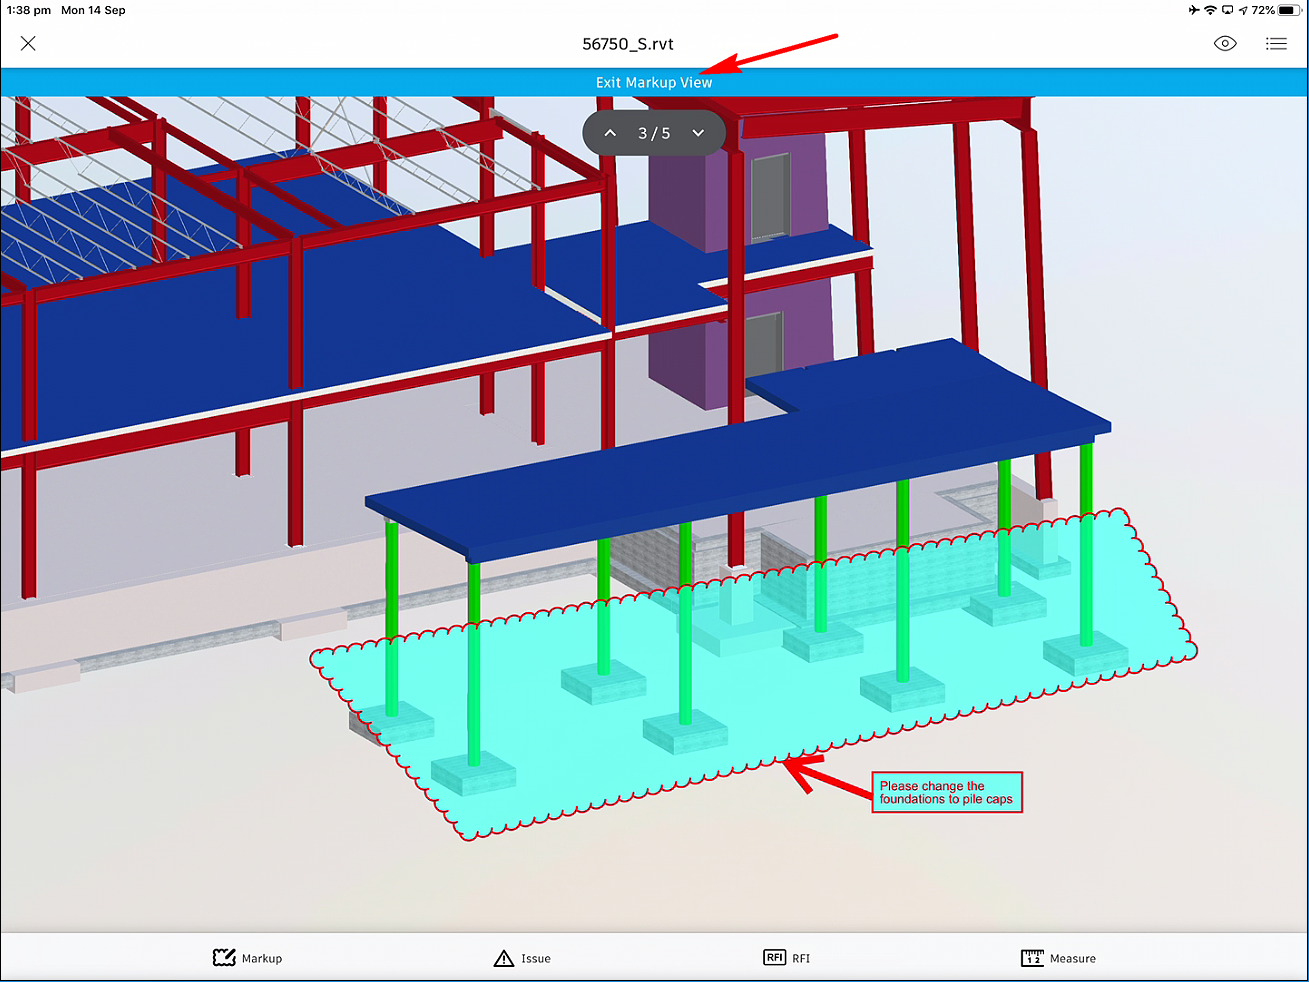
- From the top center of the app window, tap on Exit Markup View, as shown in the following figure to exit the markups view.
Task 4: Adding Additional Markups
- From the toolbar at the bottom, tap on the Markup tool to enter the markups environment again.
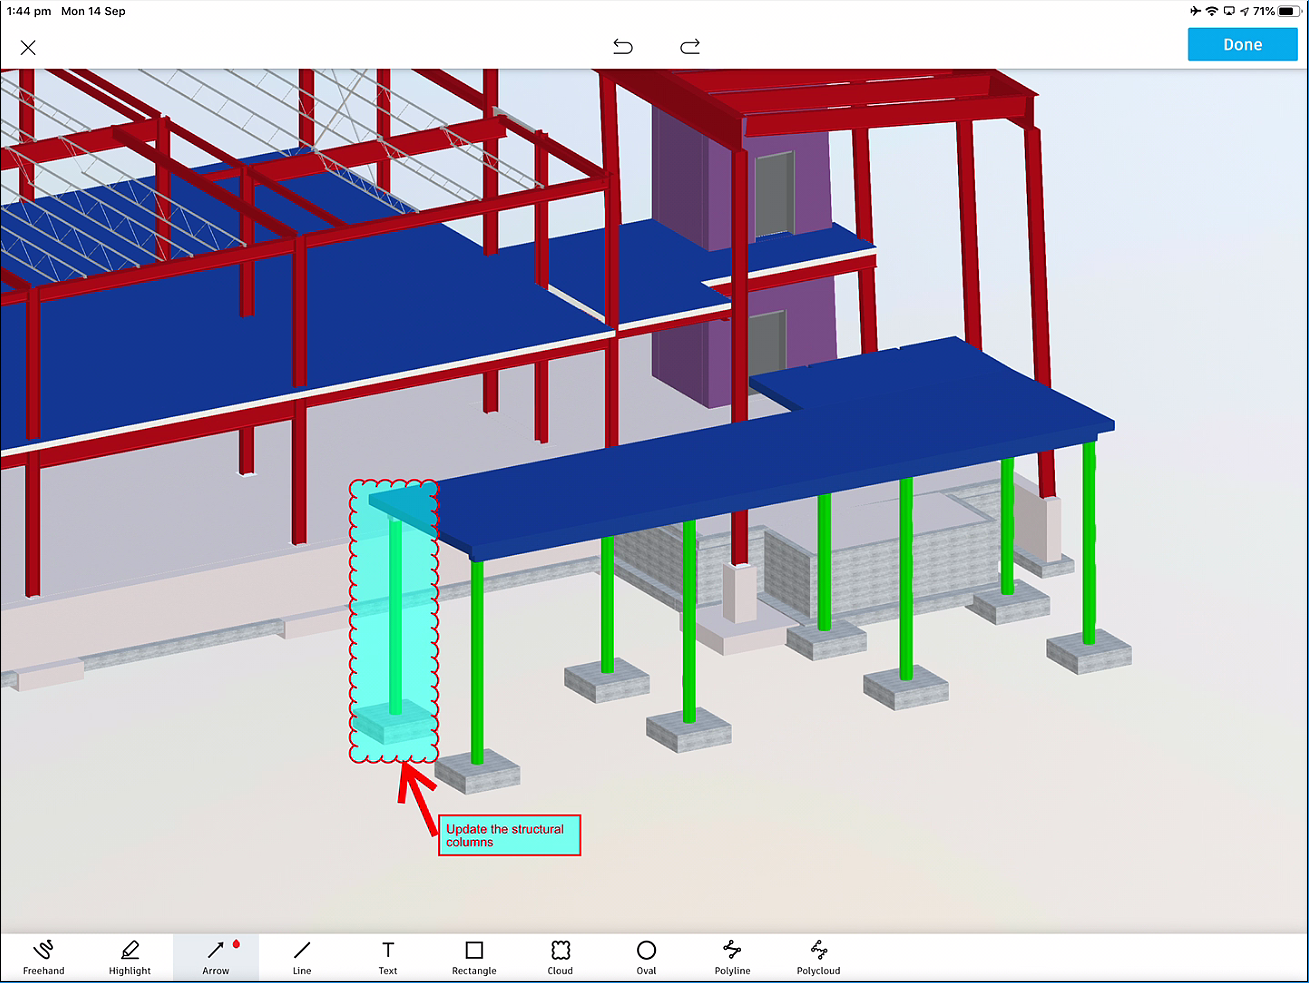
- Using the tools available on the bottom toolbar, add additional markups, as shown in the video. The following figure shows additional markups added.
3.From the top right, tap Done to finish adding the markups.
4.From the top center in the app window, tap on Exit Markup View, as shown in the following figure to exit the markups view.
Task 5: Changing a Markup from Private to Published
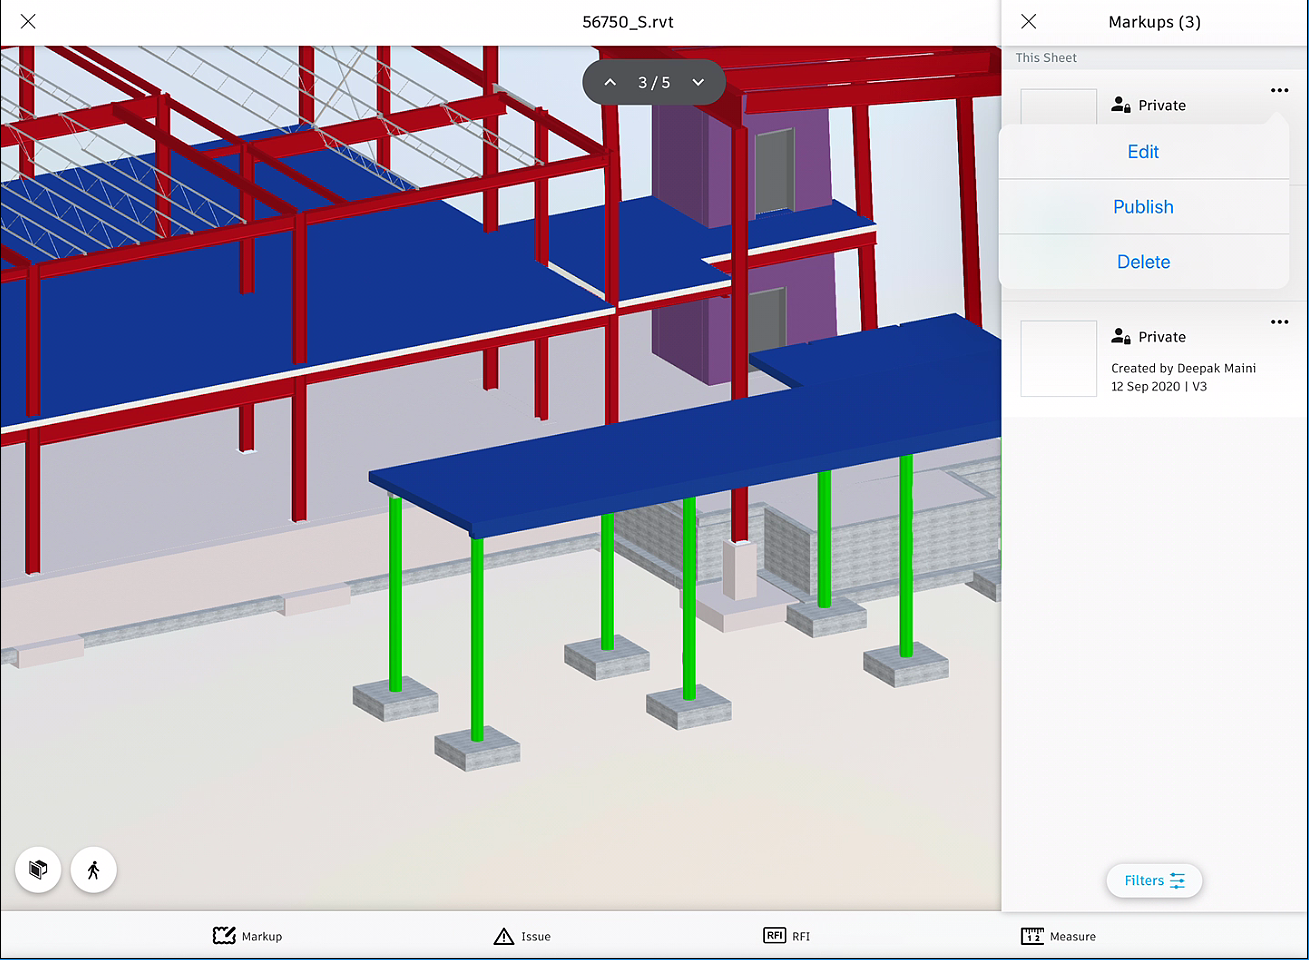
- From the top right, tap on the button and then tap Markups; the Markups panel is displayed with all the markups.
- Tap on the … button on the right of any of the markups; a menu is displayed, as shown in the following figure.
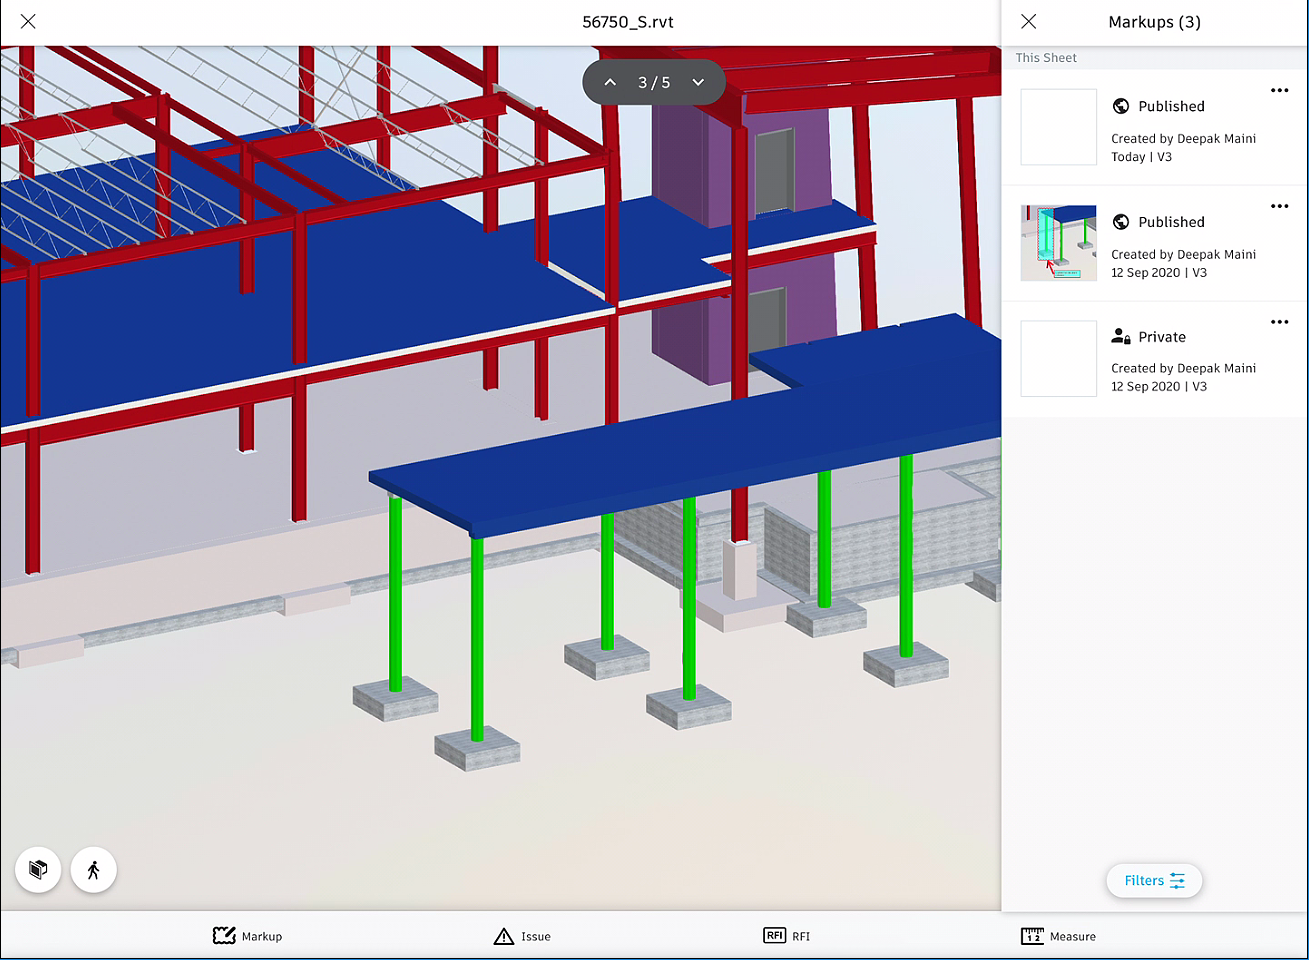
3.Tap on Publish; a confirmation window is displayed asking you to confirm.
4.Tap on Publish in the confirmation window to change this markup to a published markup for the rest of your team members to view it. The following figure shows a couple of markups changed to published markups.
Task 6: Adding Markups to the PDF File
- From the Plans > PDF Files folder, tap on one of the PDF sheets to open it.
- From the bottom toolbar, tap on Markup to enter the markups environment.
- Navigate around the sheet and notice that in this PDF file, you can navigate around in the markups environment as well.
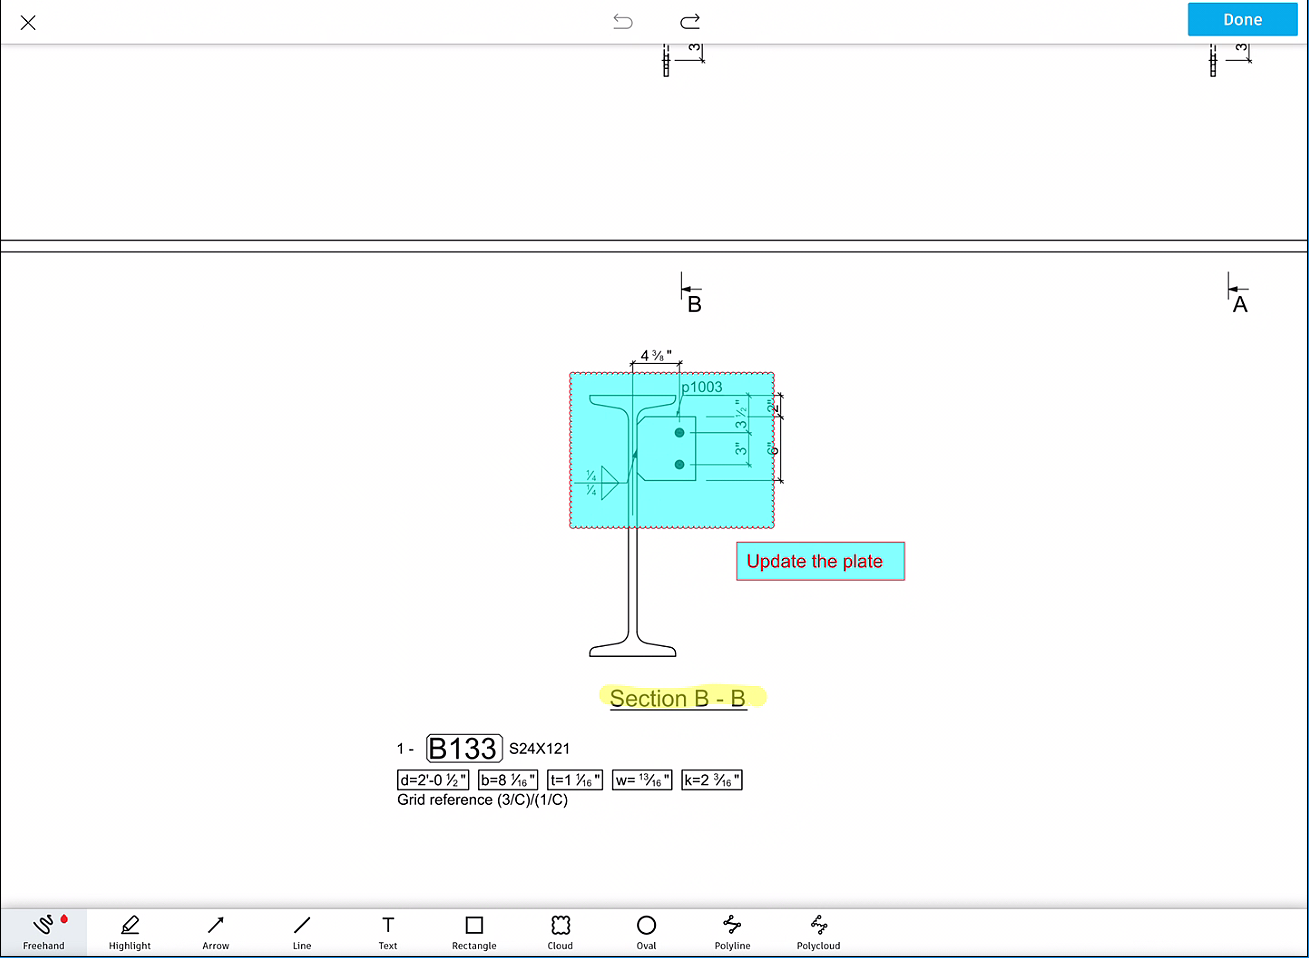
- Using the markup tools available on the bottom toolbar, add various markups, as shown in the following figure.
- Similarly, add additional markups using the markup tools available on the bottom toolbar.
- From the top right, tap Done to exit the markups environment.
Task 7: Changing a Markup from Private to Published
- From the top right, tap on the
 button and then tap Markups; the Markups panel is displayed with all the markups.
- Tap on the … button on the right of any of the markups and tap Publish.
- In the confirmation window, tap Publish again to publish the markup for your team members to view it.


