00:03
Welcome to Communicate the Design Intent Using Revit for Rendering and Animation.
00:13
Today, we're going to focus on preparing the Revit model for rendering in 3ds Max.
00:19
Specifically, I will show you how to create a 3ds Max view, including making sure materials are assigned to all elements,
00:26
setting up the lighting and environment for the rendering, purging the model, and exporting the model to FBX.
00:36
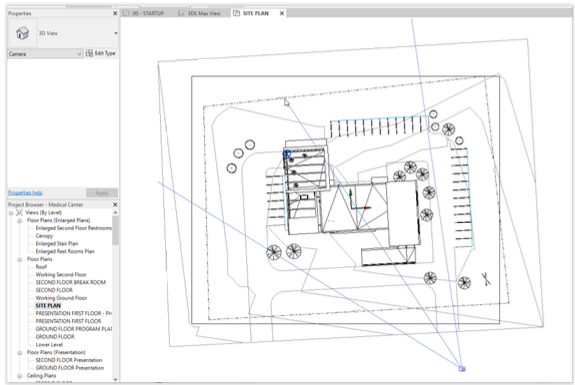
Let's open the Medical Center model and create a view to be used for a rendering of the building exterior.
00:42
We'll start by opening the Site Plan View.
00:50
From the View tab, open the 3D flyout and choose "Camera".
00:55
Place the Camera near the bottom of the model and drag to set the direction of view and far clip plane.
01:02
This creates a new Perspective View for our rendering.
01:05
We'll name it 3ds Max View in the Properties Dialog.
01:19
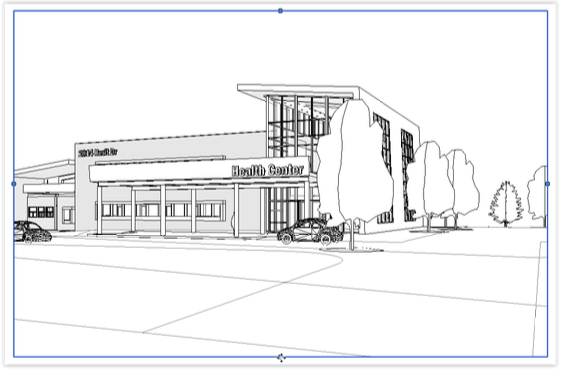
Adjust the view crop as desired by selecting the crop outline and dragging the blue dots.
01:31
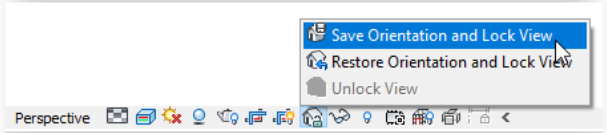
Once you're happy with the view, lock it.
01:34
On the View Control bar at the bottom, click the "Lock" icon and choose "Save Orientation and Lock View".
01:43
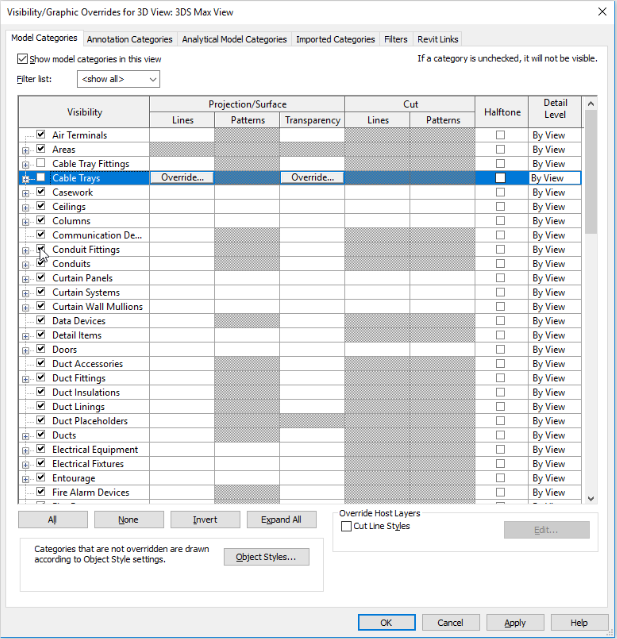
In the View Visibility Graphics dialogue,
01:45
turn off any model categories that maybe in the model but that won't appear in the rendering, such as Cable Trays and Conduits and so forth.
01:56
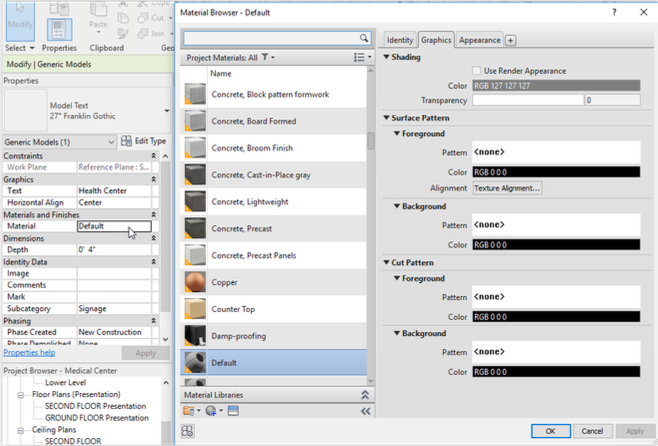
All elements need to be assigned a material in order to render properly.
02:00
In the Visual Style selector in the View Control bar, let's change the View Style to Realistic to see if any materials appear to be missing.
02:10
I’ll type ZA to Zoom All for a closer look.
02:16
The signage on the building is gray, so let's select it to see if it has a material.
02:22
In the Properties dialog, we see that the default material is assigned, so let's choose an appropriate material.
02:29
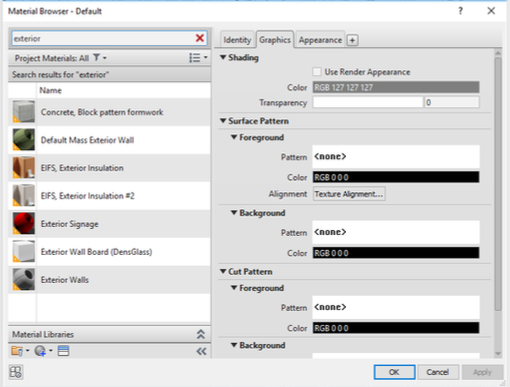
We'll use exterior signage.
02:46
Next, we'll set the lighting and environment for the scene, as these settings will carry over into 3ds Max.
02:55
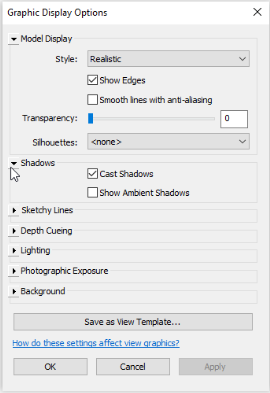
In View Properties, click the "Edit" button next to Graphic Display Options.
02:59
Make sure the View Style is set to Realistic.
03:03
Click the arrow next to Shadows and put a check in Cast Shadows.
03:07
You may also check "Ambient Shadows" if you wish.
03:12
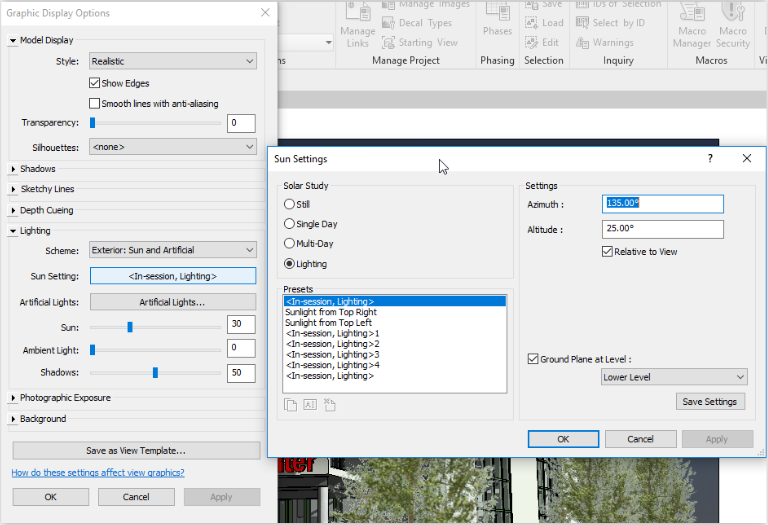
Click the arrow next to lighting and choose "Exterior Sun and Artificial" for this rendering.
03:18
For Sun setting, you can leave the defaults or change the angle of the sun as desired.
03:23
Here, I've changed the altitude to 25 degrees.
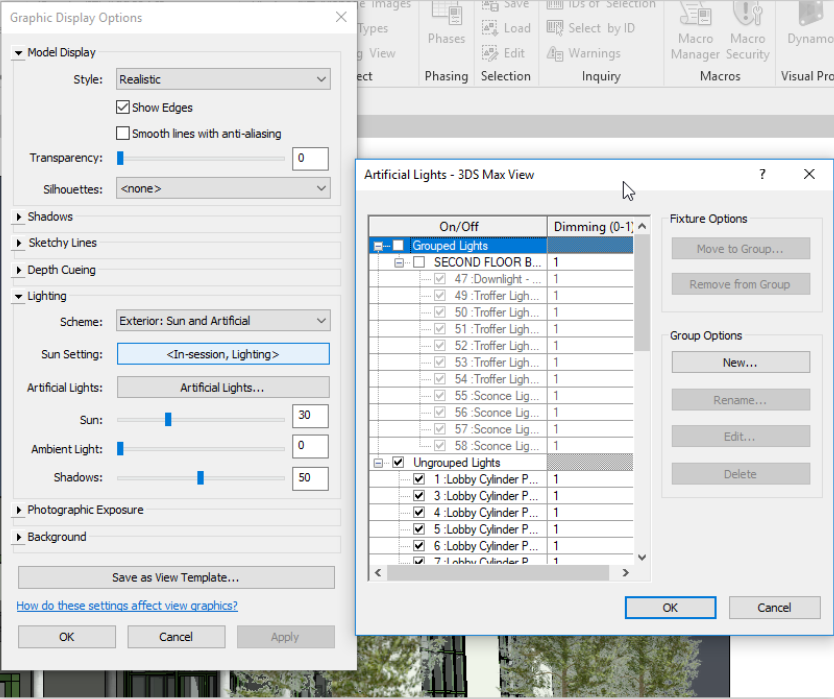
03:35
Click Artificial Lights and choose which lights you want to render.
03:39
Turn off lights that won't be used in the rendering.
03:42
In this case, I'm turning off the Second Floor Lights.
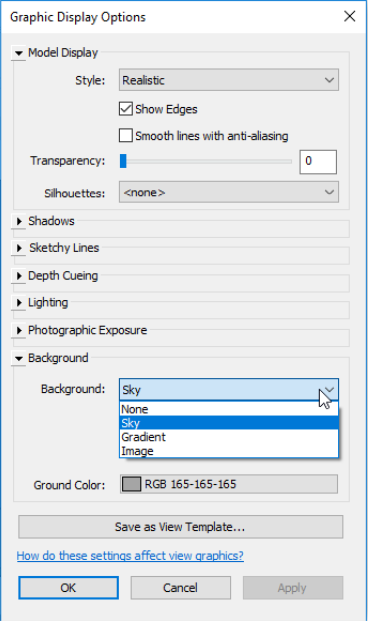
03:48
Click the arrow next to Background and choose the desired background.
03:52
We'll you Sky for this project. But you might enjoy using an interesting image or colored radiant as a background.
03:60
At this point, you may want to do a test rendering in Revit to see if you want to make any changes.
04:06
Your View is now ready to go, and there are just two steps to go before you start working in 3ds Max.
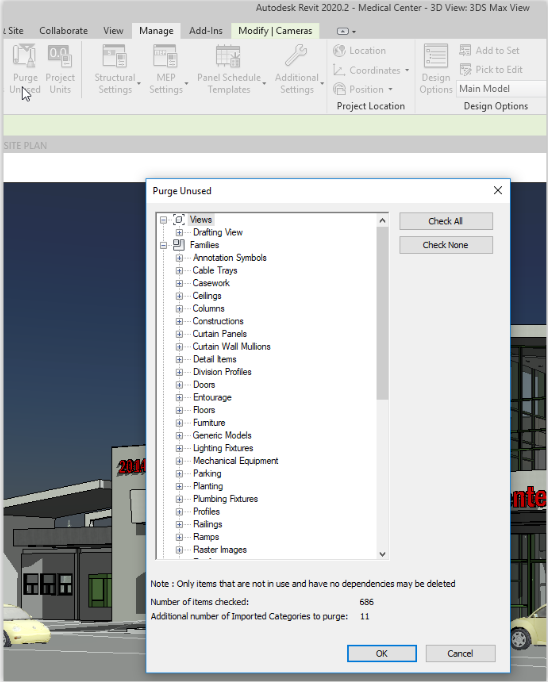
04:13
First, go to the Manage tab and purge the model three times, or until there is nothing left to purge.
04:29
Make sure you save your file.
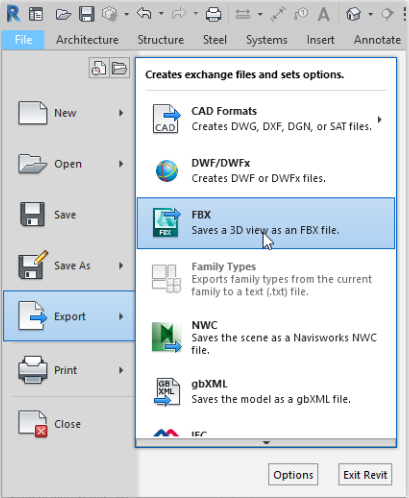
04:31
And finally, from the File menu, choose "Export to FBX".
04:38
Thank you for joining me today and happy rendering.