Add Design Options to a Model - Exercise
Now it’s time to start adding options to our models! There comes a time when our client can’t decide what it is exactly what they want. It’s up to us to tell them.
To add design options to a model, follow these steps:
- Open Revit.
- Open your architectural model.
- Duplicate the {3D} view and rename it to 3D_Design Options.
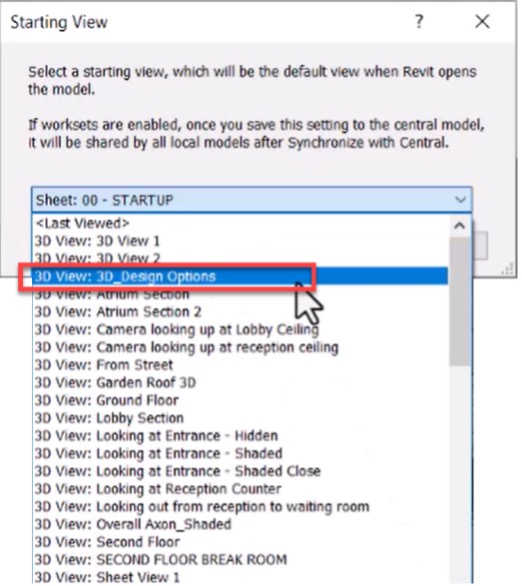
- In the Manage tab>Manage Project panel, select Starting View.
- In the Starting View dialog box, select 3D_Design Options from the drop-down list and click OK.
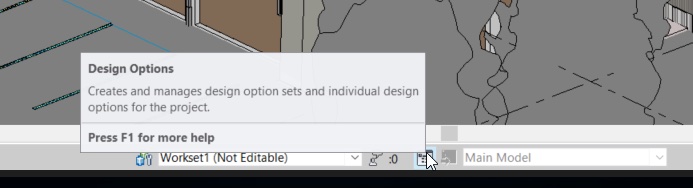
- At the very bottom of the Revit window, click the Design Options button.
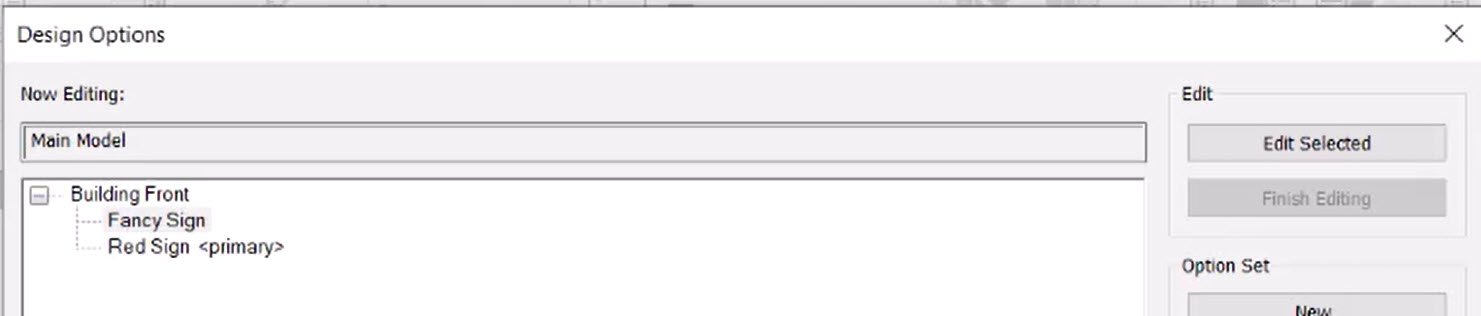
- In the Design Options dialog box, click New under Option Set.
- Select Option Set 1 and click Rename. Rename it to Building Front.
- Under the Building Front option set, select Option 1. Under Option, click Rename and name it Red Sign.
- Under Option, click New. Select the new Option 1 and rename it to Fancy Sign.
- To create another option set, click New under Option Set again.
- Select Option Set 1, click Rename, and rename it to Garden Roof.
- Select Option 1 and rename it to Red Roof.
- Under Option, click New. Select the new Option 1 and rename it to Blue Roof.
- Repeat the process to create an option for No Roof.
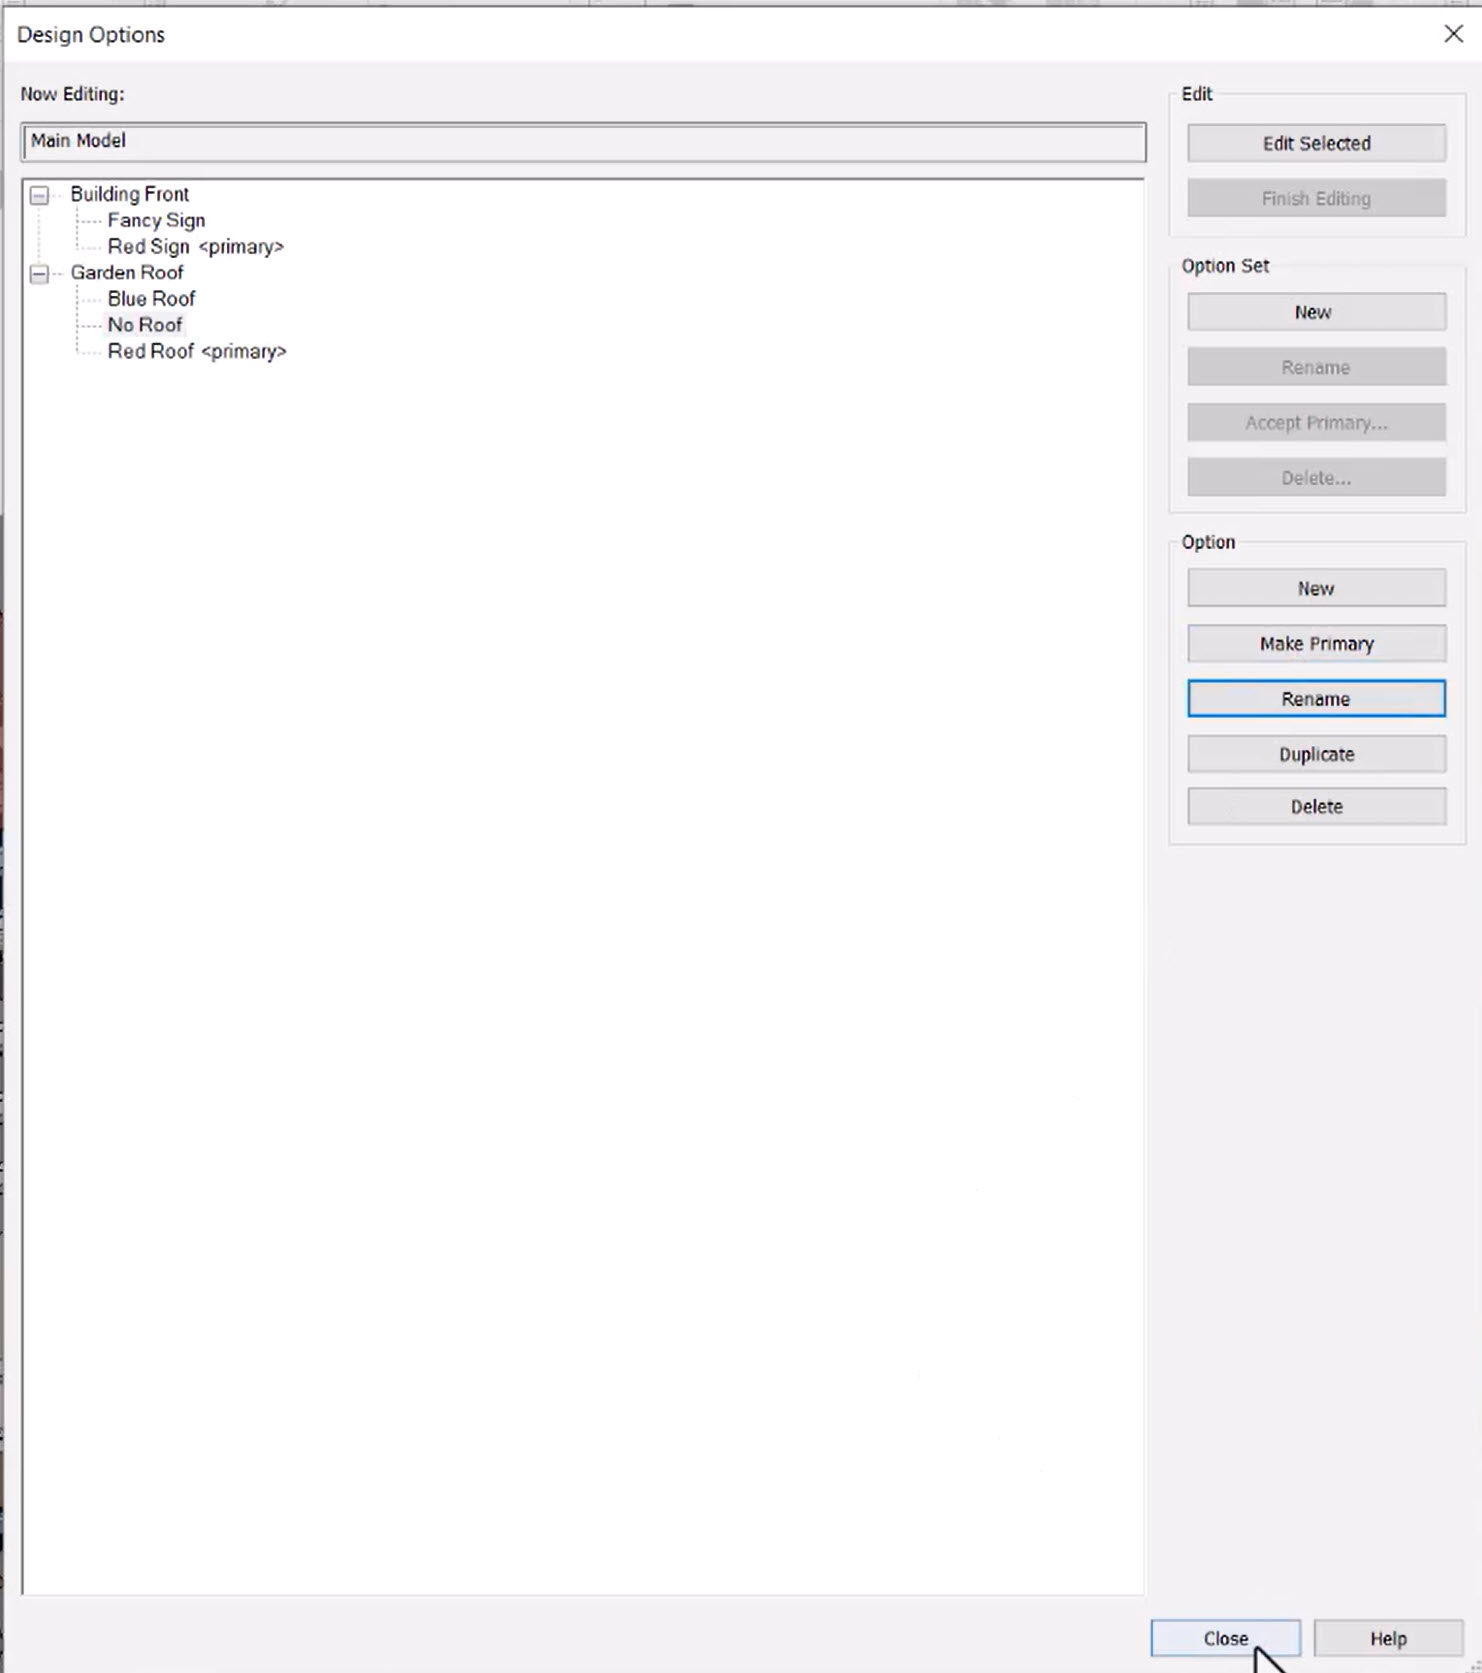
- Click Close.
- Save the model.


