| |
| |
Completion Time: 15 Minutes
|
· Completion of the Using the Auditing Tools Lesson
| |
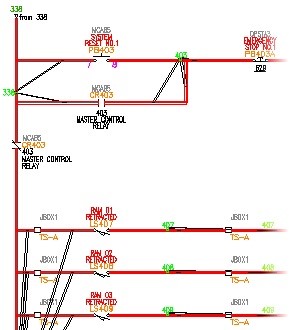
Objective: In this exercise, you use the Drawing Audit and Electrical Audit commands to correct drafting errors in your project drawings.
|
| |
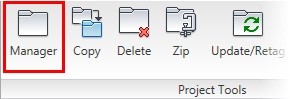
1: If the Project Manager is not displayed, on the Project tab, Project Tools panel, click Manager.
|
| |
2: If Schematic_Editing_NFPA is the active project, skip to step 6. If it is open but not active, in the Project Manager, do the following:
■ Right-click Schematic_Editing_NFPA.
■ Click Activate.
■ Skip to step 6.
|
| |
3: In the Project Manager, click Open Project.
|
| |
4: Browse to where you installed the exercise files. Select Schematic_Editing_NFPA.wdp. Click Open.
|
| |
5: In the Projects list, click the expansion node next to Schematic_Editing_NFPA to expand the drawing list.
|
| |
6: Right-click Schematic_Editing_NFPA_04.dwg. Click Open.
|
| |
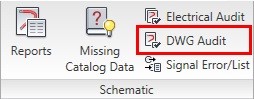
7: On the Reports tab, Schematic panel, click DWG Audit.
|
| |
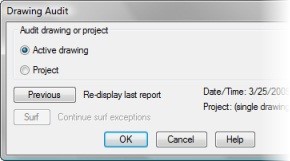
8: In the Drawing Audit dialog box, click Active Drawing. Click OK.
|
| |
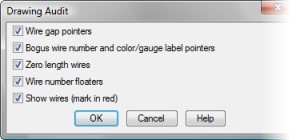
9: In the Drawing Audit dialog box, select all check boxes. Click OK.
|
| |
10: Notice that no errors are found in this drawing.
|
| |
11: In the Report: Audit for This Drawing dialog box, click Close. The wire indicators displayed direct your attention to the wires in the drawing.
|
| |
12: To remove the wire indicators, at the Command Prompt, enter REDRAW. Press ENTER. (Or zoom in the drawing and the wire indicators will be removed.)
|
| |
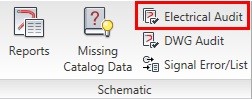
13: Use Electrical Audit:
On the Reports tab, Schematic panel, click Electrical Audit.
|
| |
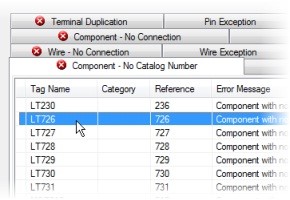
14: In the Electrical Audit dialog box, click Details.
|
| |
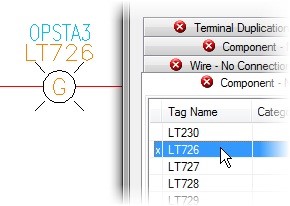
15: On the Component - No Catalog Number tab, select LT726 from the grid. Click Go To.
|
| |
16: If prompted, in the Qsave dialog box, click Always Qsave.
|
| |
17: Drag the Electrical Audit off to the side of your drawing to display LT726 (or to your second monitor if applicable).
|
| |
18: Right-click LT726. Click Edit Component.
|
| |
19: In the Insert/Edit Component dialog box, under Catalog Data, click Project.
|
| |
20: In the Find: Catalog Assignments dialog box, click Active Project. Click OK.
|
| |
21: If prompted, in the Qsave dialog box, click Always Qsave.
|
| |
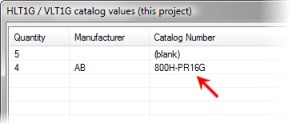
22: In the HLT1G/VLT1G Catalog Values (This Project) dialog box, select 800H-PR16G. Click OK.
|
| |
23: In the Insert/Edit Components dialog box, click OK.
|
| |
24: In the Electrical Audit dialog box, click Close.
|
|