00:02
SHAWN HERRING: Using point clouds
00:03
to create the existing conditions model
00:05
can help reduce errors and ensure accuracy.
00:09
In this unit, you'll learn how to bring a point
00:11
cloud into Civil 3D and use it to create a surface model
00:14
and extract geometry.
00:18
So in this session, we're going to look at the utilization
00:21
of Autodesk ReCap Pro.
00:25
There several different options within ReCap Pro.
00:27
You have ReCap Photo, which uses your drone or UAV-captured
00:32
photogrammetry and creates a point cloud from that.
00:35
There's ReCap Pro for mobile.
00:37
ReCap Pro can also automatically register laser scans,
00:41
and you can measure and edit, clean up,
00:43
and markup your point clouds.
00:46
So the first step in getting a point cloud into Civil 3D
00:50
is going to be converting that from whatever file type
00:54
you have, whatever scan type, whether that's
00:56
a Faro, a Leica, an LAS file, or an E57 file.
01:01
Whatever supported file type that you have
01:04
needs to be converted first.
01:06
From that file type, to ReCap Pro, and then into Civil 3D.
01:14
Civil 3D will accept an RCP and will accept an RCS.
01:18
So let's look at how we convert a point cloud into an RCP
01:23
format so that we can bring that into Civil 3D.
01:30
So we're now here in ReCap.
01:32
This is a very simple workflow to take from the file format
01:35
that you currently have to an RCP, or RCS, and into civil 3D.
01:40
The first we need to do, in the top left, the big, blue button
01:43
here, we need to select "new project."
01:47
From there, we have a few different options.
01:49
We have "import point cloud," "transfer
01:51
from a mobile device," and transfer, or create,
01:54
a 3D model point cloud from "photos."
01:57
We're going to use "import point cloud."
02:02
We need to give it a project name,
02:04
and we need to save it to a location.
02:06
So I'm going to save it to a location,
02:08
and I'm also going to give it a project name.
02:15
Then I'm going to simply select "proceed."
02:19
From there, we can select files to import.
02:21
We can select an entire folder to import,
02:24
or, which is the easiest way here,
02:27
we can grab point clouds from "File Explorer," grab them,
02:33
and simply drag and drop them on the target,
02:36
and allow those to import.
02:37
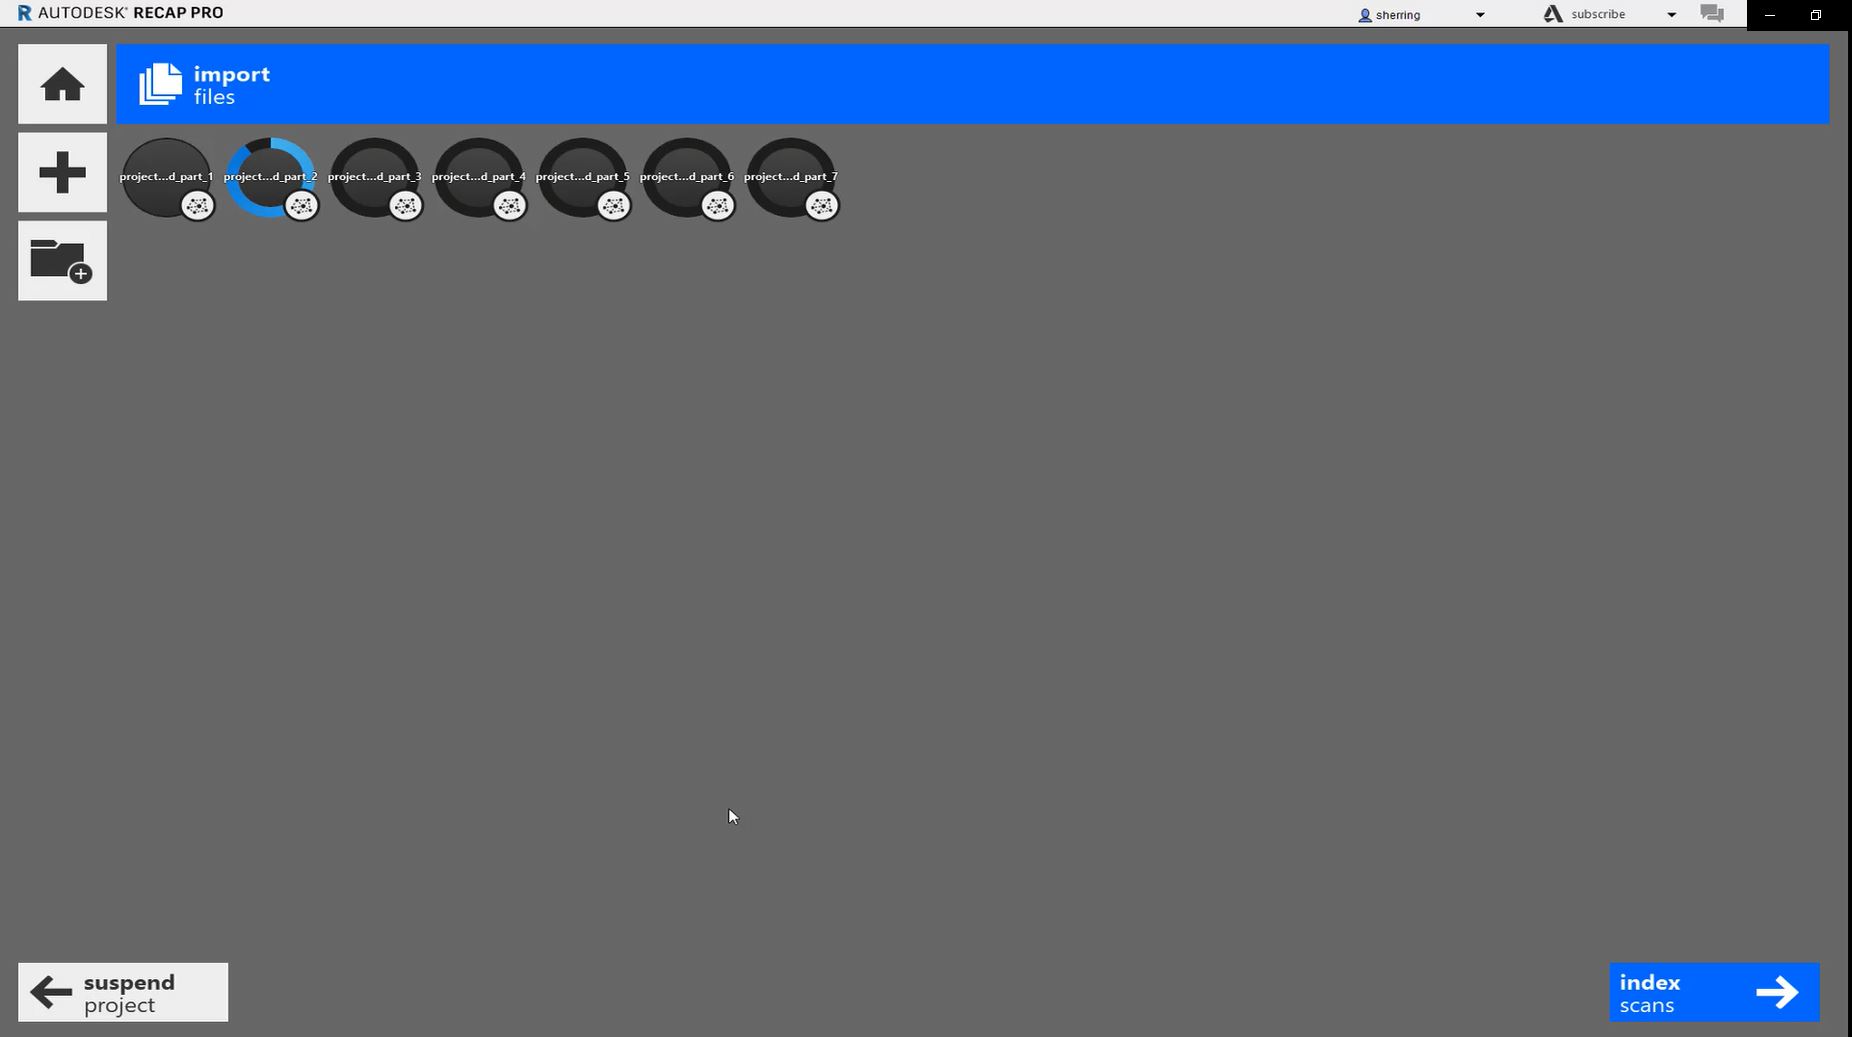
So I'm going to select 'import" on the bottom right.
02:42
Depending on your file size, this usually
02:44
takes just a few minutes.
02:45
So we'll allow these seven LAS files to upload,
02:49
and we'll create that RCP file.
03:04
And once the import process has completed, what we need to do
03:08
is select "index scans" at the bottom right of the screen,
03:10
so I'm going to just choose "index scans."
03:14
It's going to go through one quick final process
03:17
prior to launching the project.
03:20
So at the bottom right, I'm now going
03:21
to select "launch project."
03:24
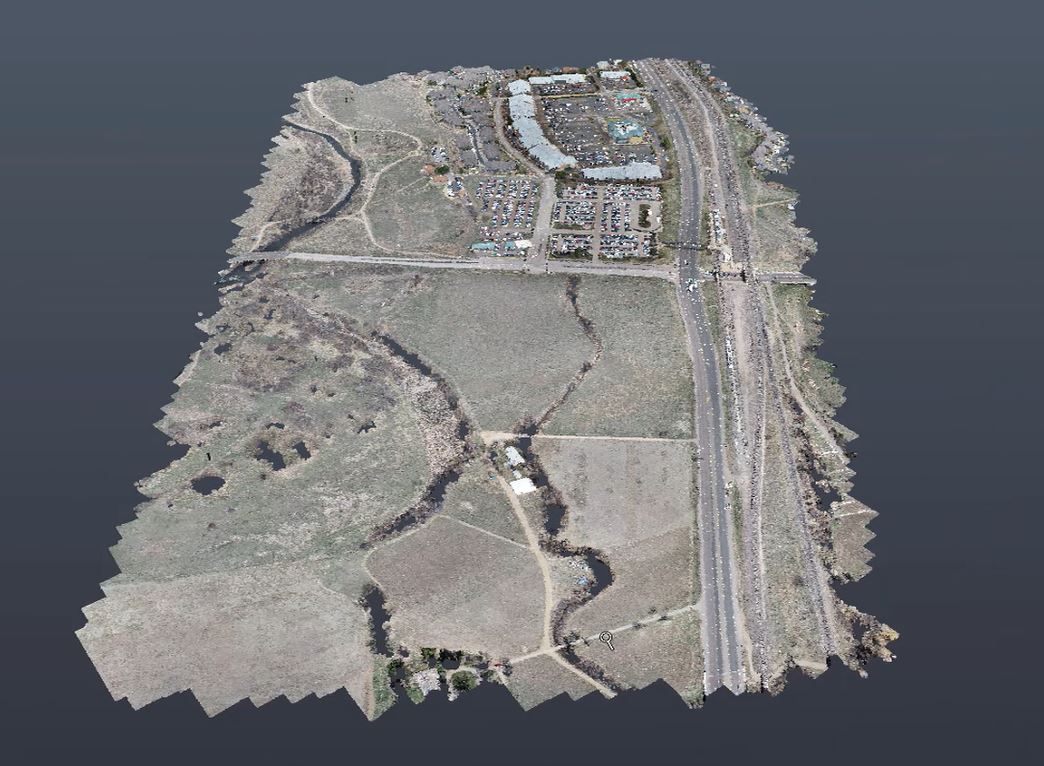
OK, from there, we now have an overall point cloud
03:27
combining the six or seven LAS files
03:30
that we previously had into one file.
03:34
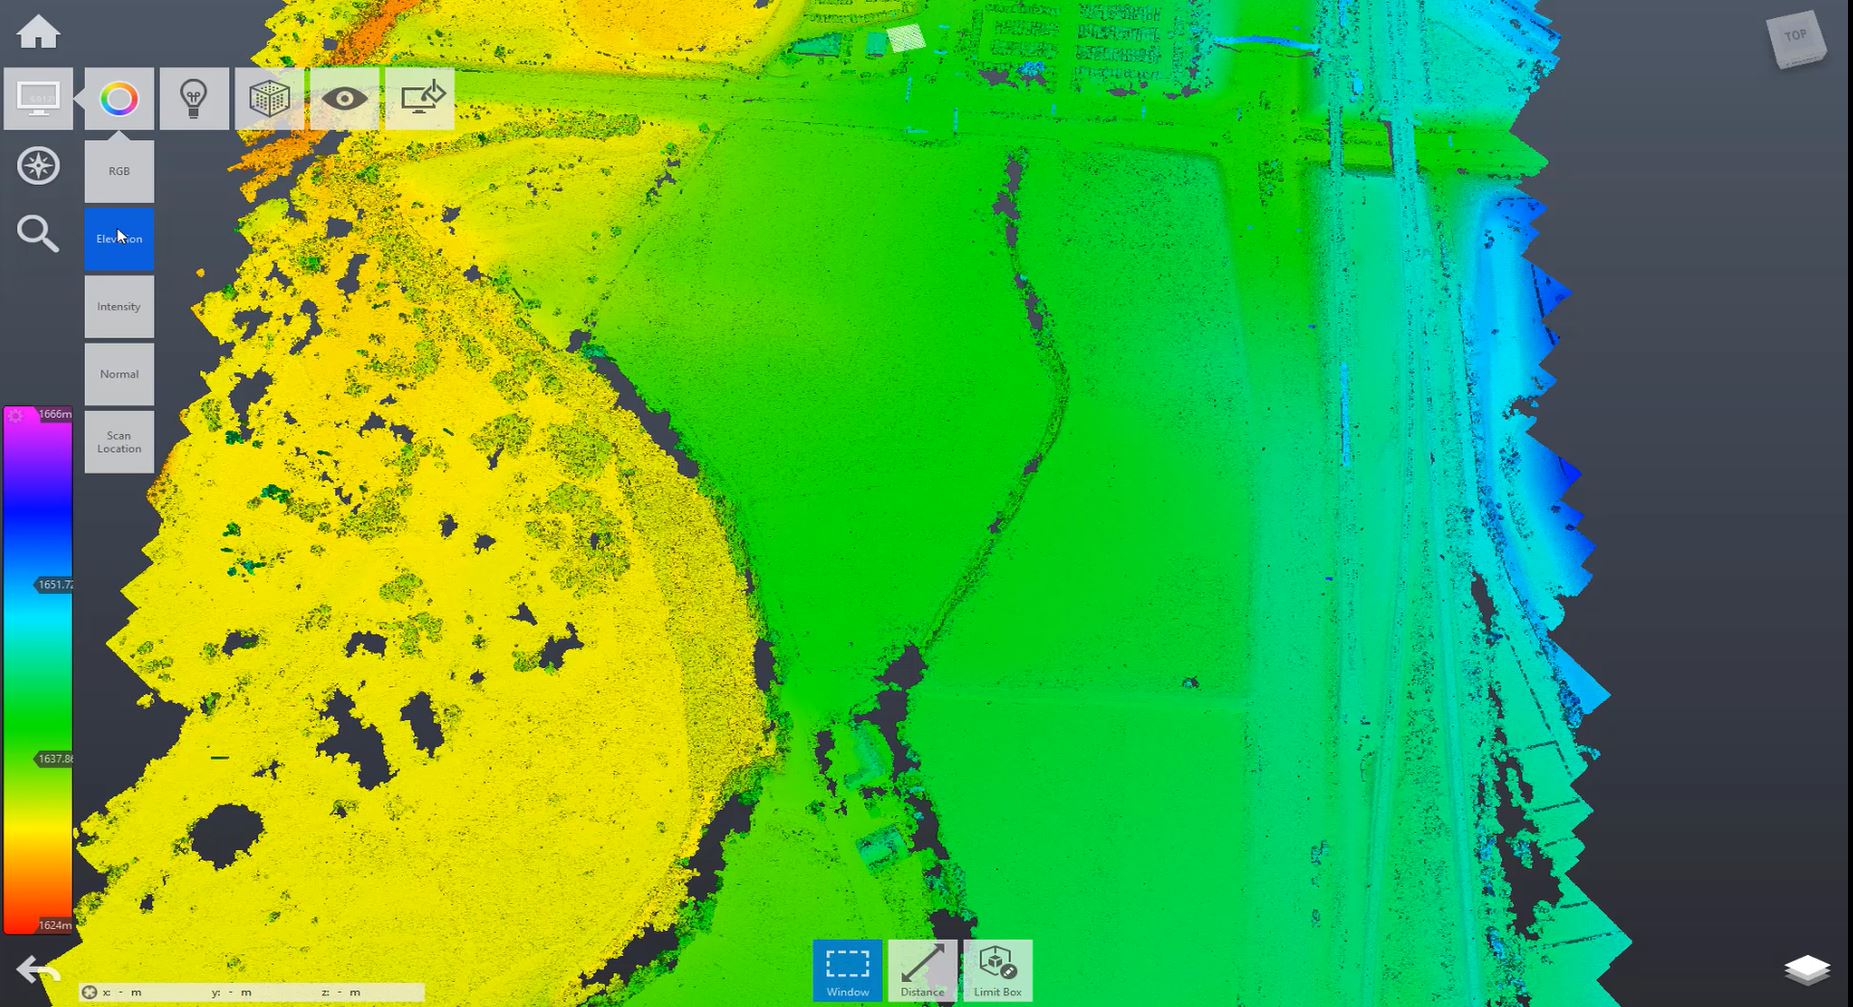
What we can do in ReCap, there are a few tools in here,
03:36
we can choose to look at the point cloud
03:39
in different classification modes, elevation, intensity,
03:43
scan location and so forth.
03:46
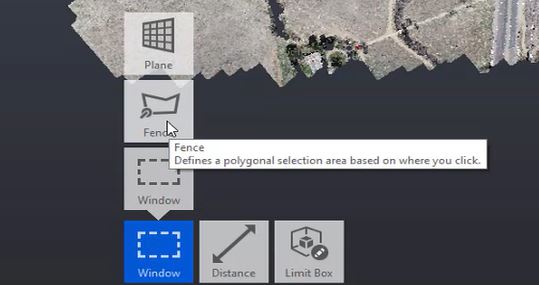
We can create regions, so if we want to crop out
03:50
some of these areas--
03:52
We're going to choose fence, for example.
03:54
I'm going to come in here.
03:55
We don't really need this stuff on the north side,
03:57
but maybe I don't want to delete it.
03:59
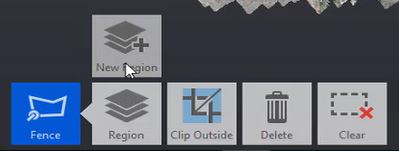
I'm going to just select it.
04:03
From the bottom, I can choose region, which is essentially
04:07
a layer, I can clip inside or outside,
04:10
or I can delete those points.
04:12
I'm going to add this to a new region,
04:14
and I'm just going to call that the "Area1" and hit "OK."
04:22
So what I can do is I can look here
04:24
in my "Layer State" and my "Scan Regions,"
04:26
and I can turn off certain areas.
04:28
So if I don't want them deleted, I
04:30
can simply add them to a region.
04:32
And if I can delete them, if I want
04:34
to clean up a little bit of this stuff
04:35
before bringing it into Civil
04:39
and I can delete those points.
04:43
You can take measurements, you can
04:45
take annotations and all that.
04:47
What we needed to do, simply for the process to getting
04:50
into Civil 3D, is to import the LAS files, index the files,
04:54
and just save this as an RCP.
04:58
We can also export this out to multiple different options.
05:01
Here, we have "export," we can choose to export to RCP,
05:05
RCS, which is one, unified overall point cloud, a PTS
05:10
file, or an E57 file, which is a very common file that can
05:13
be used in different softwares.
05:17
So I'm going to save this, I'm going to go
05:20
through a quick optimization,
05:25
and we are now ready to bring our point cloud into Civil 3D.