Performing a database review
Any referenced datasets can be downloaded from "Module downloads" in the module overview.
Step-by-step:
InfoWater Pro's Engineering Validation Manager—commonly referred to as just the Validation Manager—provides an efficient way to review input data for missing or unexpected values as well as connectivity issues. You can check all network components for up to 60 rules.
- Open the appropriate .aprx file in ArcGIS Pro.
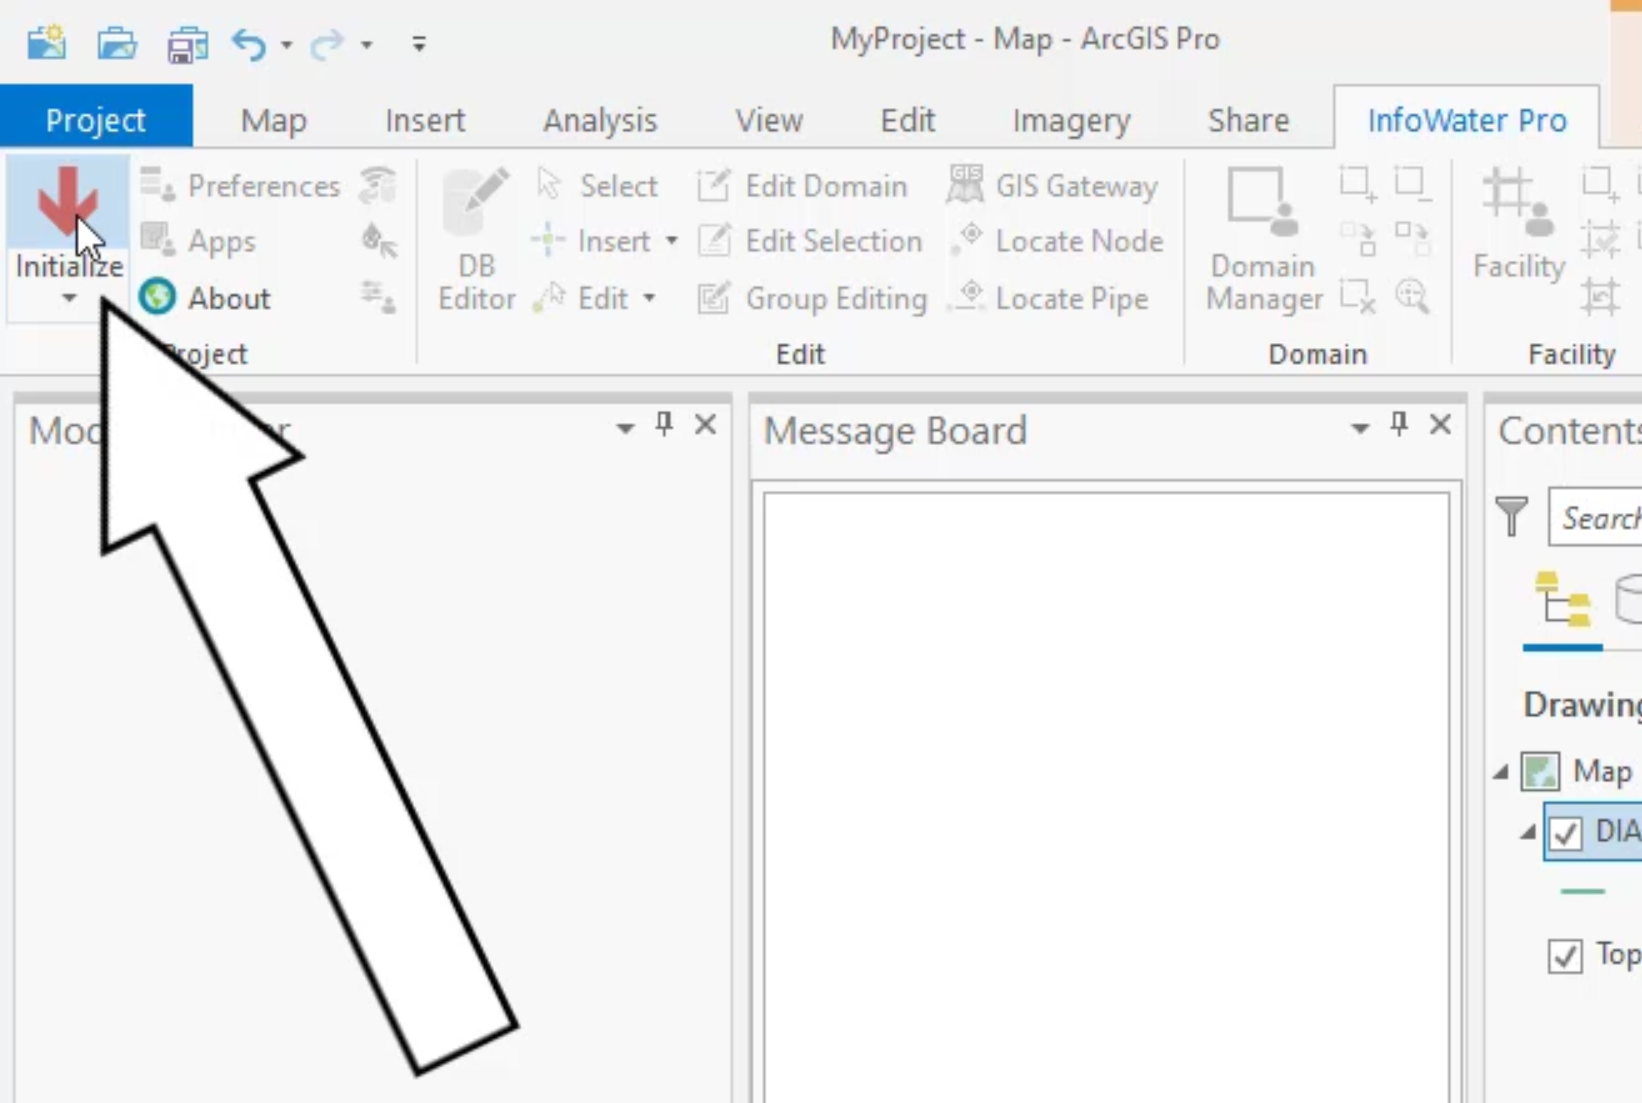
- From the ribbon, InfoWater Pro tab, click Initialize.
- From the Model Explorer, Command Center tab, expand the Tools folder.
- Double-click Engineering Validation Manager.

- In the Validation Manager, click Options.
- In the Options dialog box, enable Clear Previous Results Automatically.
- Click OK.

In the Validation Manager, you can see several rows with rules, IDs, warning messages, levels, and valid value ranges. If you modify the criteria for multiple selected rows, then run a validation, you can then sort the results, based on warning levels, for example.

- All violations are listed in the Validation Result tab of the Message Board. Expand the Message Board to display more rows.
- Click a column heading to sort by that column.

- To see one of these violations in detail, double-click it in the table, and in the Map, the program zooms to and selects the corresponding feature.
- To check for a single rule to be able to resolve just that one, in the Validation Manager, first click Clear Validation Results of the validation you just ran to clear the Message Board.

- Click the Uncheck All icon to clear all selected rows.

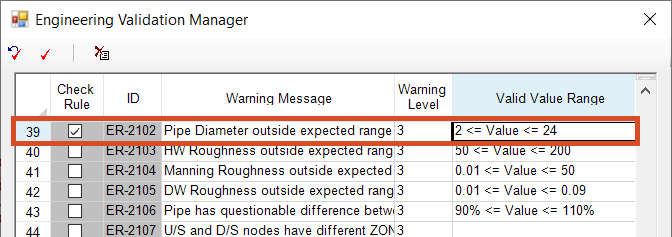
- Check only row 39 to check for pipe diameters outside of the expected range.
- Double-click the Valid Value Range field for row 39.
- Enter a Minimum of 2 and a Maximum of 24, with Inclusive selected for both.
- Click OK.
- Click to enable Add Results to Domain.
- Click Validate.
- Close the Validation Manager.
- In the Message Board, Validation tab, double-click the first violation to zoom to it and select the corresponding feature.

In the GIS, a value of 999 indicates an unknown diameter. Diameters need to be assumed to run the hydraulic simulation.
- In the Model Explorer, Attribute tab, change the Diameter field to 10.

- Click Save.