Locating and fixing pipe-split candidates
Any referenced datasets can be downloaded from "Module downloads" in the module overview.
Step-by-step:
The Network Review/Fix utilities are a network of tools used to identify and automatically correct any network topology problems, including disconnected nodes and data flaws, such as duplicated pipes or nodes.
After locating and fixing nodes in close proximity, the next Network Review/Fix tool to use is Locate/Fix Pipe-Split Candidates. This tool identifies locations where pipes may need to be broken, such as a pipe not breaking at a T-intersection.
- Open the appropriate .aprx file in ArcGIS Pro.
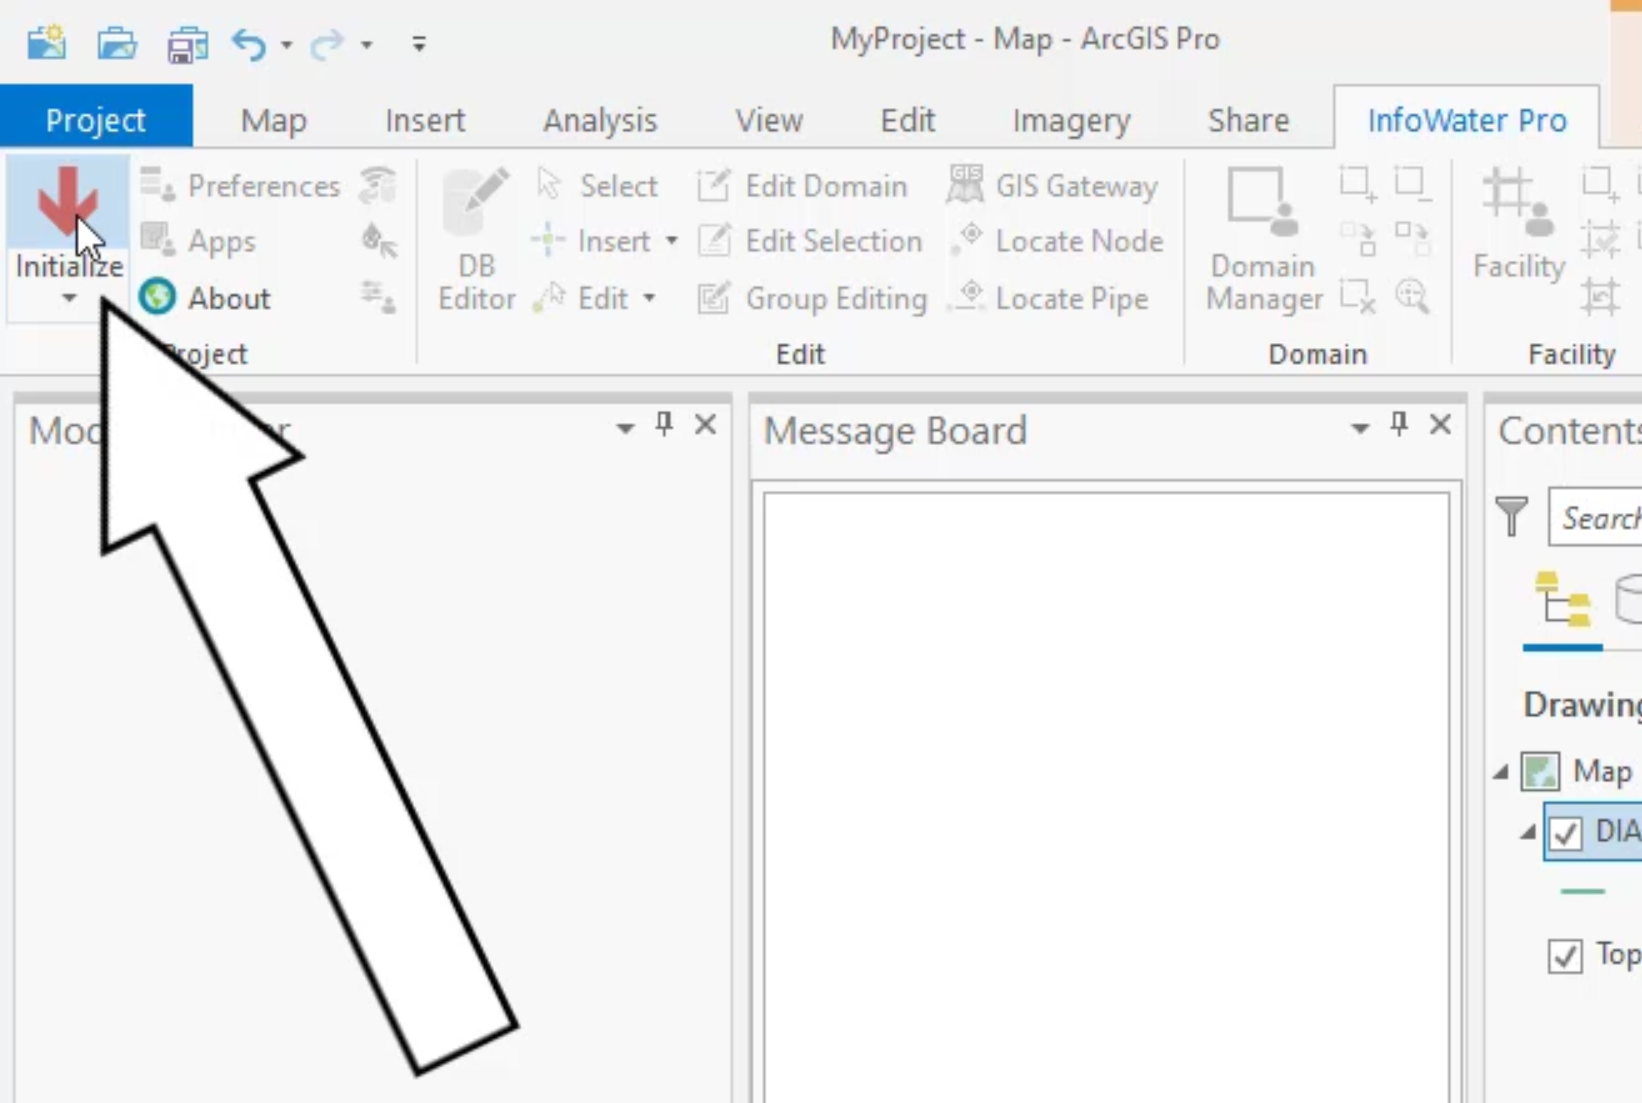
- From the ribbon, InfoWater Pro tab, click Initialize.
- From the Model Explorer, Command Center tab, expand Utilities > Network Review/Fix.
- Double-click Locate/Fix Pipe-Split Candidates.

- In the Locate Pipe-Split Candidates dialog box, set the Searching Distance to 1.
- Expand Pipe-Splitting Node Type and select Junction.
- Enable Add to Domain.

- Click OK.
All pipe candidates are added to the domain. The Message Board reports that one location is found.

- To zoom in on the location, on the InfoWater Pro ribbon, Domain panel, select the Zoom to Domain tool.

- When you examine the network configuration, notice that one pipe was digitized over a junction. This pipe should be split.

- In the Command Center, open Utilities > Network Review/Fix > Locate/Fix Pipe-Split Candidates.
- In the Locate Pipe-Split Candidates dialog box, enable Join Pipe-Split Candidates.
- Enable Apply to Domain Only.

- Click OK.
The pipe that was in the domain is now split into two pipes, and the new pipe is no longer displayed in red, as its new ID is not in the domain. All attributes are copied into the database for the newly added pipe, except for length, which is recalculated by the Auto Length Calculation preference that is enabled in this example.

- Zoom in on the area and inspect how the pipe was fixed automatically.
IMPORTANT: This fix causes a disconnect from the one-to-one relationship with the GIS, and could be flagged to your GIS department to fix and re-import.