Locating and fixing parallel pipes
Any referenced datasets can be downloaded from "Module downloads" in the module overview.
Step-by-step:
Depending on your model, you may have pipes that legitimately run in parallel between nodes in your water distribution system. But sometimes, parallel pipes can occur as a result of duplication, so it is important to review these areas.
Parallel pipes are identified as pipes sharing the same start and end nodes and are not required to share identical vertices. You can use the Locate/Fix Parallel Pipes tool to review these locations and fix any errors.
- Open the appropriate .aprx file in ArcGIS Pro.
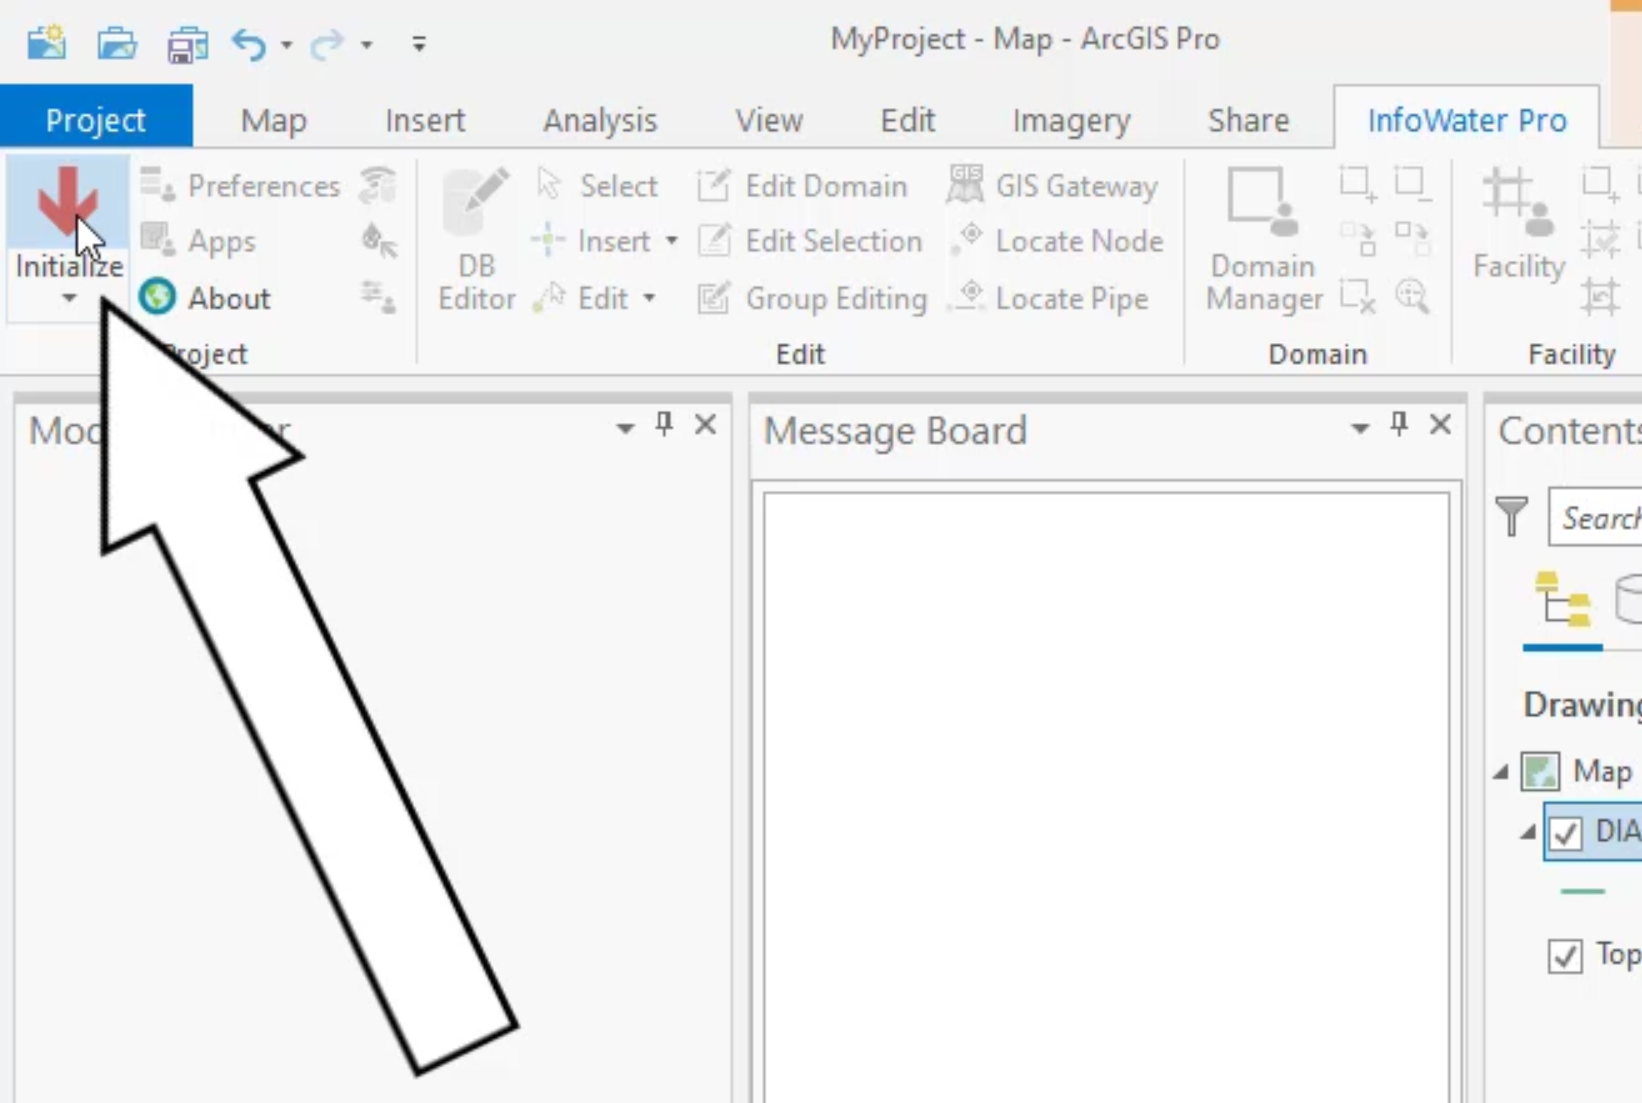
- From the ribbon, InfoWater Pro tab, click Initialize.
- From the Model Explorer, Command Center tab, expand Utilities > Locate Parallel Pipes.
- Double-click Show as Domain.

Two parallel pipes are found in this example and displayed in the Message Board.

- To zoom in on the location, on the InfoWater Pro ribbon, Domain panel, select the Zoom to Domain tool.

- Examine the network configuration.

Notice that one pipe is highlighted in red. To correct this, re-draw the pipe with false vertices so you can see the parallel pipes.
- Turn on the labels to see the node IDs. From the Contents panel, right-click Junction and select Label.

- On the InfoWater Pro ribbon, Edit panel, expand the Edit drop-down and select Redraw Pipe.

- Select the pipe to be redrawn; you can see that it flashes blue, signifying that it is selected to be redrawn.
IMPORTANT: When selecting a pipe, make sure that the pipe you intend to re-draw is indeed the one that flashes. If you accidentally select another pipe, and it flashes blue, you will consequently redraw the wrong pipe. To fix this, simply re-select the correct pipe. If you do happen to redraw the wrong pipe, then there is no undoing it—you would need to draw it again or reimport it.
- Click the starting node.
- Click to add two false vertices away from the pipe.
- Double-click the end node to finish re-drawing the pipe.

- Look at the attributes of each pipe. On the InfoWater Pro ribbon, Edit panel, click the Select tool.
- Select your redrawn pipe.
Notice that attributes exist in the Model Explorer for this pipe.

- Now select the original pipe.
This time, there is no attribute data associated with it. After investigation, it is determined that this pipe does not exist and can be deleted.

- On the InfoWater Pro ribbon, Edit panel, expand the Edit drop-down and select Delete Pipe.
- Select the pipe to be deleted.
- Click OK to confirm.

You can now redraw the pipe to remove the false vertices that you added.
- On the InfoWater Pro ribbon, Edit panel, expand the Edit drop-down and select Redraw Pipe.
- In the Network map, click the start junction.
- Double-click the end node.
The pipe is now straight.

- In the Edit panel, click Select to avoid editing other pipes.
IMPORTANT: This fix could be flagged to your GIS department to fix and re-import; however, that may not be necessary, as the one-to-one relationship between the unique IDs and features is maintained.