Extracting elevation
Any referenced datasets can be downloaded from "Module downloads" in the module overview.
Step-by-step Guide
When you import a model and make manual fixes and adjustments, junctions may not have elevation data. The InfoWater Pro Elevation Extractor can be used to populate junction elevations using the raster elevation dataset.
- Open the appropriate .aprx file in ArcGIS Pro.
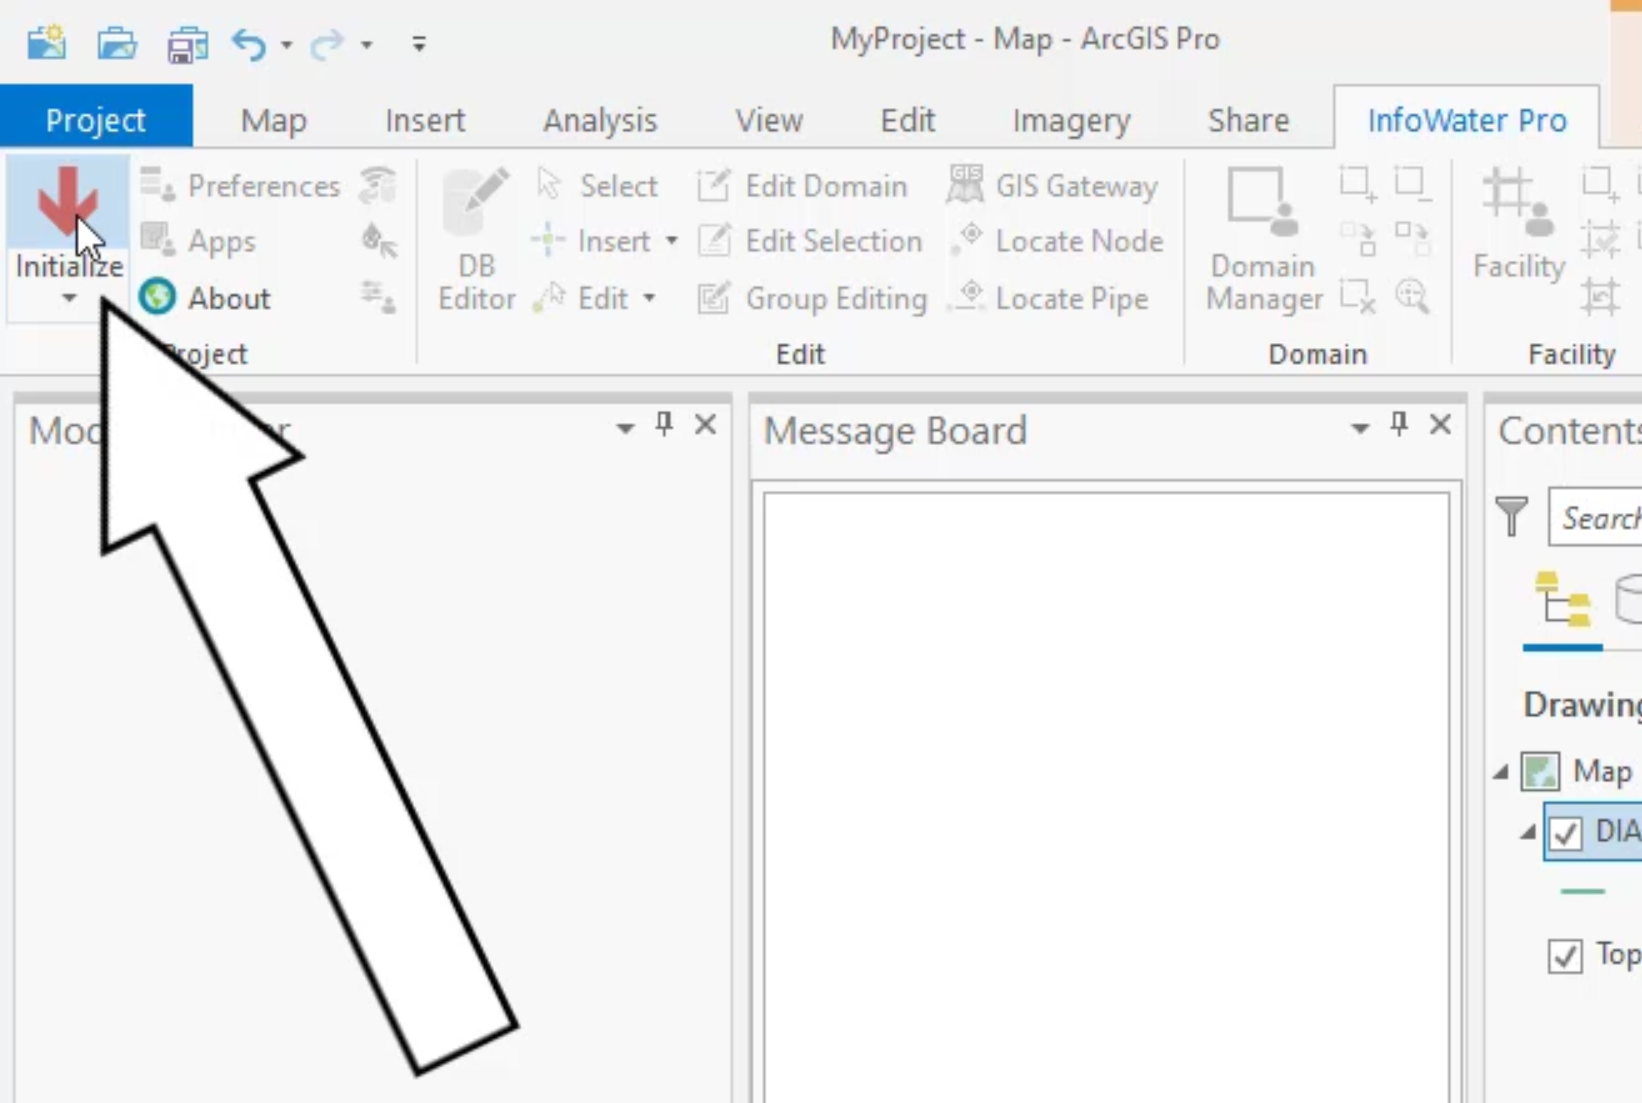
- From the ribbon, InfoWater Pro tab, click Initialize.
- From the ArcGIS Pro toolbar, Map tab, Layer panel, click Add Data.

- In the Add Data dialog box, browse to and double-click the desired .gdb file to expand it, such as CityData.gdb for this exercise.
- Select the raster data set you need, in this case, elevation.

- Click OK.
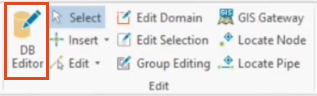
- On the InfoWater Pro ribbon, in the Edit panel, click DB Editor.
- In the Open Table – Junction Information dialog box, Data Table tab, expand the Element Information Data folder.
- Double-click Junction Information.

The Junction Information table populates the DB Editor. Notice that the Elevation column is empty.
- Click Exit to close the DB Editor.

You can use the Elevation Extractor to populate the elevation information, but be aware that this tool only accepts raster files.
- From the Command Center tab in the Model Explorer, expand the Tools folder.
- Double-click Elevation Extractor.

- In the Elevation Extractor dialog box, set the Source Layer to elevation. (If you do not see “elevation” listed here as a layer, then the elevation data is likely in another file type.)
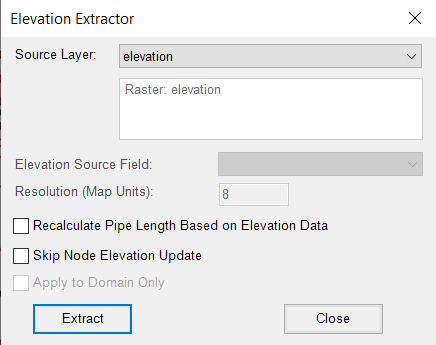
- Click Extract.
The Elevation Extractor takes the value of the pixel corresponding to each junction and assigns it in the Elevation field of the InfoWater Pro Information Database Table.
- When you see a confirmation in the Message Board that the elevation data extraction is finished, close the extractor.

- Re-open the database editor by selecting DB Editor > Element Information Data > Junction Information.
You can see that elevation data is now contained in the database table:
