Locating and fixing crossing/intersecting pipes
Any referenced datasets can be downloaded from "Module downloads" in the module overview.
Step-by-step:
The Network Review/Fix utilities are a network of tools used to identify and automatically correct any network topology problems, including disconnected nodes and data flaws, such as duplicated pipes or nodes.
The Locate/Fix Crossing/Intersecting Pipes tool is an optional step, depending on your model, that allows you to view all crossing pipe candidates in the network and automatically create the intersection, where necessary.
- Open the appropriate .aprx file in ArcGIS Pro.
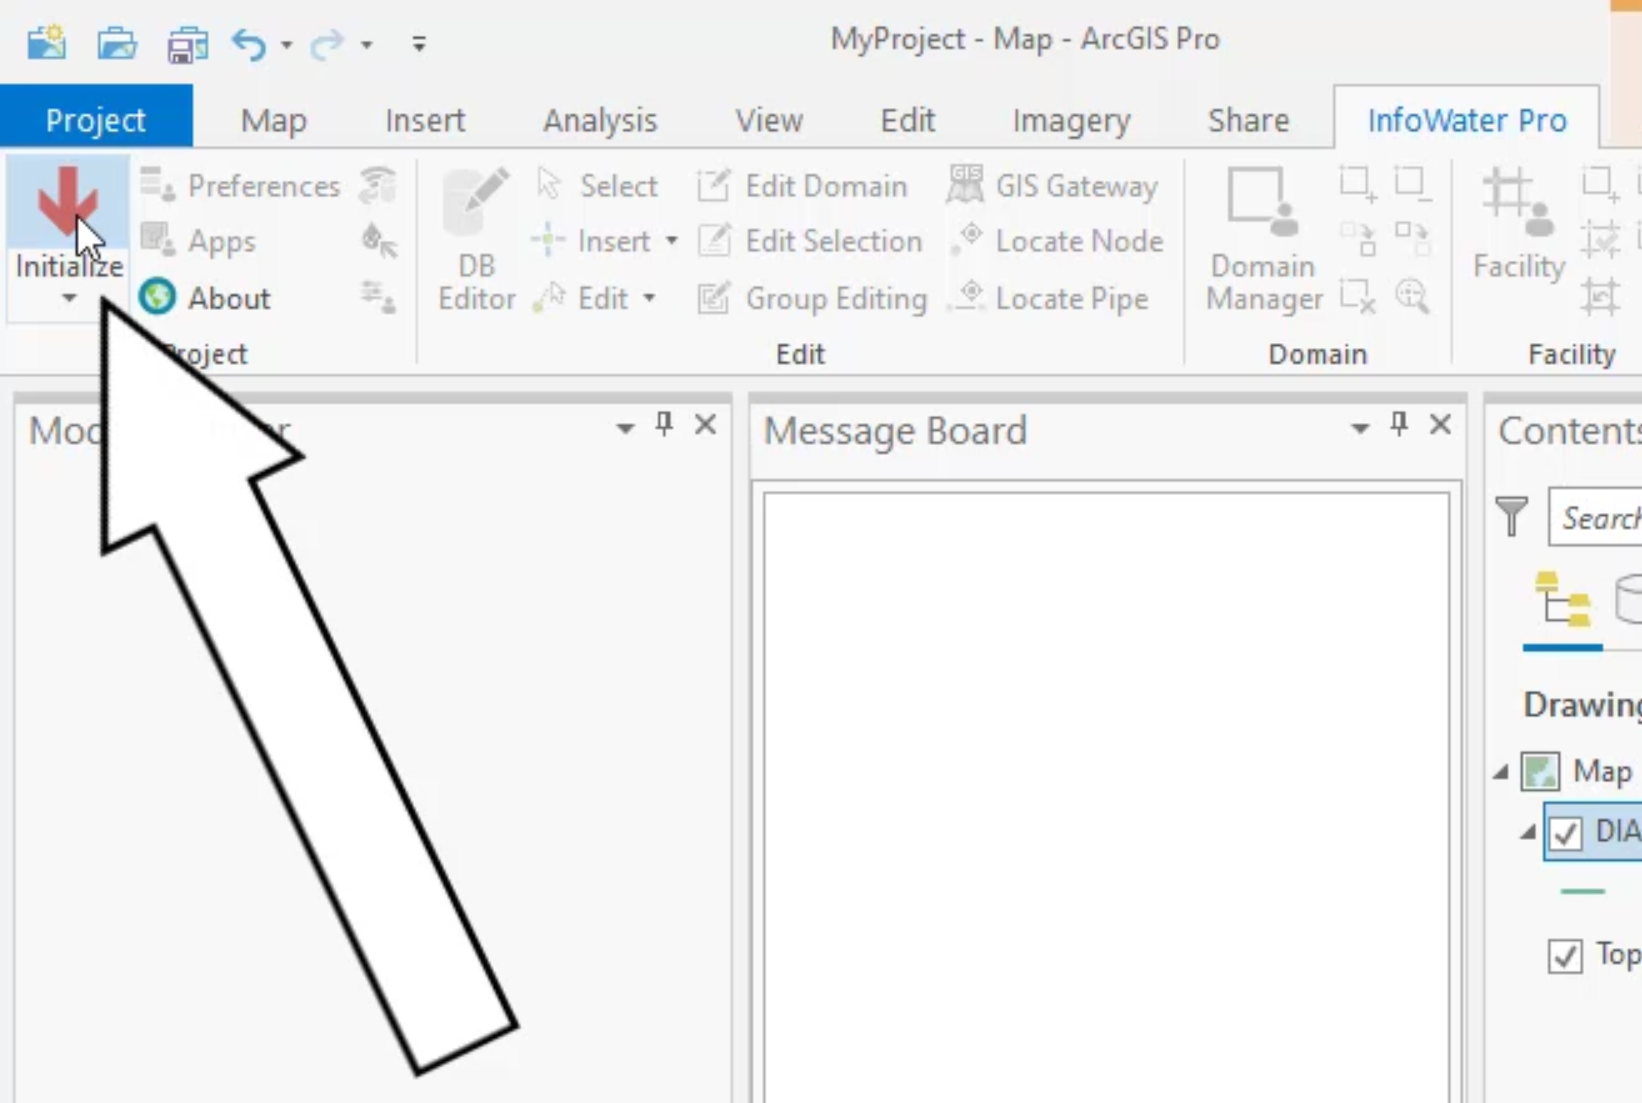
- From the ribbon, InfoWater Pro tab, click Initialize.
- From the Model Explorer, Command Center tab, expand Utilities > Network Review/Fix.
- Double-click Locate/Fix Crossing/Intersecting Pipes.

- In the Locate Crossing Pipes dialog box, ensure that Add into Domain is selected.

- Click OK.
All pipe candidates are added to the domain. The Message Board reports that one location is found.

- To zoom in on the location, on the InfoWater Pro ribbon, Domain panel, select the Zoom to Domain tool.

- When you examine the network configuration, notice that one pipe seems to cross back to the west for no apparent reason.

You can then re-draw the pipe between the two nodes.
- Turn on the labels to see the node IDs. From the Contents panel, right-click Junction and select Label.

- On the ribbon, Edit panel, expand the Edit drop-down and select Redraw Pipe.

- Select the pipe to be redrawn; it flashes blue, signifying that it is selected to be redrawn.

- Click the starting node.
- Click to add intermediate vertices away from the pipe.
- Double-click the end node to finish re-drawing the pipe.

IMPORTANT: When selecting a pipe, make sure that the pipe you intend to re-draw is indeed the one that flashes. If you accidentally select another pipe, and it flashes blue, you will consequently redraw the wrong pipe. To fix this, simply re-select the correct pipe. If you do happen to redraw the wrong pipe, then there is no undoing it—you would need to draw it again or reimport it.
IMPORTANT: This fix causes a disconnect from the one-to-one relationship with the GIS, and could be flagged to your GIS department to fix and re-import.