Displaying results imported from Robot in Revit - Exercise
In this practice, you will step through the process of updating the Revit model with results of static analysis and required reinforcement calculated in Robot. Afterwards, the imported results are displayed in Revit. This practice is possible only when both Robot and Revit are installed on the same machine and when the Structural Analysis Toolkit is installed in versions earlier than 2021.
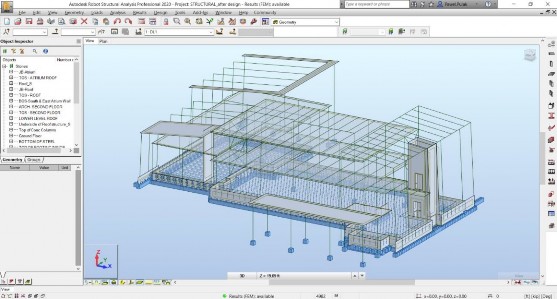
- Start Autodesk Robot Structural Analysis Professional 2020 and open the project STRUCTURAL_after design.rtd.
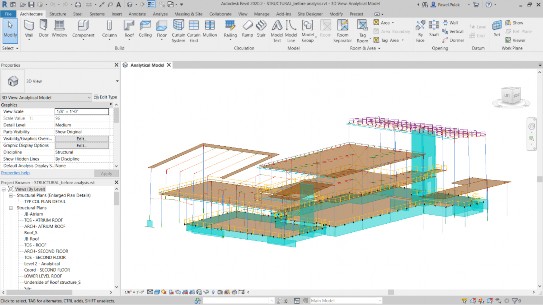
- Start Revit 2020 and open the project STRUCTURAL before analysis.rvt.
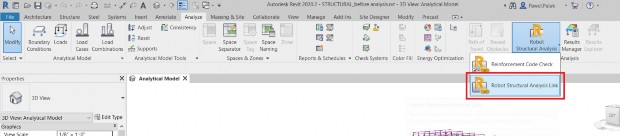
- Select Robot Structural Analysis Link from the Structural Analysis panel on the Analyze ribbon.
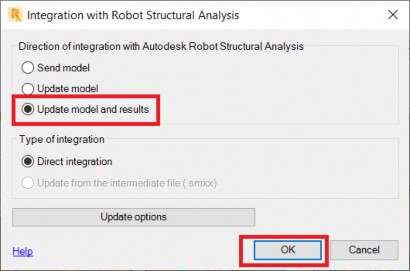
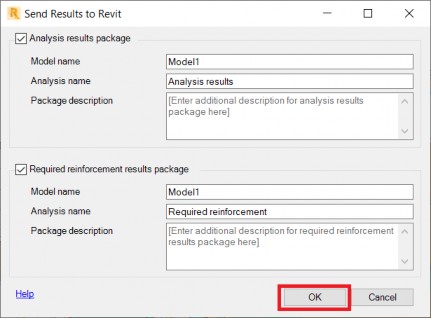
- The Integration with Robot Structural Analysis dialog box is opened. Activate Update model and results and select OK, as shown below.
- Select OK to accept sending results packages from Robot to Revit.
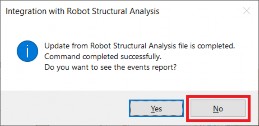
- At the end of the update the dialog box is displayed, informing about possible warnings or errors. Answer No.
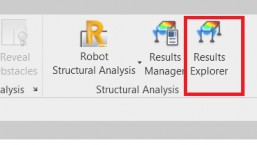
- Select Results Explorer from the Structural Analysis panel on the Analyze ribbon.
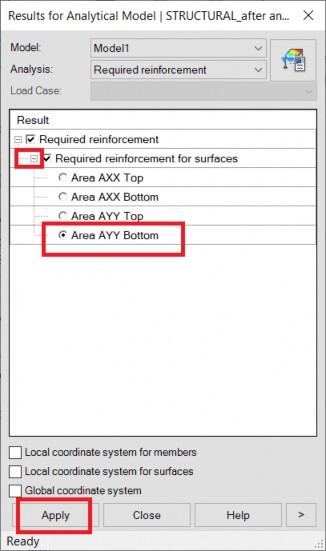
- The Results for Analytical Model dialog box is open. Click + in front of Required reinforcement for surfaces to open the sub-menu, activate Area AYY Bottom, and select Apply.
- Change in Analysis from Required reinforcement to Analysis results package, open the Moments sub-menu in Results for members, activate Moments My, and select Apply.
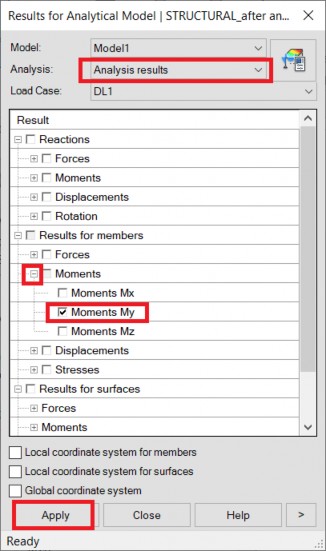
- Change Load case from DL1 to LL1, open the Moments sub-menu in Results for surfaces, activate Moments My, and select Apply.

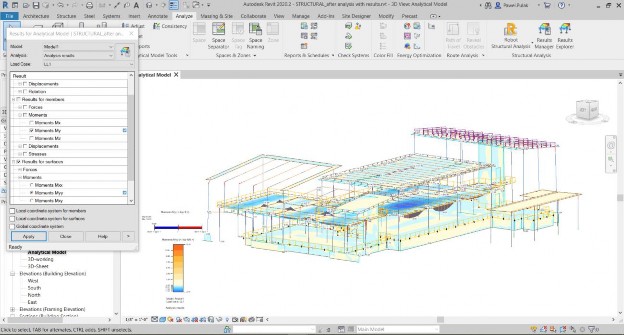
- Moment diagrams and moment maps are displayed, as below.
- Save the model with a new name using File > Save As > Project.


