Create advanced print views
In this unit, you will learn how to create an advance print view and view its output.
Any referenced datasets can be downloaded from "Module downloads" in the module overview.
Create Advanced Print Views - Exercise
In this exercise, you will view an out-of-the-box advanced print view configuration, then create a new one.
Task 1: View a Default Advanced Print View Configuration
- In the navigation menu, select Administration > Workspace Manager.
- Expand the Design Reviews workspace and select Advanced Print Views.
- In the Advanced Print Views list, there will be a Summary print view, which is included with the default tenant. (If you are not using the default tenant, your view list may differ from the one in the image.)

You can view the advanced view output through the workspace itself. - Navigate to the Design Reviews workspace (navigation menu > Workspaces > Product Development > Design Reviews).
- Select DR-000001 to open the item.
- Click the Print icon to see the advanced print views. (Your list of views may differ from the one shown in the image.)
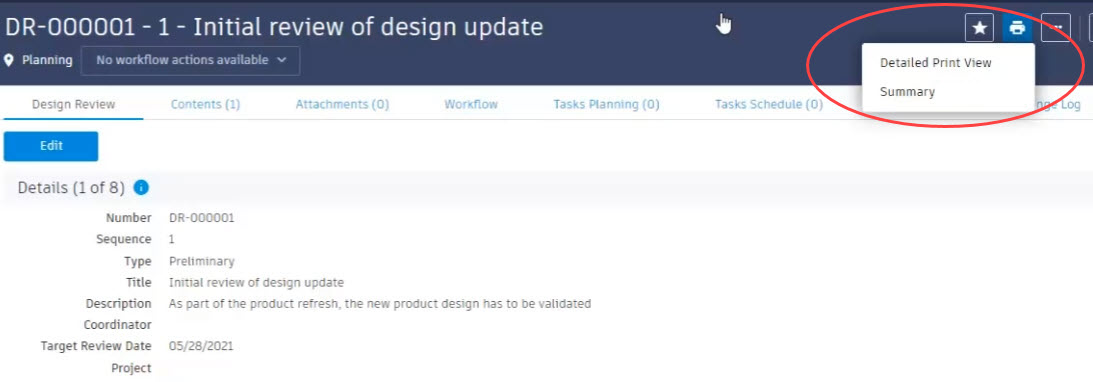
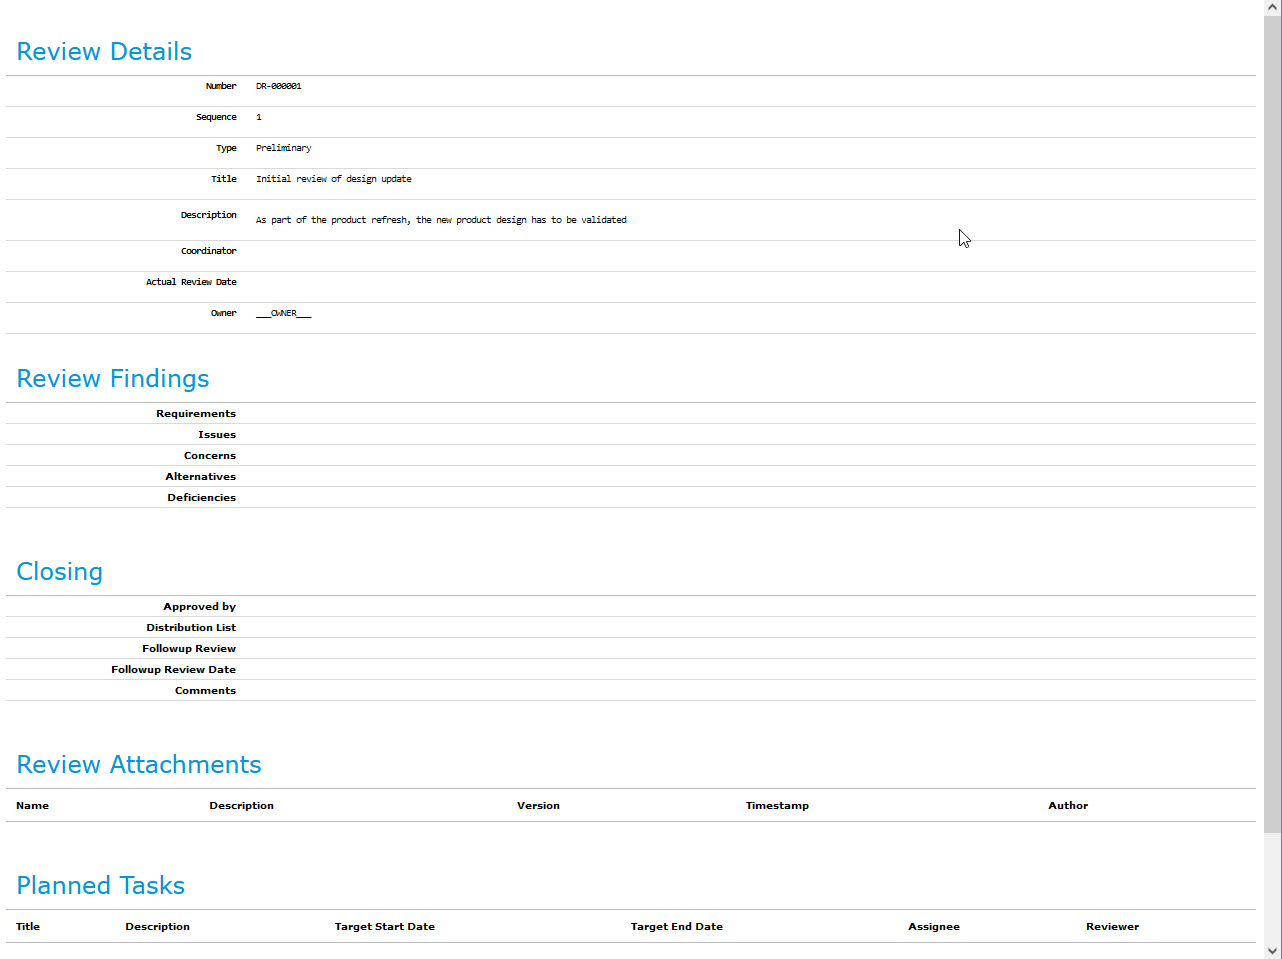
- Select the Summary print view to view its output.
Task 2: Create a New Advanced Print View
In this task, you will make a copy of the default Summary print view to create a new advanced print view.
- Navigate back to the Workspace Manager, expand the Design Reviews workspace, and select Advanced Print Views again.
- Click Edit next to the Summary print view.
- Click inside the view editor window, then press <Ctrl>+<A> to highlight all the entities. Click Copy.

- Click Cancel to return to the Advanced Print Views list.
- Click New Advanced Print View. For the Advanced Print View Name, enter New Design Reviews Summary.
- Click inside the view editor window and click Paste to paste the contents copied from the Summary print view.
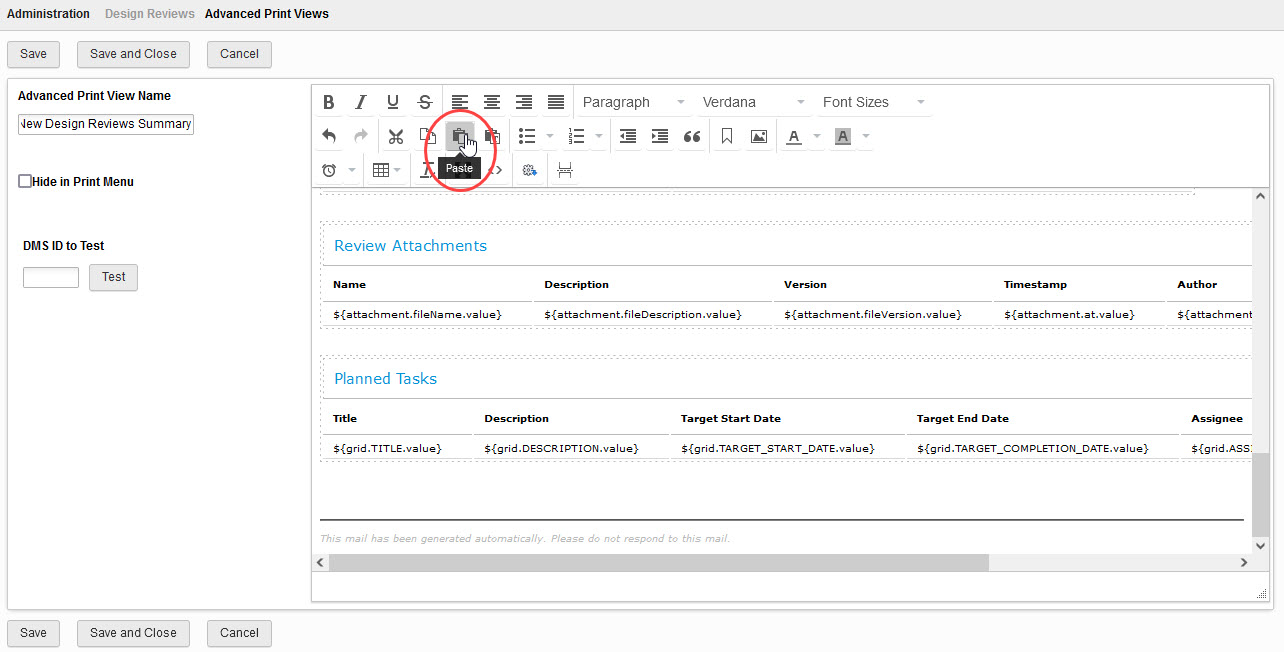
You will now make edits to the pasted view copy to customize this view. - Highlight the Review Attachments section and press <Delete> to remove it.
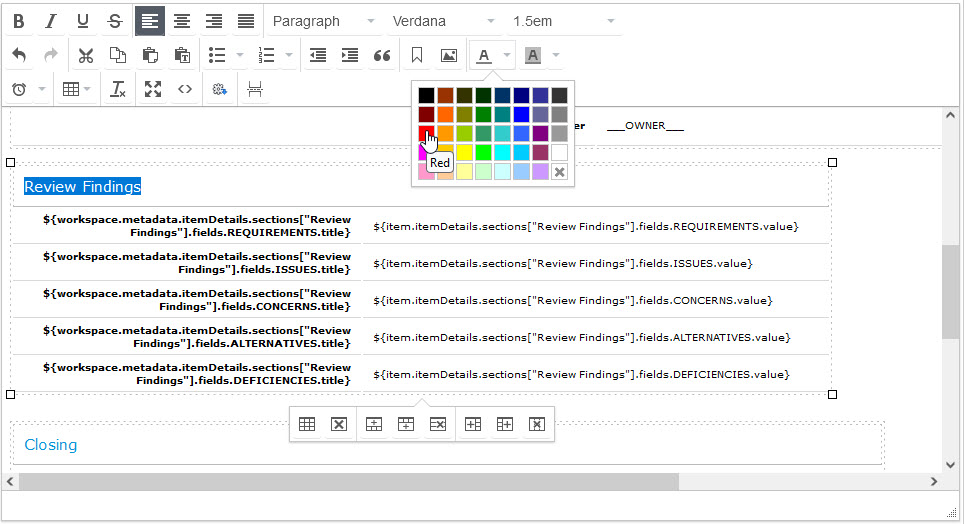
- Highlight the Review Findings heading then click the Text color icon in the toolbar and change the color to Red. Repeat the color change for the Review Details heading.
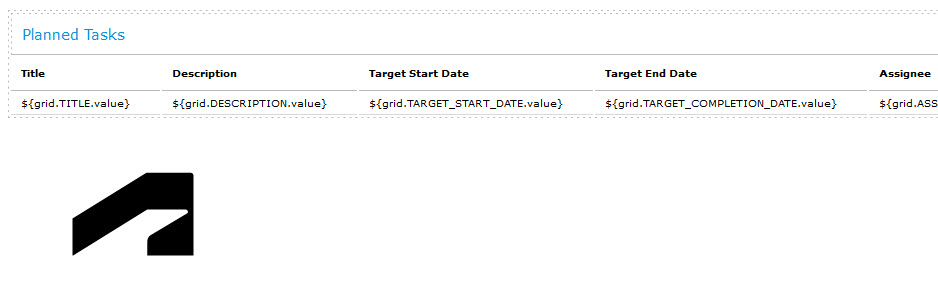
- Scroll to the bottom of the print view after the Planned Tasks section. Click the Insert/edit image icon to add an image to the view. In the Insert/edit image dialog, enter the following:
- Source: https://upload.wikimedia.org/wikipedia/commons/4/40/Autodesk_symbol.svg
- Image description: Logo
- Dimensions: 250 x 141 (Note: The dimensions are automatically filled in once the source is added. In this case, change the original 500 dimension to 250 and the other dimension will adjust as long as Constrain proportions is selected.)
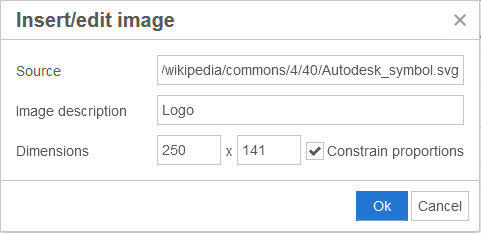
- Click Ok to finish. The image is added to the view.
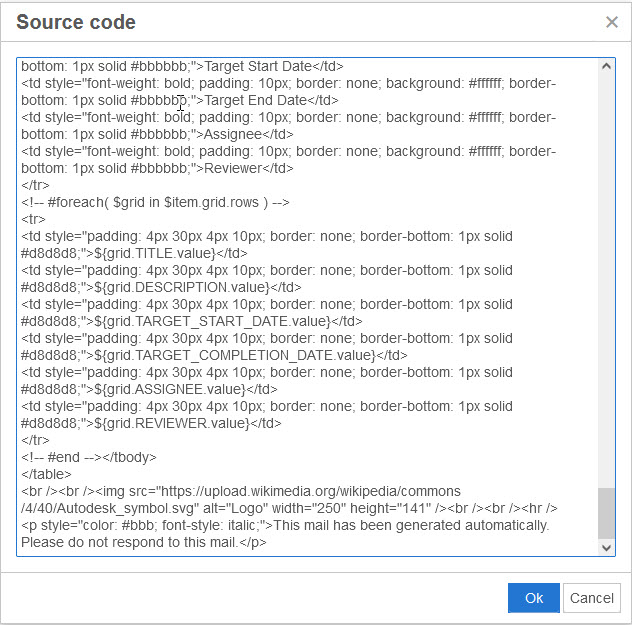
- You can also edit your print view by entering or pasting HTML code. To do this, click the Source code icon (<>) and enter or paste your HTML code into the Source code window. Click Ok when finished.
- When finished editing the view, click Save and Close.
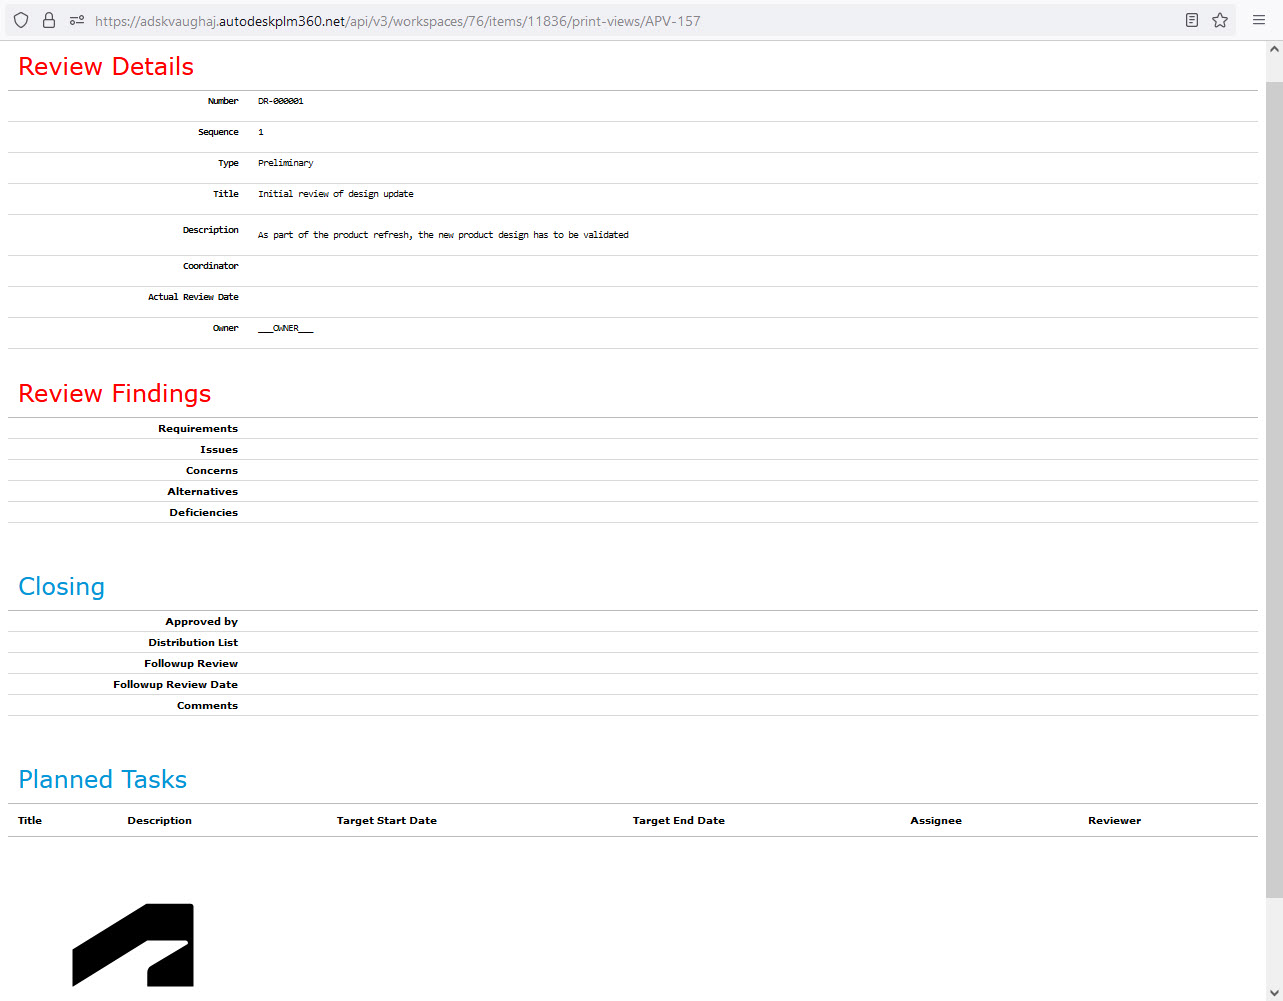
- Return to the Design Reviews workspace and select DR-000001 to open the item.
- Click the Print icon to see the available advanced print views, including the new view you just created.
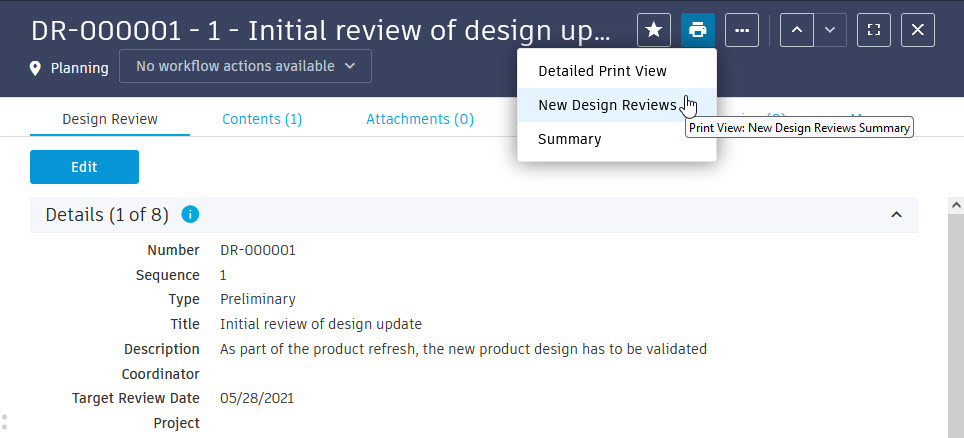
- Select New Design Reviews Summary to view the output, including the changed red headings and the added image.