00:01
Hey guys, welcome to the first objective of this course.
00:05
In this objective we are going to create, customize and share dashboards and cards.
00:12
Now before we do that,
00:13
let's first understand what is insight.
00:17
Insight is a product within the ACC platform
00:20
that gathers data from all other products on this platform
00:24
and provides analytics and predictive insights to get you up
00:28
to speed with what's going on in your project.
00:32
insight delivers unified project-level data, analytics and predictive insights
00:37
to help your team improve project efficiency.
00:42
how do we access Insight? As soon as you add a member
00:46
to a project and give them access to the Docs module,
00:50
they are automatically given access to insight as well.
00:54
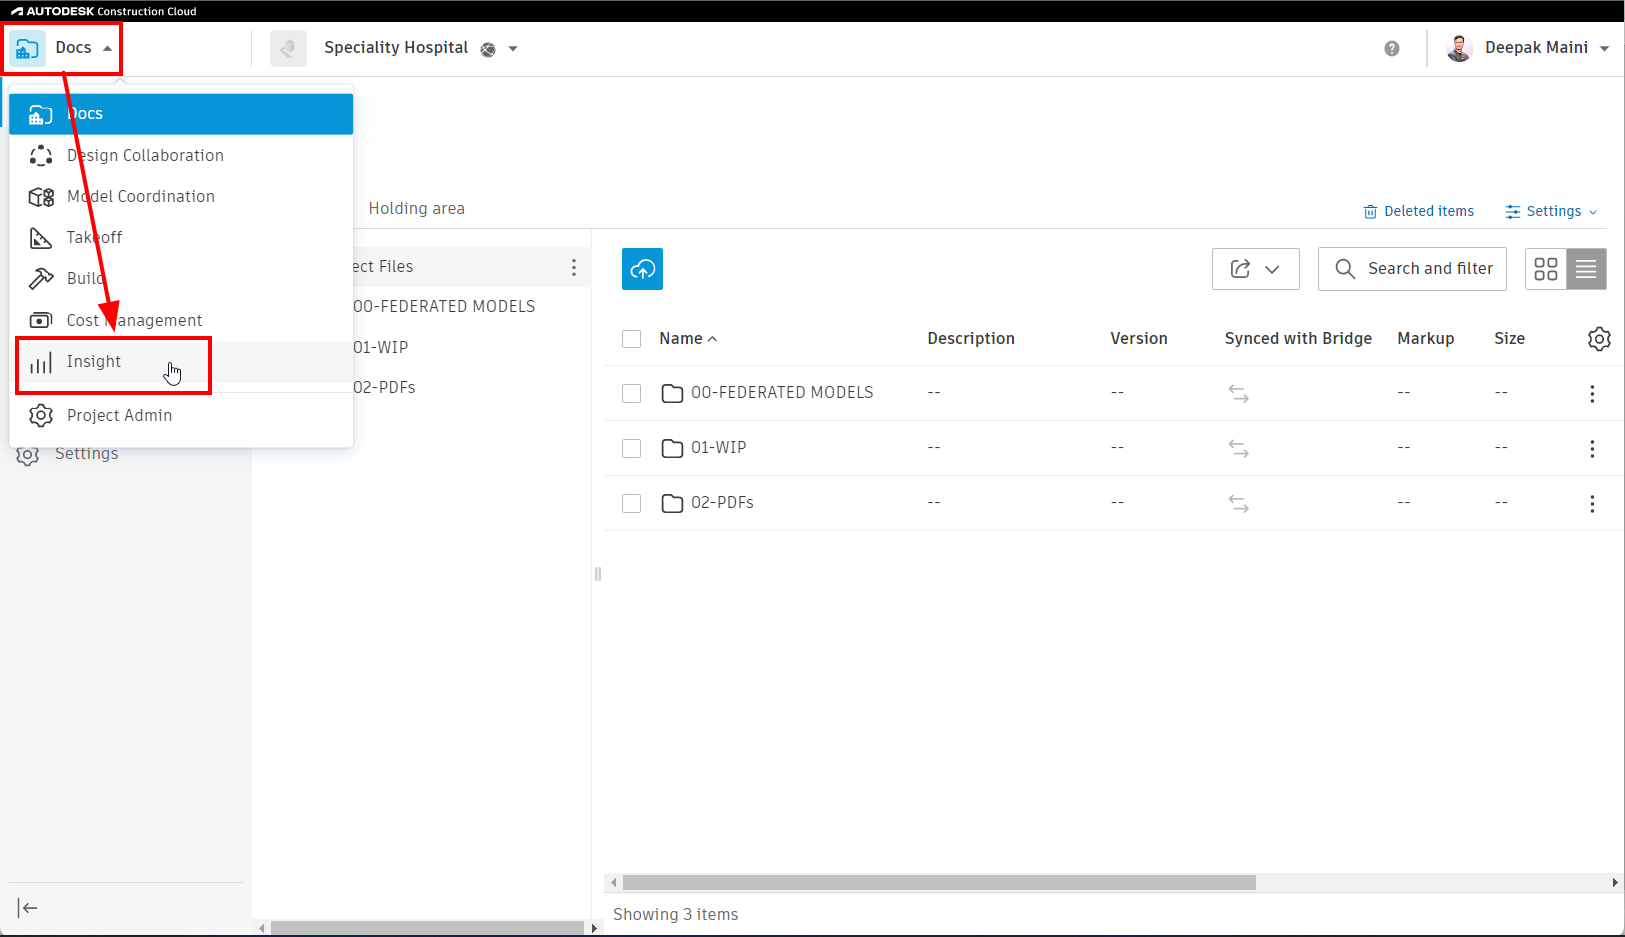
Once that happens you can go to the product picture on
00:57
the top left and then you can click insight from there.
01:01
Under Insight, your default view is a view called my dashboard.
01:07
This is your one stop shop to look at everything that's happening in your project.
01:12
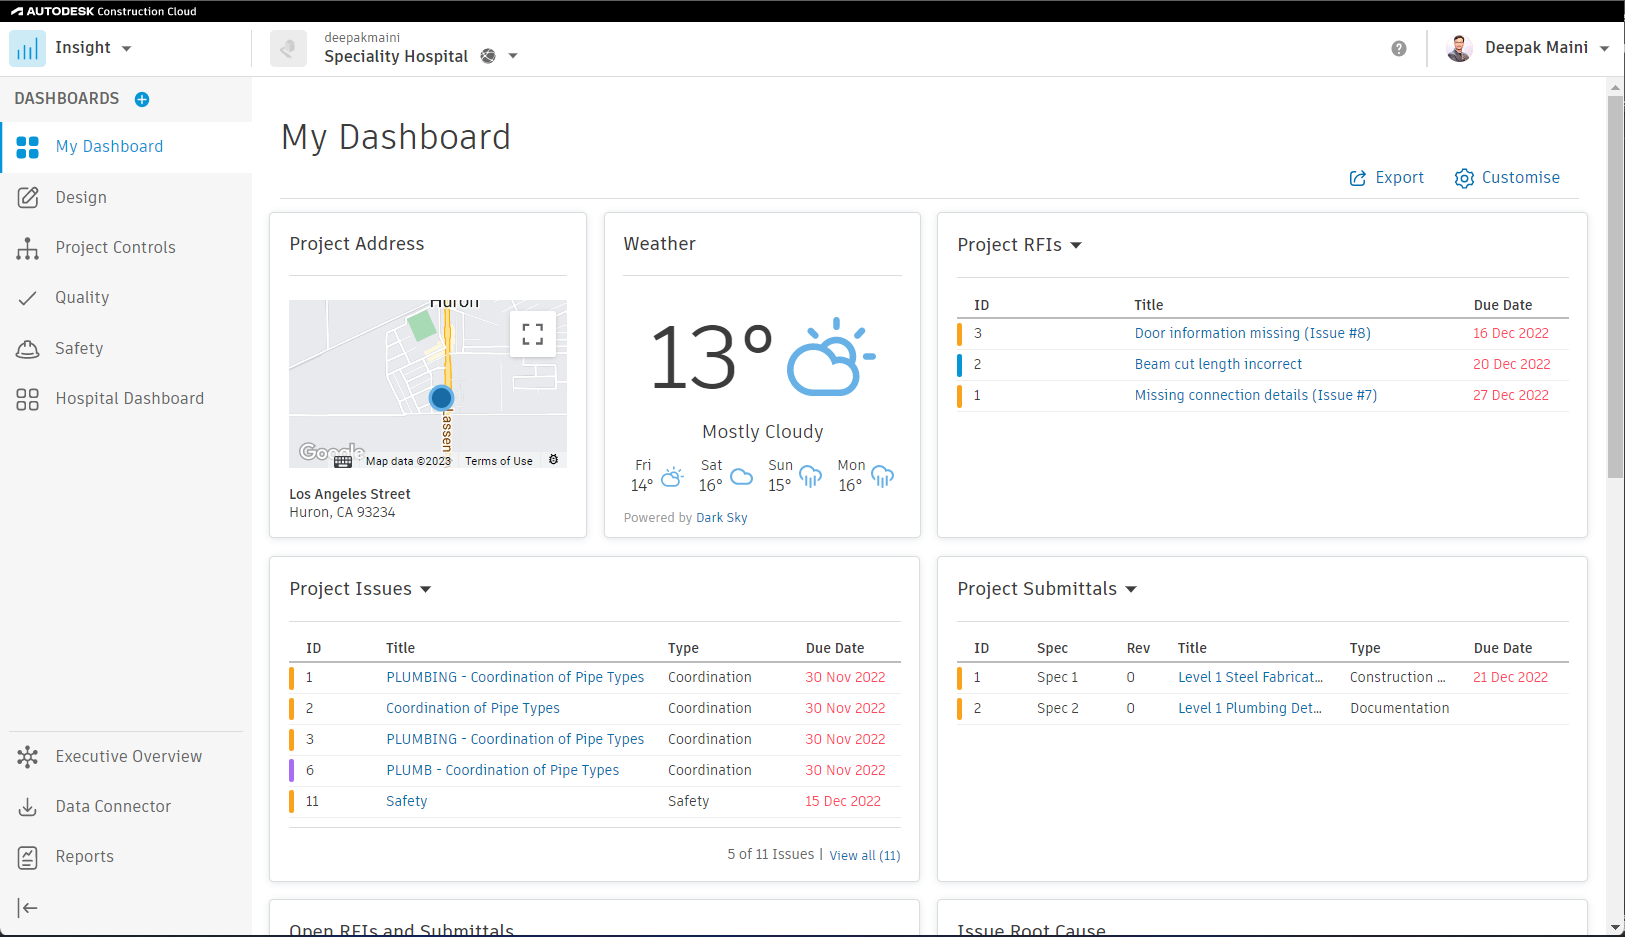
You can customize this view by clicking on customized on the top right,
01:17
you can also create new dashboards and you can export them.
01:21
So you can share these dashboards with your other team members.
01:26
Let's now jump over to the chrome window and take a look at the inside module.
01:31
Alright, so here I am in this project called specialty hospital,
01:35
I'm currently in Docs.
01:37
So if I click on this product picture on the top left,
01:41
It now takes me to the insight module
01:44
and my default view here is called my dashboard.
01:48
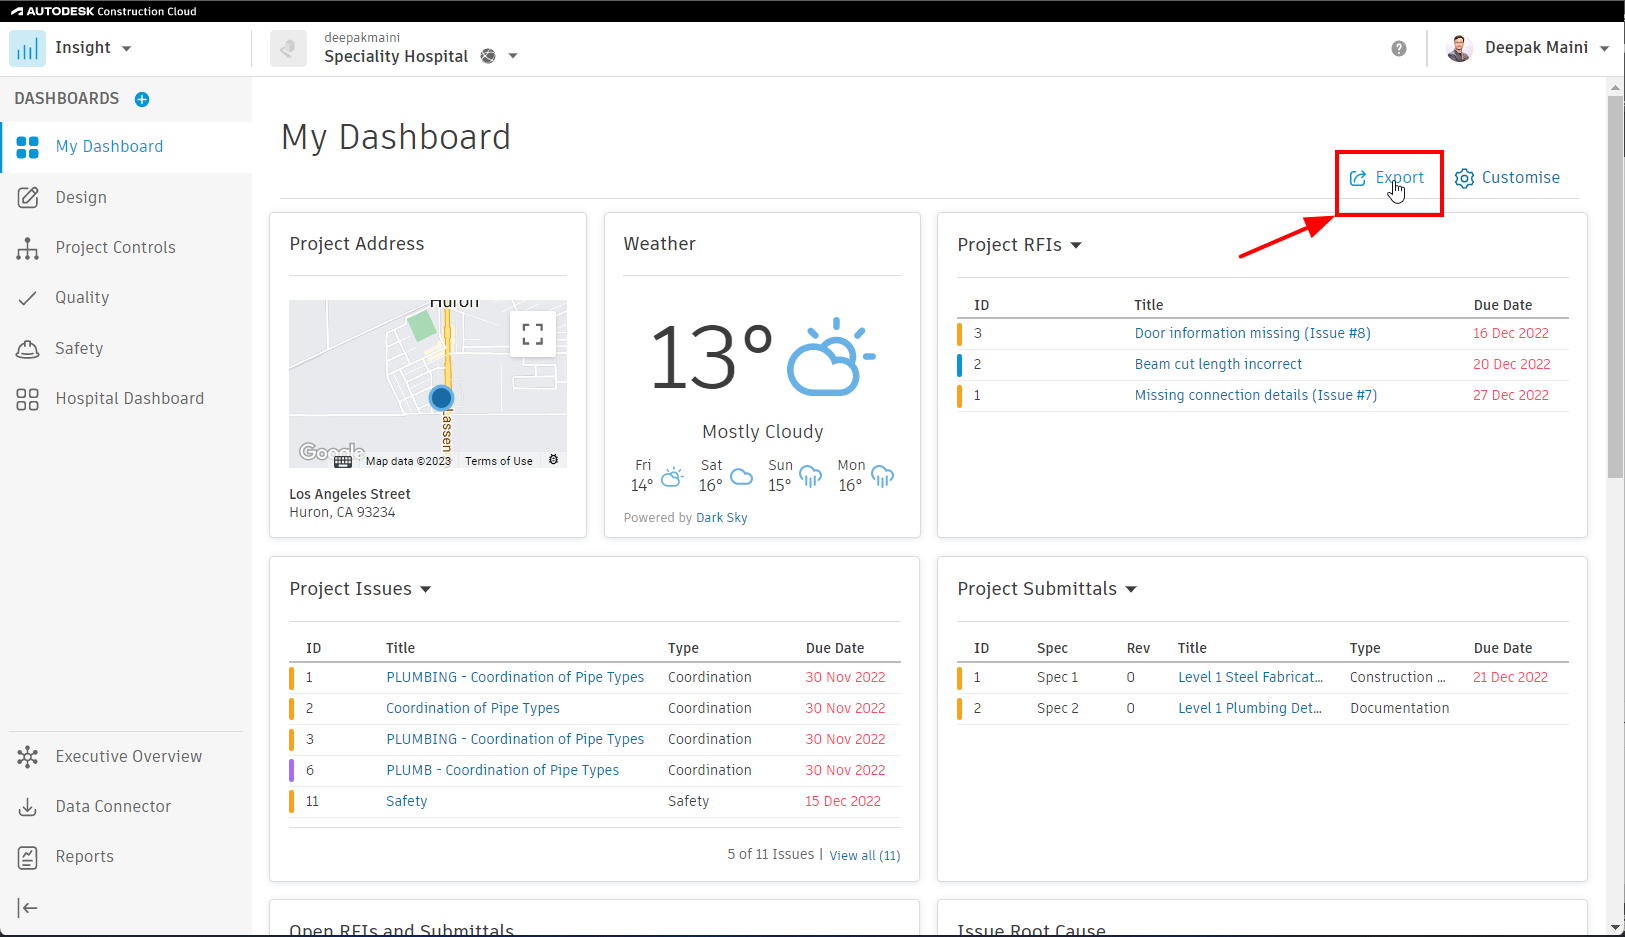
Under my dashboard I can see the project address,
01:51
I can see weather and I can see a few cards here that are the default cards.
01:57
The default cards include Project RFIs
01:60
Project Submittals, Project Issues, Open RFIs and Submittals and so on.
02:05
Please note that this project also has autodesk build enabled.
02:10
That's the reason I can see RFIs and Submittals.
02:13
From the left navigation, I can look at the design analytics,
02:19
I can look at Quality and Safety analytics
02:23
but let's start with customizing my dashboard.
02:26
For that. I'll click on the customise option on the top right.
02:30
I can now go to card library. These are all the cards that are available by default.
02:35
One of the cards I'm a big fan of is issues by the root causes. So if I scroll down here,
02:42
I'm going to select that card,
02:45
which is this one here.
02:48
I'll click on add card.
02:51
This card is now added here.
02:53
I can now easily see all the issues by the root causes.
02:56
Because I'm in the customise mode
02:58
still, I can select this card and I can drag and drop it wherever I want it to be placed.
03:04
I can even drag and drop it above the submittals card if I want.
03:08
But in this case I'm happy with this card here.
03:11
Now this project doesn't have design collaboration enabled.
03:14
So I don't need design packages. I can turn that card off.
03:20
The other card that I'm a big fan of is adding this card here called
03:24
Autodesk Construction Cloud
03:26
and I'm going to use this card
03:28
to display the Federated 3D Model of my design.
03:31
For that, let me first display the Docs module.
03:36
I'm going to open it in the new tab
03:39
and now I'm gonna go and select configure.
03:42
It says, what's the card title? I'm going to call this Federated Model
03:47
Now it's asking me for the Document Management URL
03:50
for that I'll go to the docs tab. I'll go to the Federated Model
03:56
and this is a marvelous Federated Model that I want to display there.
03:59
And all I need to do is copy this address at
04:02
the top and I'm going to paste that address here.
04:08
And now on my dashboard I can actually see the Federated model of the project as well.
04:15
Once I've configured this,
04:17
I can go and select save, this is really important.
04:19
Otherwise it will not save your customization.
04:24
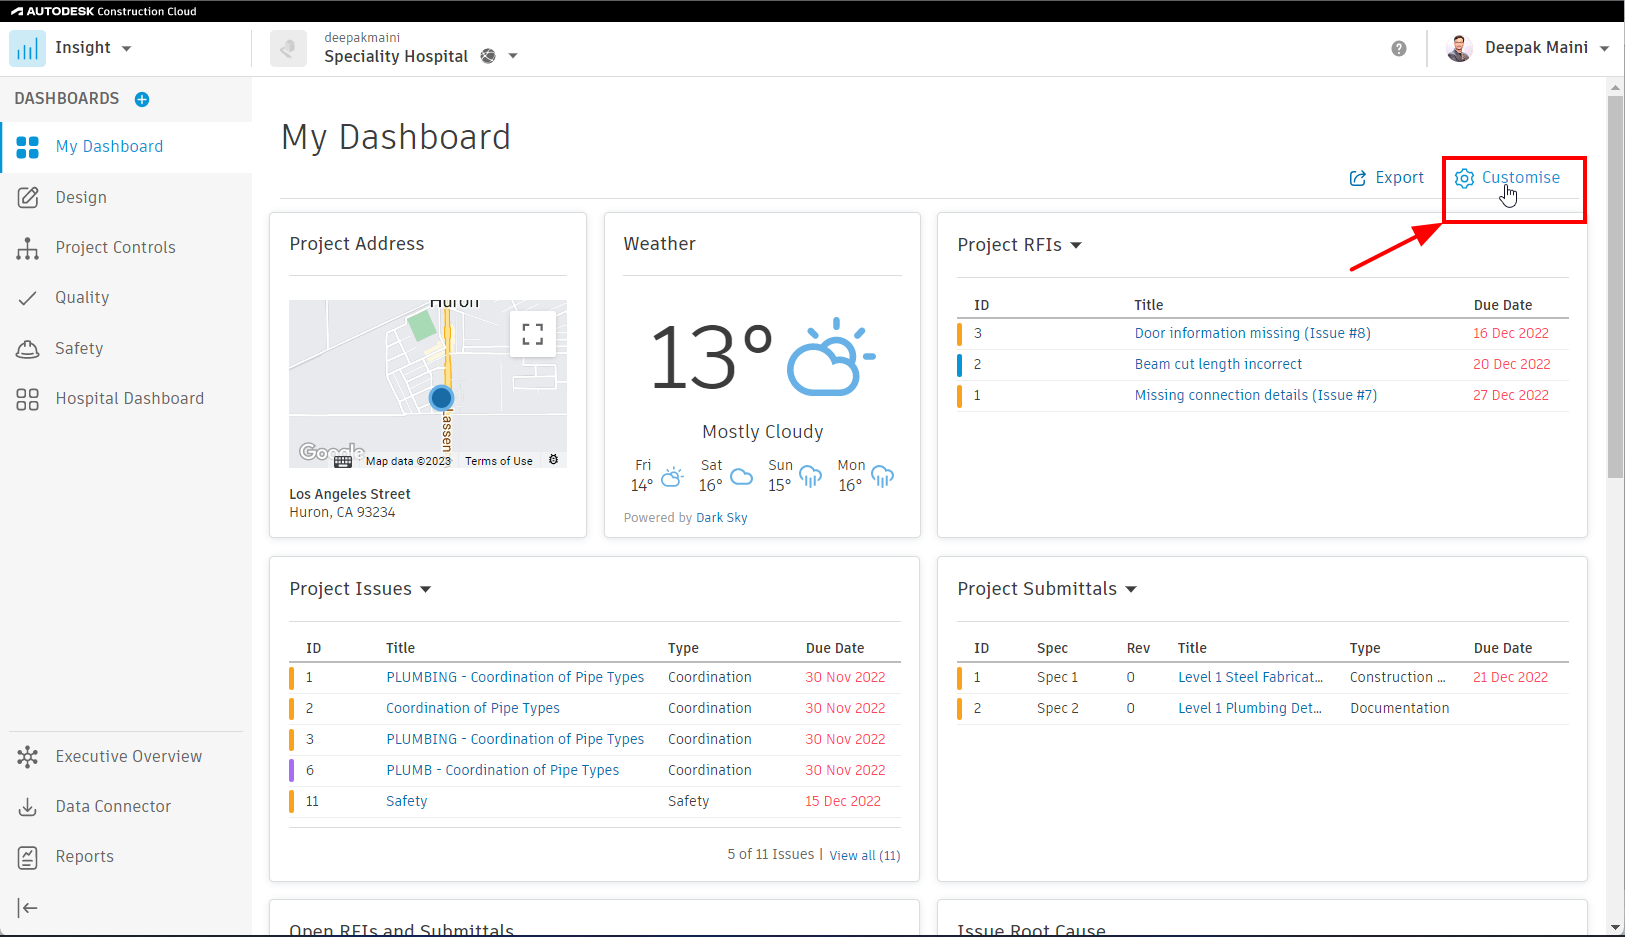
Now, if I want to share this dashboard with the rest of the team members,
04:28
I can simply click on the export option here.
04:31
It lets me to share with which team member. Again,
04:34
I can share it with companiens, roles or individual team members.
04:38
In this case I want to share it with all these companies that are part of my project.
04:45
It now sends an email to all these
04:47
team members that said a dashboard exported for them.
04:51
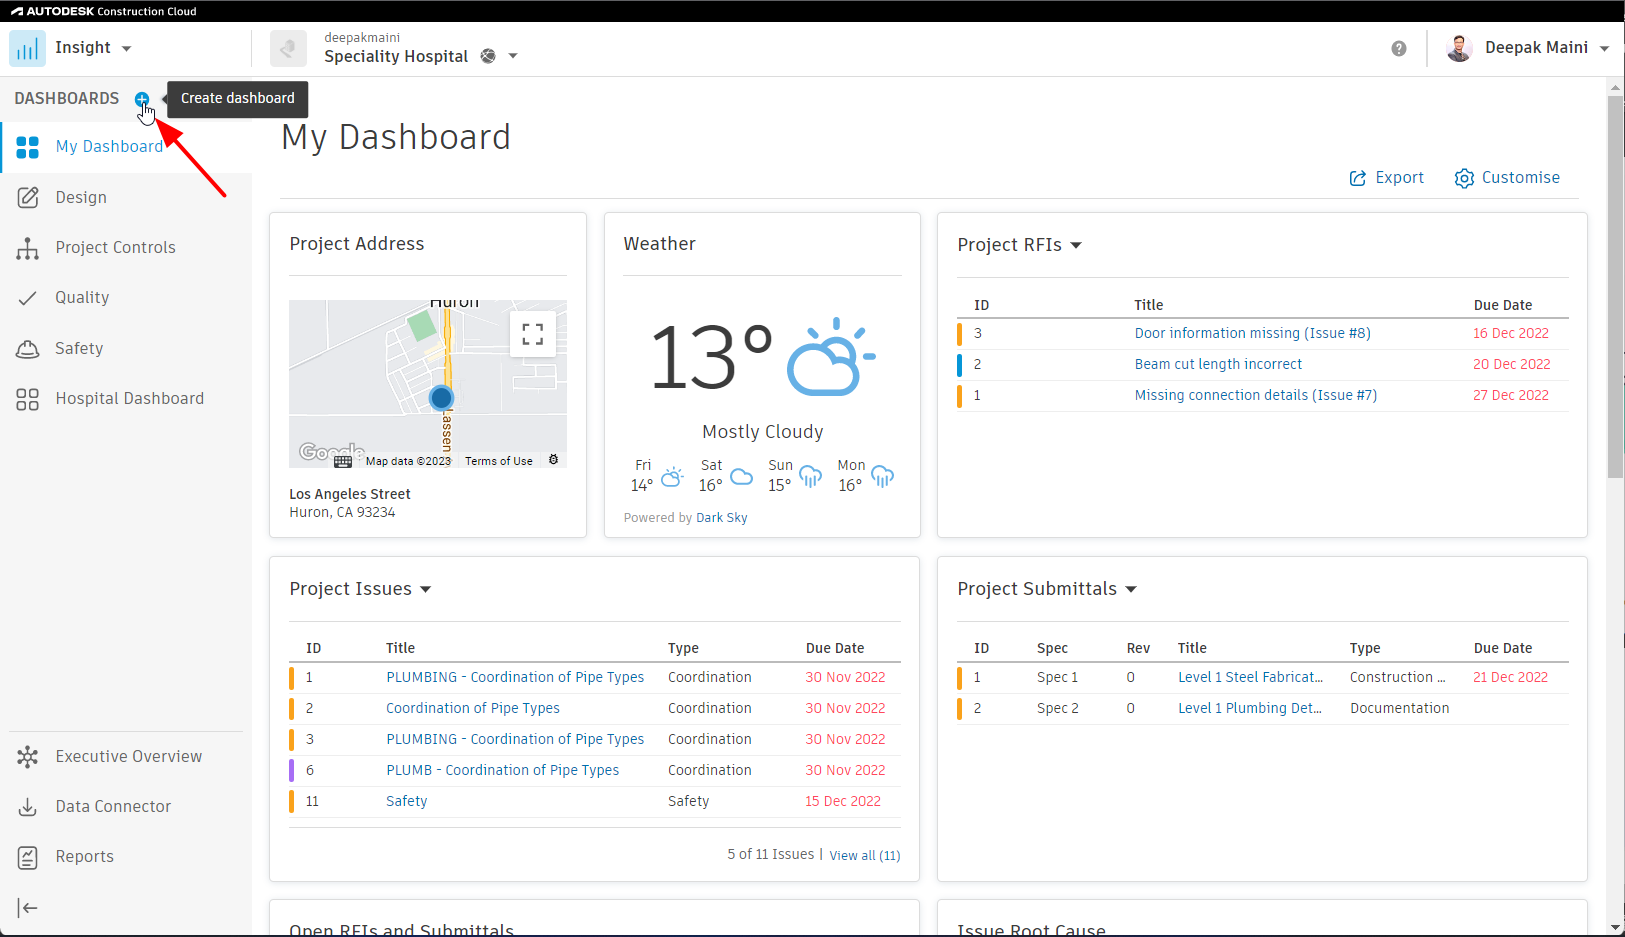
Now going to the dashboards on the top left,
04:54
I can click on this icon here that says create dashboard.
04:58
I can now rename this dashboard,
04:60
I could call it as Hospital Dashboard.
05:03
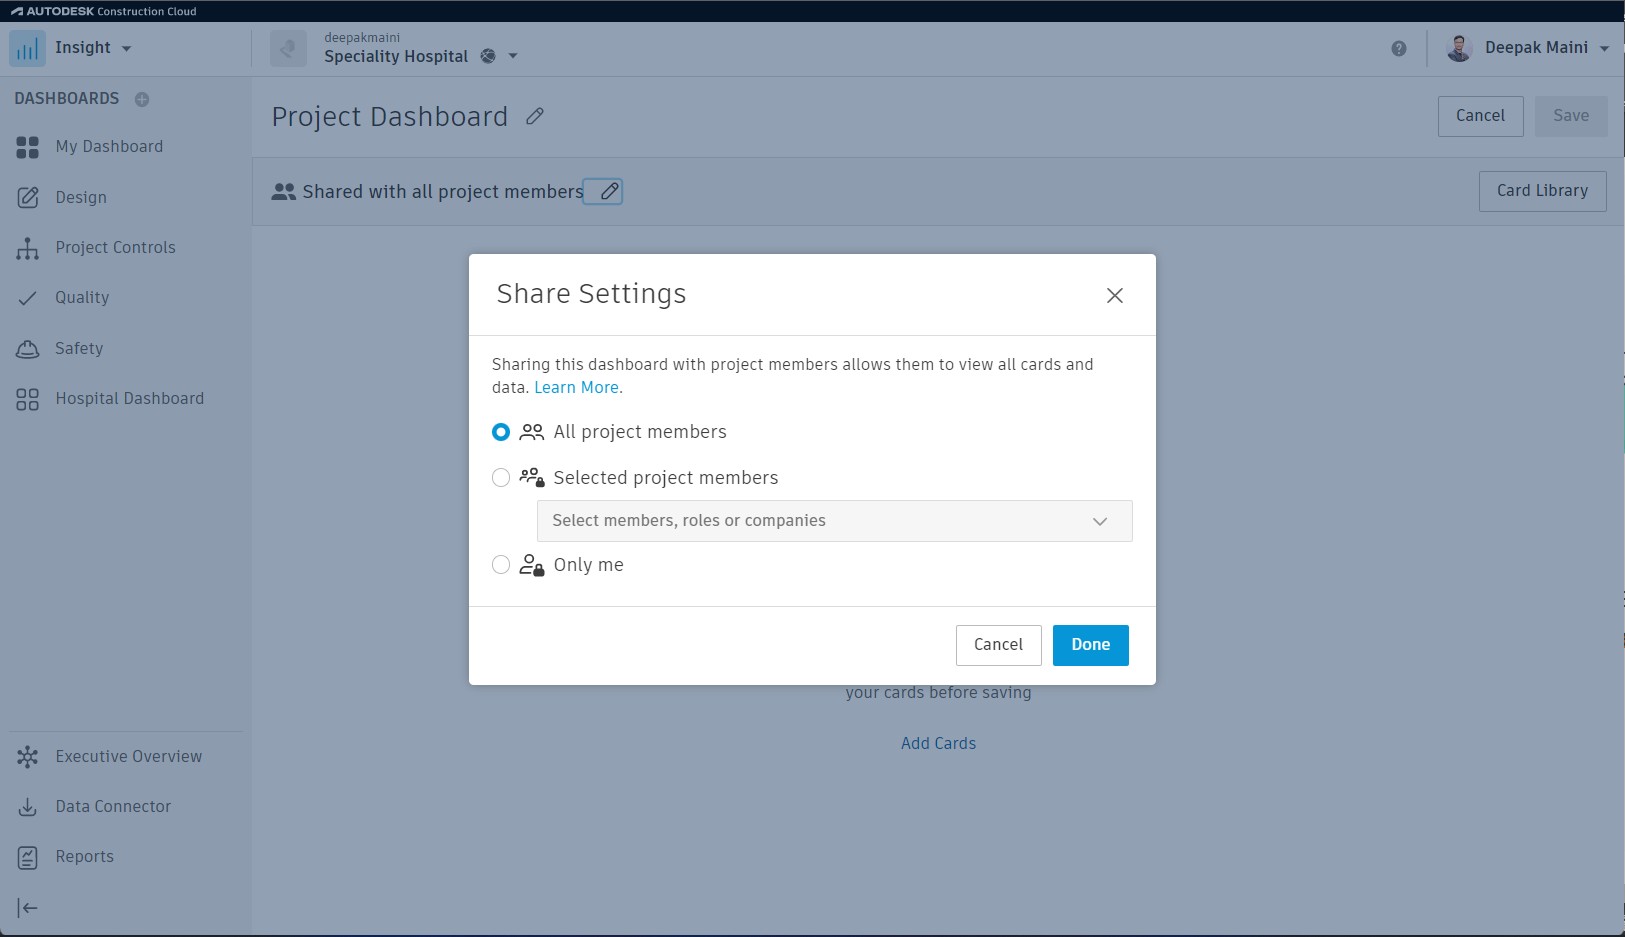
I can also configure the setting whether I want to share it with
05:06
all project members or selected project members or is it only for me?
05:11
In this case I want to share it with all project members. I'll go done.
05:15
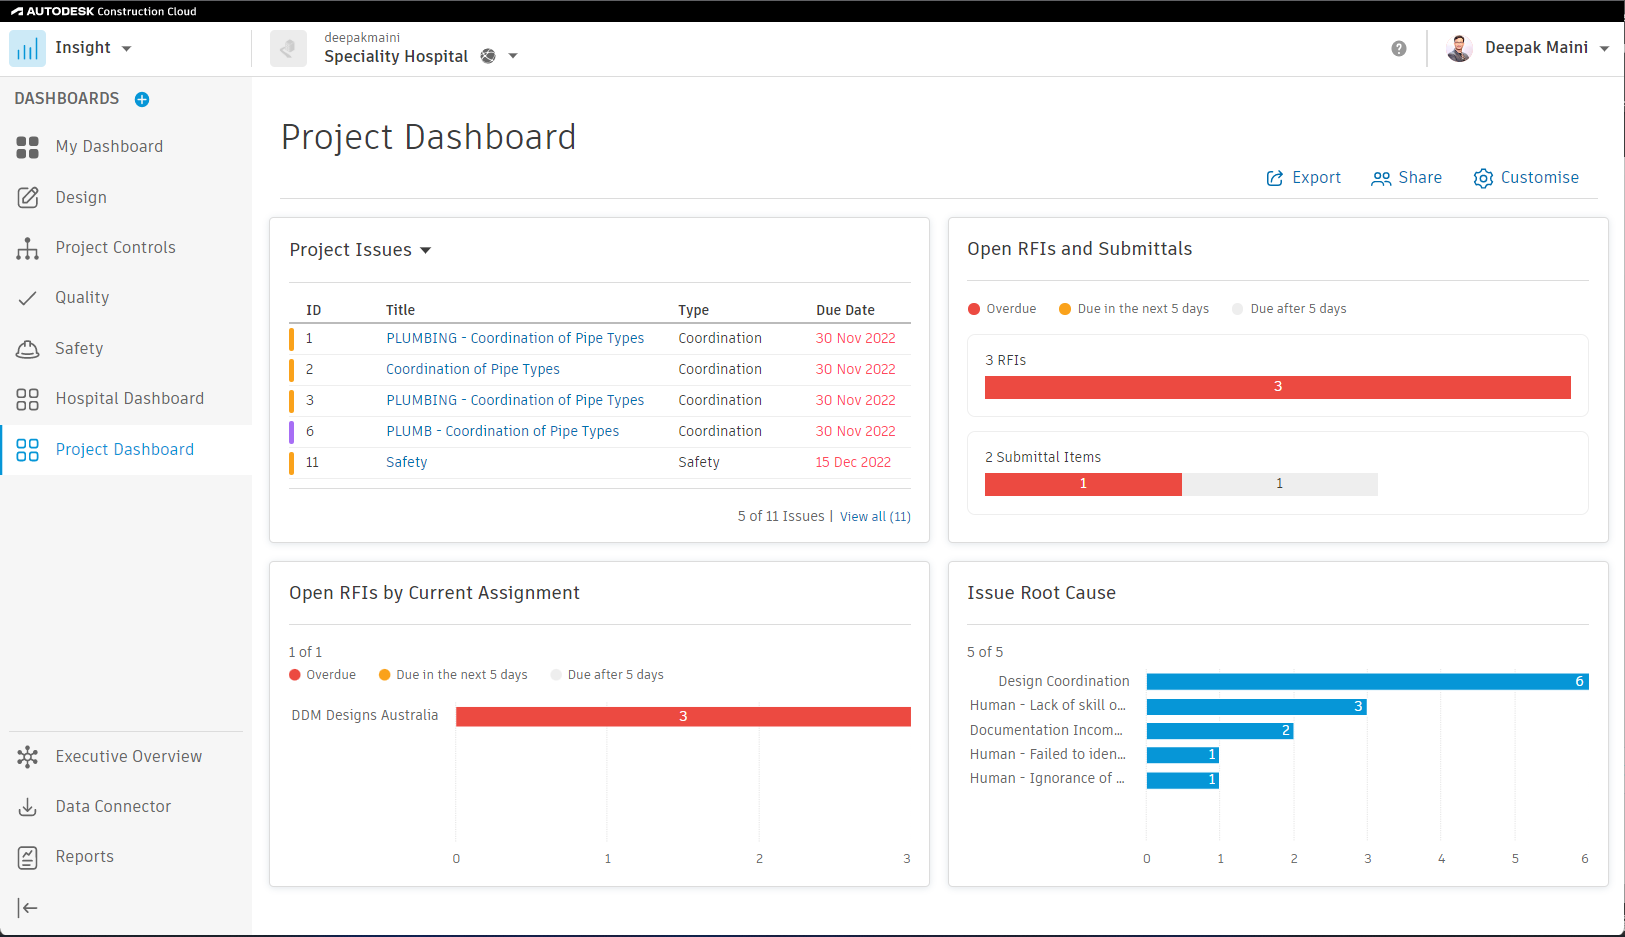
and now I can start adding cards. I'll start with issues.
05:20
Then I'm gonna add this card here.
05:22
Similarly open RFIs And Submitttals, All Issues
05:26
Activity: Added VS Closed and Issue Root Causes.
05:32
all these cards are added and now I can customize it
05:35
lets in this case I want to move this card here,
05:38
I want to move the Open RFIs and Submittals here and that's
05:43
how I want this dashboard to look like I can now go and select save
05:48
again, I can export it, I can share it and so on.
05:51
And this new dashboard is listed here as Hospital Dashboard
05:56
so at any point of time I can switch between the hospital dashboard and my dashboard,
06:04
That's all I have in this objective. I'll see you in the next one, cheers.