00:01
A picture is worth a thousand words.
00:03
Seeing is believing.
00:05
These adages clearly point out that a well rendered image can be a very effective tool for presenting your design intent to clients.
00:14
And Revit does a pretty good job at rendering.
00:18
Now, at some point perhaps, Revit will be able to render designated views automatically.
00:25
But for now, let's look at the process of rendering in Revit,
00:29
applying materials and lighting for effective presentation tools.
00:35
In this video, we'll be looking at setting up views for Revit for rendering purposes.
00:41
So, let's jump into Revit.
00:45
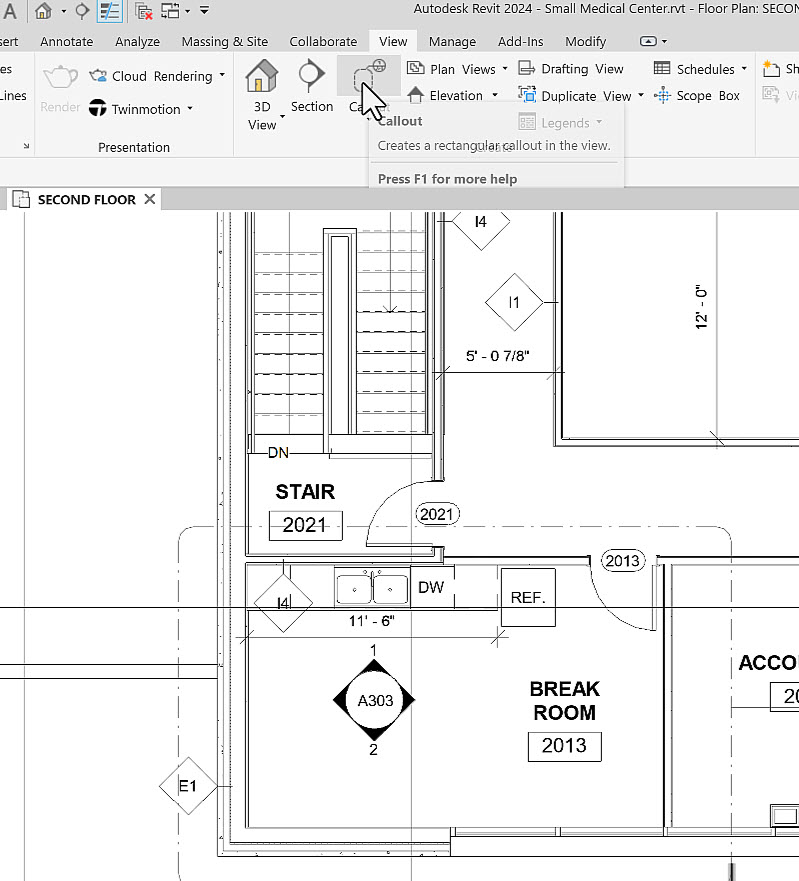
Here, in Revit 2024, we'll open up the small medical center model.
00:51
On the second floor, there is a break room that I want to create a rendering of to be able to present it to my client.
00:58
So, I open up the second-floor floorplan and here in the lower left corner is the break room.
01:04
To generate perspectives, I don't really like working on the main floor plan.
01:09
So therefore, I'm going to create a call out for the break room on which I can make my settings,
01:15
and it won't affect the overall second floor floorplan.
01:19
So, I go to my view tab and under my create panel,
01:23
I click on call out and let's just draw a rectangle around this break room.
01:29
And if I double click on this bubble for the callout, I launch the view.
01:37
By default, it's called Second Floor - Callout 1.
01:40
So, let's change that.
01:42
In my properties, I scroll down to view name and call it SECOND FLOOR - BREAKROOM.
01:50
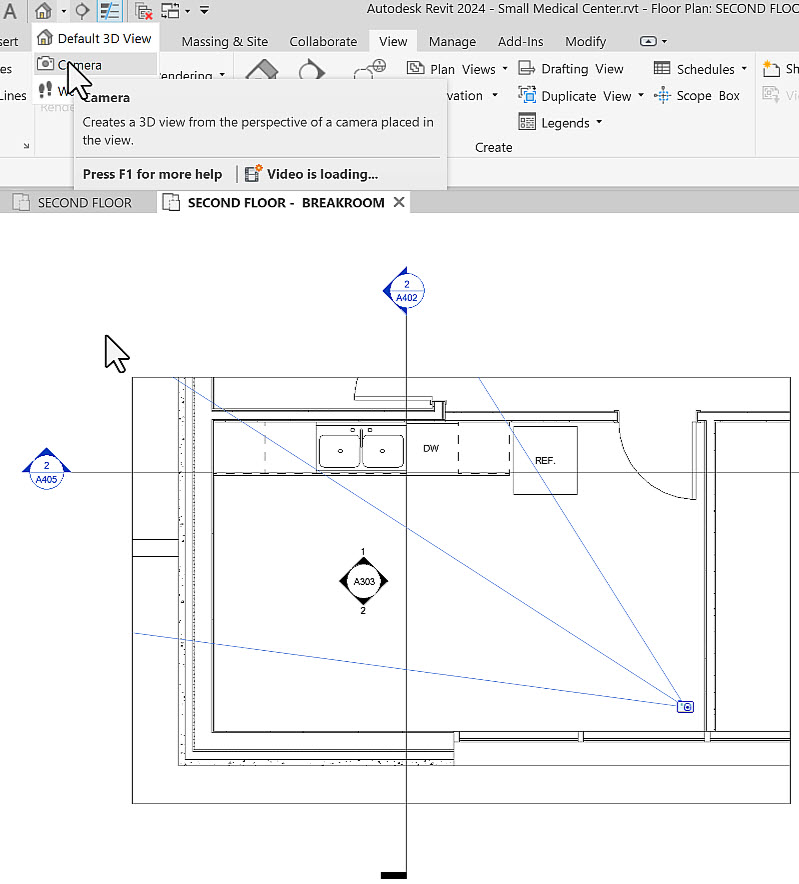
I have two options to place a camera.
01:53
One can be in my view tab on the 3D view pulldown camera,
01:58
or the second is in my quick access bar on my 3D default pull down and camera.
02:07
It's prompting me for the location of the camera and noticing the options I can control the offset.
02:14
Currently, it's 5 ft 6 inches from the second-floor level.
02:19
So, I position the camera here in the corner and now it's prompting me for the target.
02:25
You want to make sure that you include everything.
02:29
So, I'm going to stretch my camera target out beyond the walls to make sure that I have all the walls.
02:37
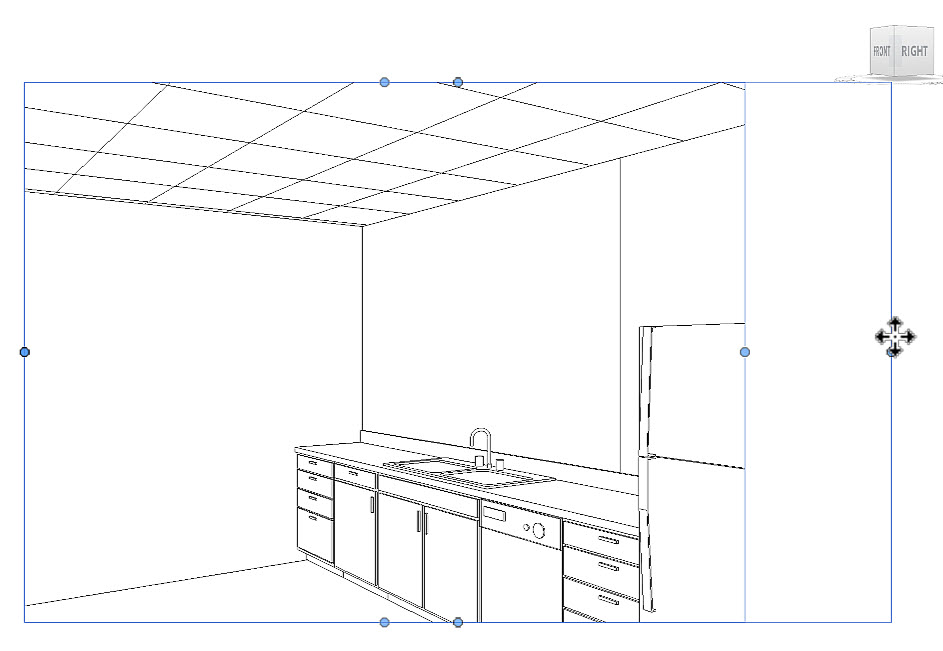
So, here's the resulting 3D view.
02:40
First thing I want to do again is to change the view name from 3D view 1 to SECOND FLOOR - BREAKROOM,
02:48
which will be housed under the 3D views.
02:52
So, on my project browser under 3D views, we see second floor break room.
02:58
I click on the crop region and I can enlarge the crop region by dragging the grips.
03:04
You notice each time I do that the view gets a little bit more distorted.
03:08
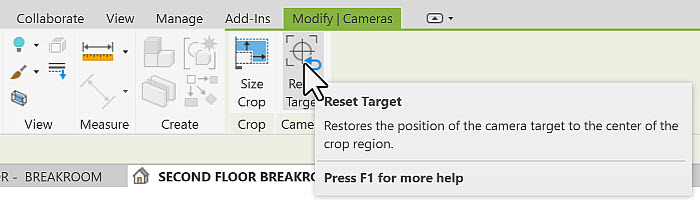
I can reset that by going to my contextual ribbon under modify cameras and click on "Reset target".
03:17
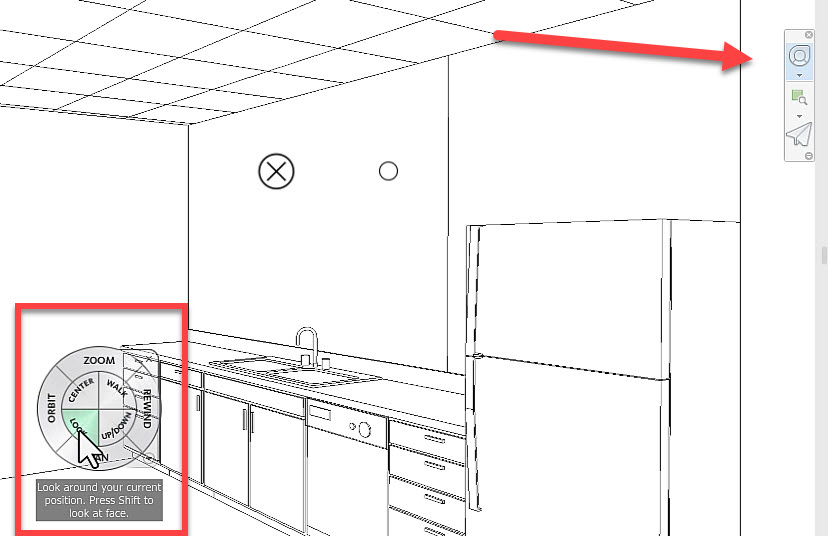
To fine tune my view, I like using my navigation wheel. What I can do is I can change my vantage point by clicking on "Look",
03:26
clicking and dragging and looking around.
03:32
I can move my camera up and down and I can walk by changing the camera position.
03:42
I can also zoom in and out and then I click on the X in the upper right corner to close out of my navigation wheel.
03:52
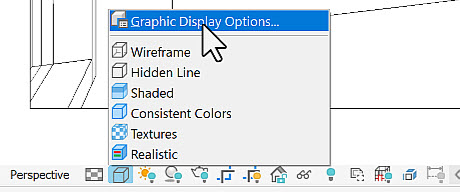
Next thing I want to do is to change my visual style.
03:56
I could use one of these presets.
04:00
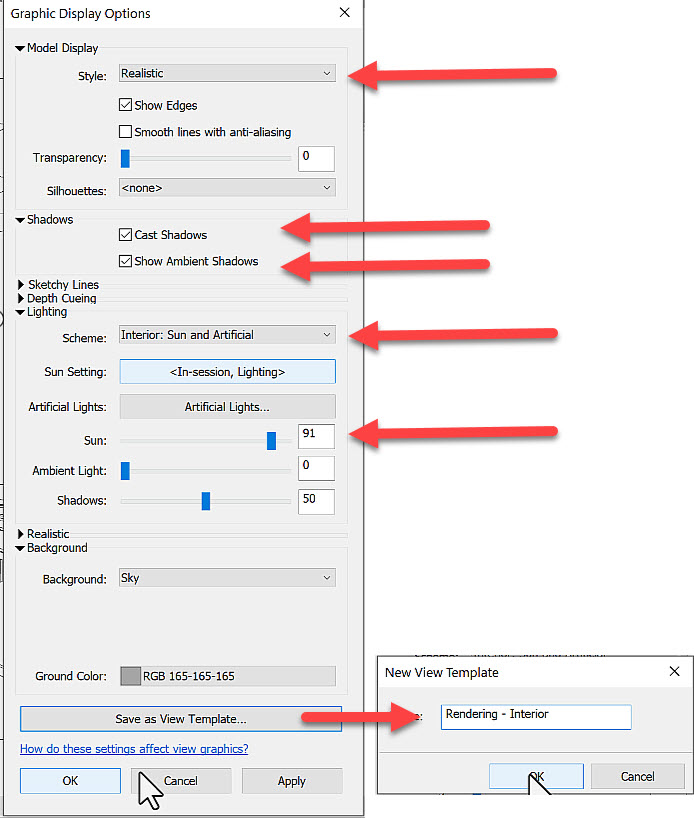
However, I'm going to go to graphic display options and fine tune this.
04:06
My style is going to be set to realistic. I expand shadows and click on "Cast Shadows",
04:15
"Show Ambient Shadows". For my lighting,
04:21
I'm going to have it set to Interior Sun and Artificial.
04:27
I'll crank up my sun intensity to about 90%. For my background,
04:35
I want to set my background to sky, even though this is an interior perspective through the windows,
04:41
you'll be able to see the sky.
04:44
I want to save this as a view template rendering interior so I can use it for other perspectives.
04:53
Confirm that it will be stored under my 3D views and walkthrough.
05:01
Click "Apply" and "OK".
05:05
We see that some of the materials have already been applied.
05:09
For example, my countertop has some wood grain on it.
05:14
My floor looks like concrete but I want to fine tune the materials which will be done in the next video.