Exercise: Share Packages with Additional Documents
Task 1: Copying the Supporting Documents in the Team’s Folder on Docs
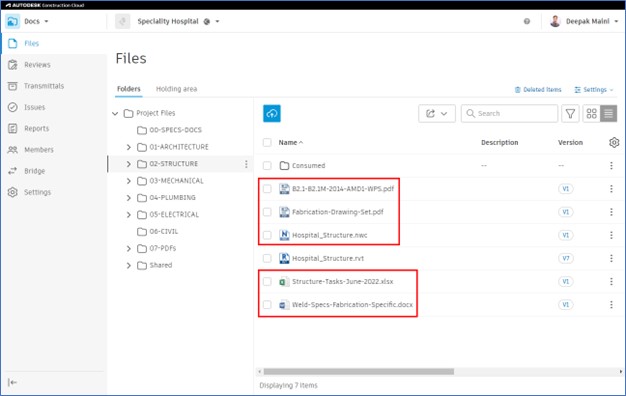
- Navigate to your Team folder in the Docs environment.
- Copy all the supporting documents that you want to include with the package into this folder, as shown in the figure below.
Task 2: Creating a Package
- From the top center of the window, click on the handle […] and then click on the down arrow to expand the timeline; your team’s lane is at the bottom of the list.
- Hover the cursor over the filled square at the end of your team lane to ensure the latest package was published recently.
- Click on the
 icon at the end of your team lane to start the process of creating a package.
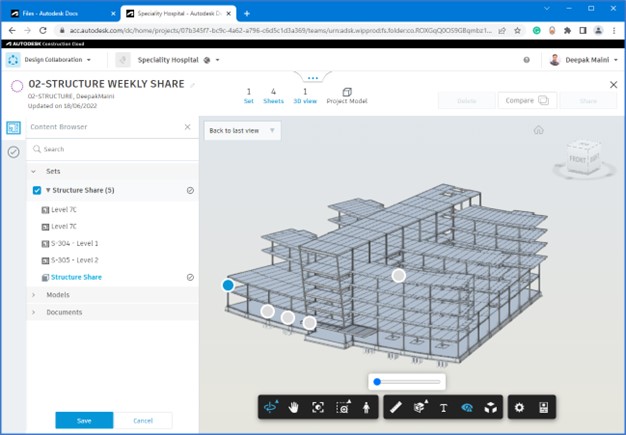
- Rename the package on the top left.
- Expand the Sets section and select the publish sets to share, as shown in the image below.
Task 3: Including Supporting Documents
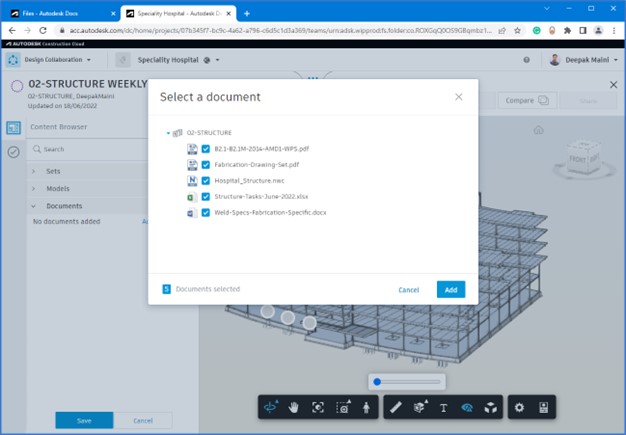
- Expand the Documents section from the left.
- Click Add documents. The Select a document window is displayed.
- Expand your Team’s folder and select all the supporting documents, as shown in the image below.
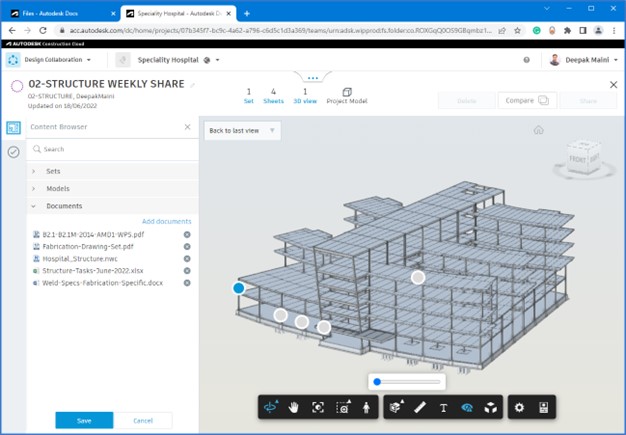
- Click Add. The support documents are added to the package and you are returned to the package with the Documents section showing all the selected supporting documents, as shown in the figure below.
- Click Save from the bottom left.
- From the top right, click Share.
- In the Share package window, enter the description for the package, as shown below.
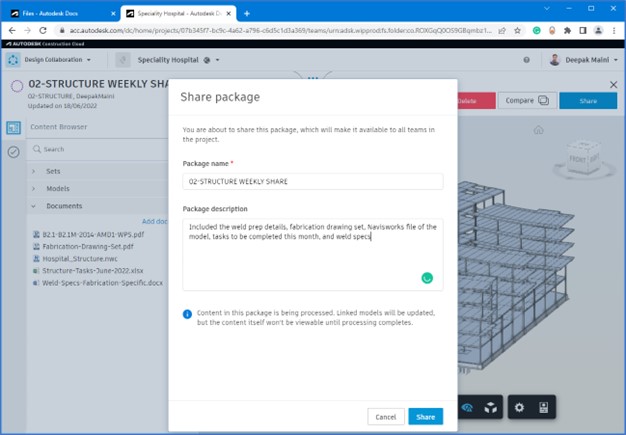
- Click Share. The package is shared with the rest of the teams.
Tip: You can return to the Docs environment and look at the model in the Shared folder to review the content of the package.


