Exercise: Create and Share Packages with Revit Data
Task 1: Accessing the Design Collaboration Module
- Using the Google Chrome window, log on to your ACC project.
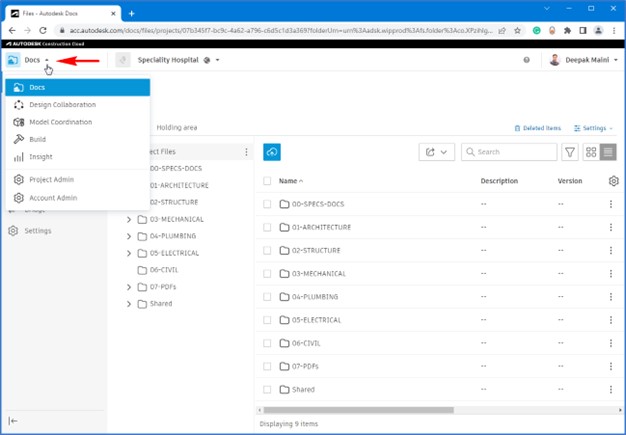
- Click on the product picker on the top left to display various products you have access to on this project, as shown below.
- Right-click on Design Collaboration and open it in a new tab.
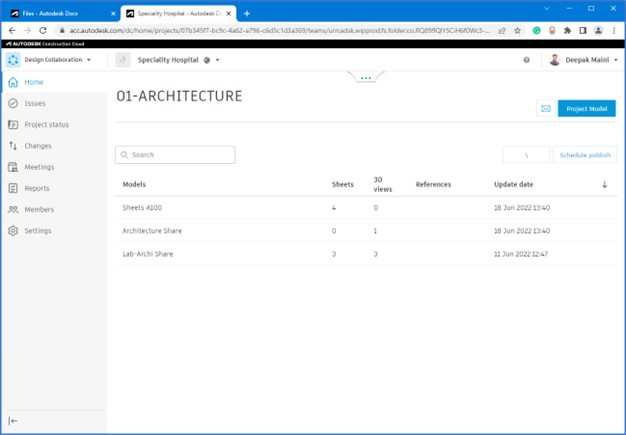
- Click on the new tab to navigate to the Design Collaboration module, as shown in the figure below.
Task 2: Creating and Sharing a Package with Revit Data
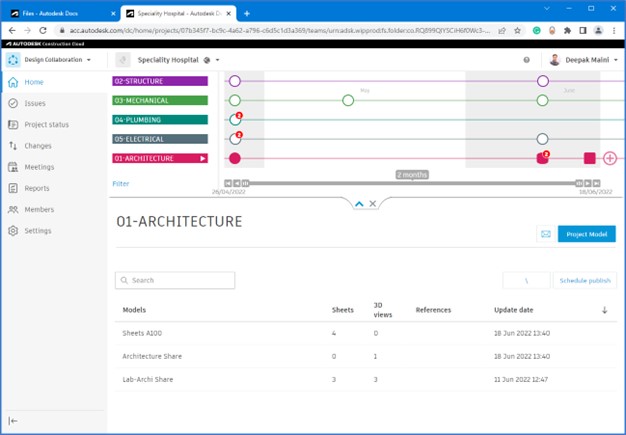
- From the top center of the window, click on the handle […] and then click on the down arrow to expand the timeline; your team’s lane is at the bottom of the list, as shown in the figure below.
- Hover the cursor over the filled square at the end of your team lane to ensure the latest package was published recently.
- Click on the
 icon at the end of your team lane to start the process of creating a package.
- Rename the package on the top left.
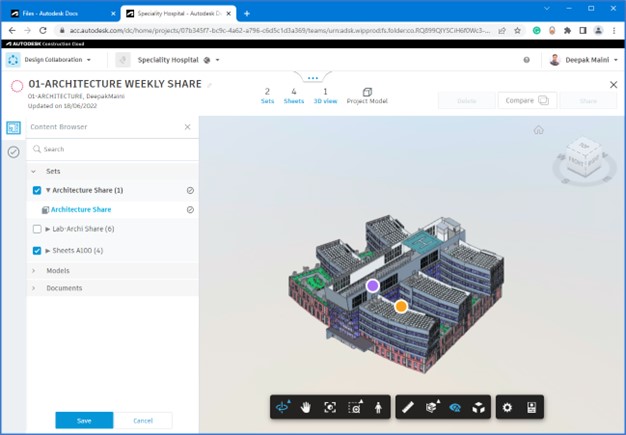
- Expand the Sets section and select the publish sets to share, as shown in the image below.
- Click Save from the bottom left; the package is saved.
- From the top right, click Share, as shown below.

- In the Share package window, add the package description, as shown below.
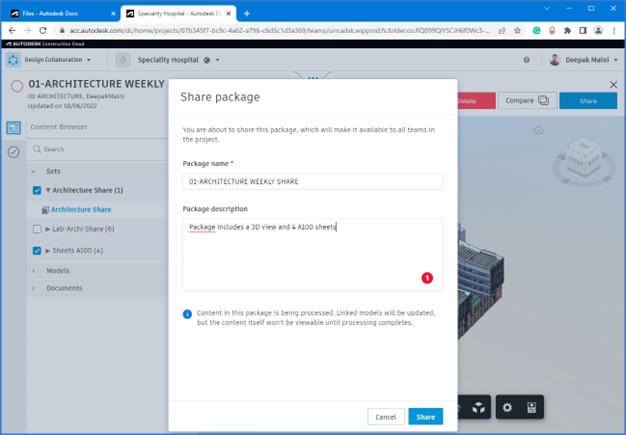
- Click Share. The package is created and shared with the rest of the teams.
Tip: You can return to the Docs environment and look at the model in the Shared folder to review the content of the package.


