00:01
LUCY KUHNS: Welcome to this course in Roads and Highways
00:03
Existing Conditions Modeling.
00:05
This course is Creating Surfaces from Point Cloud
00:11
The first objective is data import and validation.
00:17
Before we get started it's good to know about some system
00:20
settings that can affect our performance when
00:23
using Point Clouds in Civil 3D.
00:26
There is a system variable called POINTCLOUDPOINTMAX
00:31
and by increasing or decreasing this number
00:34
we can affect the visual fidelity and the system
00:39
The default value for this system variable
00:42
is 10 million points.
00:45
The Point Cloud size slider can also affect our performance.
00:50
Smaller points give better display
00:53
but larger point sizes improve the system performance.
00:58
It's also important to understand about MMS and GRD
01:03
files when we're creating surfaces from point cloud data.
01:07
When points in a surface definition
01:09
exceed 1.5 to 2 million points for TIN surfaces,
01:14
then overflow cache files are created.
01:18
These are MMS files or memory mapped surface files.
01:23
If we're dealing with a grid surface that number is less.
01:29
MMS and GRD files must be in the same directory as the drawing
01:34
and they must be treated just like any other reference file.
01:38
We must use proper surface management
01:40
to avoid generating these files at all costs.
01:44
And there is a course in this collection
01:47
about efficient service management and surface
01:54
Another thing to be aware about is this little tiny icon
01:57
in the upper left hand corner of your editing
02:01
This is the level of detail icon.
02:04
Why should you be cautious?
02:06
Because when you see the icon the level of detail
02:09
is turned on and you might not be
02:11
seeing the full visualization of the data representing
02:16
Now let's look at the Civil 3D Solution
02:18
Workflow for creating surfaces from Point Cloud Data.
02:22
We begin by attaching the Point Cloud Data
02:25
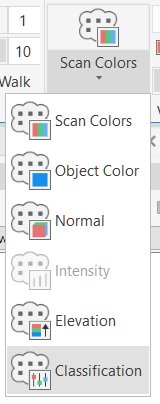
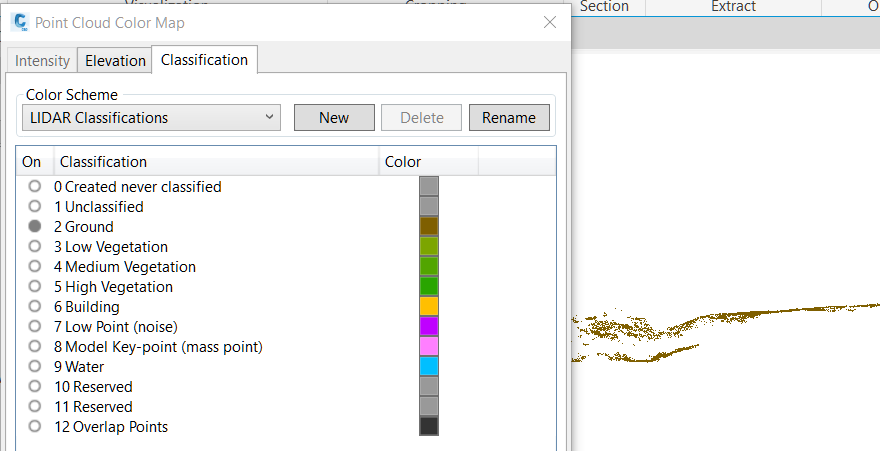
and then we review and check for classification.
02:29
This leads us to the next step, which is a two way decision.
02:34
If the data is not classified, we can directly
02:37
generate a TIN surface.
02:39
And if the data is classified, then we
02:42
have a 2-step process that begins
02:44
by creating a Raster Data File and then a DEM type surface.
02:49
Once we have the surface in Civil 3D,
02:52
then we can clean up and simplify it.
02:55
Let's look at the first step in our workflow,
02:58
attaching the Point Cloud Data.
02:60
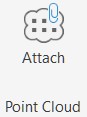
On the Insert tab we'll go to Attach Point Cloud Data
03:04
and we will browse for the RCS or the RCP data.
03:09
Here's where we expand the details about the Point Cloud
03:13
and this will tell us immediately
03:15
the number of points and also if the Point Cloud is classified.
03:22
It's important to show the details
03:24
so we know what methods to use.
03:29
After attaching our Point Cloud Data next,
03:31
we validate the geographic coordinates system.
03:34
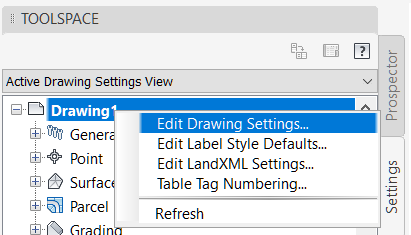
On the Settings tab of the Tool Space,
03:37
we'll edit the drawing settings and on the Units and Zone tab
03:41
we want to verify that we have the correct geographical
03:45
coordinate system applied.
03:48
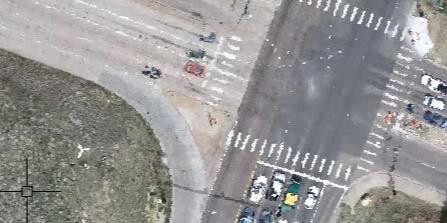
Now to double check this, we'll go to the Geolocation tab
03:52
and we'll turn on the Aerial Imagery.
03:56
When the aerial imagery appears, we
03:59
can easily see that our Point Cloud is accurately
04:02
located in the proper geographic location.
04:06
Next, we want to check the units, the scale,
04:08
and optionally, any control points.
04:11
Here we can see the marker for the control points
04:14
and now I'm going to zoom into our intersection area.
04:18
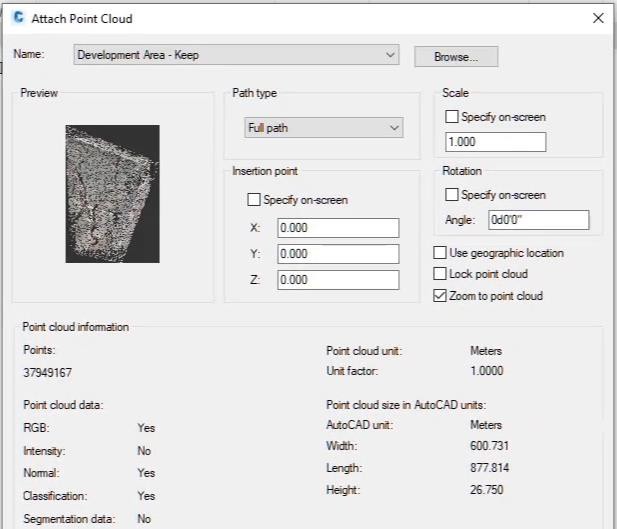
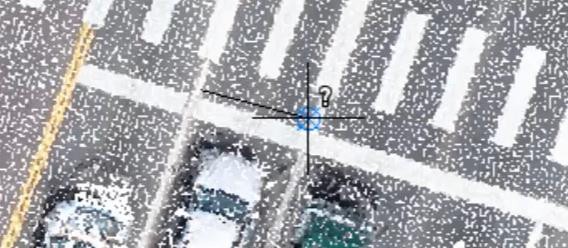
I'm going to turn on the 3D Object Snap
04:22
so that I can look at Point Cloud Object Snaps.
04:27
And we'll turn on the Node Object
04:29
Snap for our Point Clouds and I'm
04:33
going to use the Distance Command.
04:38
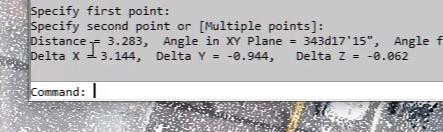
I'm going to pick the width between the two white lane
04:42
stripes, and then I'm going to verify that that distance is
04:46
about 3.25 meters, which is the approximate lane width,
04:52
so we know that the data is scaled correctly.
04:56
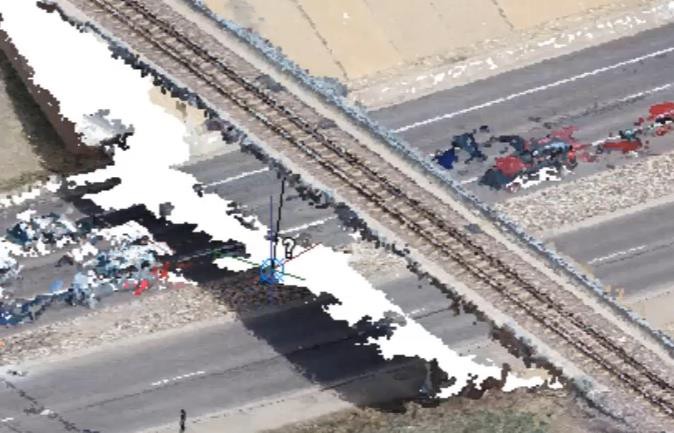
This is in the horizontal, I also
04:59
need to do this in the vertical.
05:01
In this example, we're looking at the overhead rail viaduct
05:05
and we're seeing that the distance is correct.
05:13
Now that we've checked our Point Cloud for the correct units
05:16
and scale, let's do a section and a slice
05:20
to look at additional details.
05:23
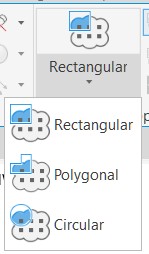
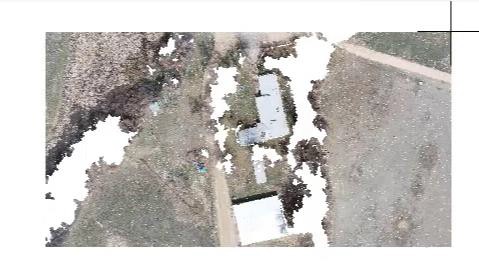
First, I'll use rectangular cropping
05:25
to isolate an area of interest.
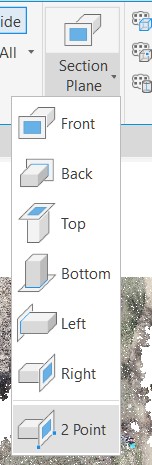
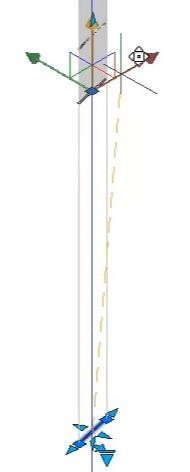
05:37
Then I'm going to use the 2 Point
05:40
section to create a section line that cuts across this existing
05:51
Then I'm going to select on a section,
05:54
drop it down, and turn it into a Slice type section.
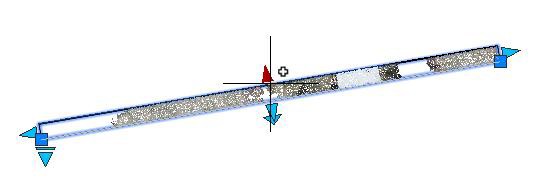
06:12
By manipulating the Gizmo and sliding on the z-axis,
06:17
I can bring the section into the correct elevation
06:22
to get the limit box closer to the actual Point Cloud Data.
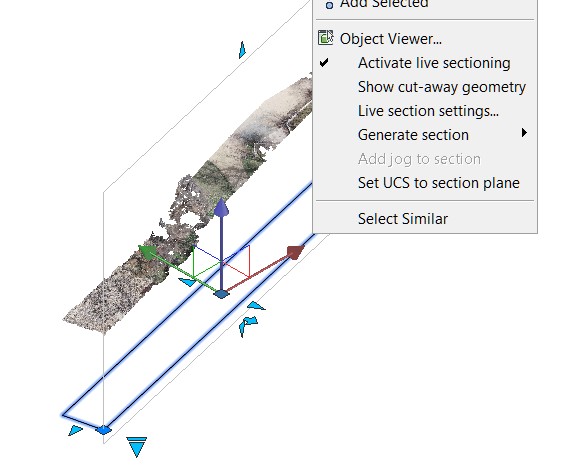
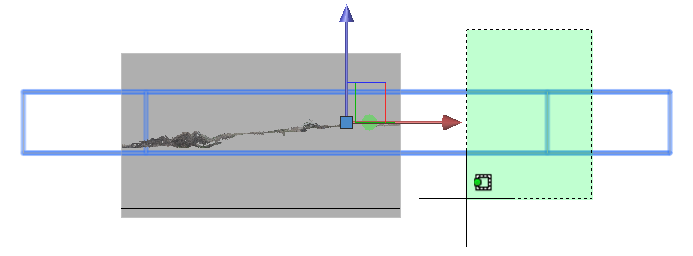
06:27
Then I'll select on the section and in the right click menu,
06:31
I'll set the UCS to be aligned with the section plane.
06:36
Then I'll use the PLAN command and align the PLAN command
06:41
to the current UCS And this gives us
06:44
a section slice of our Point Cloud,
06:47
and we can see the very fine details of the existing
06:51
But we could also see the vegetation such as trees
06:55
and we can even see the roofline of the structure.
06:60
This completes the first objective
07:02
in the Creating Surfaces from Point Clouds