00:07
we will see how we can change lifecycle
00:09
definitions and lifecycle states of files in Vault,
00:15
change the lifecycle definition,
00:17
or to change the lifecycle state.
00:30
and click on Change State button
00:41
and click on change state.
00:49
Change the lifecycle
00:52
Click on the 3 ellipses button here.
00:56
And in the Change lifecycle definition
01:03
choose an appropriate life cycle definition.
01:07
As per the configuration
01:10
available by the administrator.
01:15
the available lifecycle numbers
01:24
depends on the category
01:25
in which the current document is.
01:31
Select Inventor list process,
01:36
lifecycle definition
01:40
changed here as per the selection.
01:44
you can click on the dropdown here.
01:46
We'll continue with the WIP state for now
01:51
to continue with changing the lifecycle definition.
01:55
You can see that the life cycle definition has
01:58
changed from simple release process to Inventor release process.
02:02
Change the state of a file
02:04
from one state to another.
02:07
and click on change state.
02:09
Since I have selected the assembly here,
02:11
all the child parts are getting listed
02:16
If you tiggle the include dependents,
02:18
all the files will be available for
02:21
lifecycle state change.
02:23
You can choose to exclude the dependents
02:26
by toggling the interdependence option on.
02:36
There is also another option
02:41
if any parents are available,
02:42
that will be listed as well.
02:49
Let's toggle the dependence on
02:52
for this purpose because
02:54
it is always a recommended practice.
02:57
Go about changing the state of an assembly
02:60
along with the dependents.
03:01
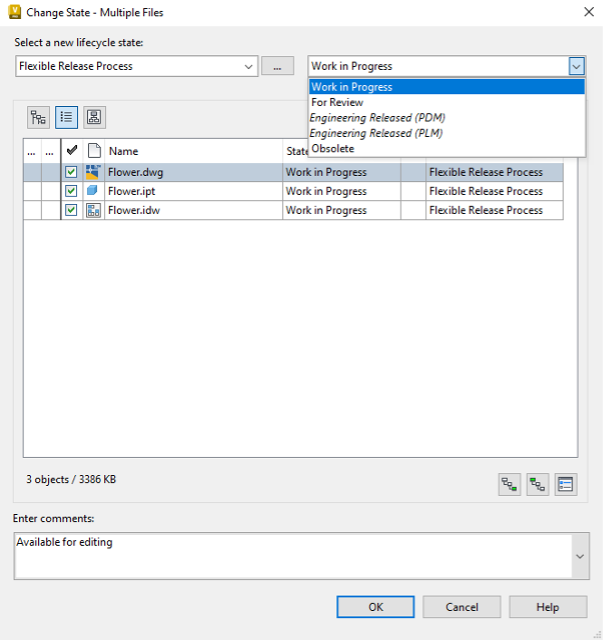
Let's assume we are going to send these files for review from work in progress.
03:06
Click on the drop down here.
03:08
Select the reduced date.
03:12
See that the review state
03:15
is going to be applied
03:17
as the next date for all the selected files.
03:21
You can input any comment here.
03:24
I will retain the default one.
03:28
If you want to exclude any particular file from this operation
03:34
the check box in front of that file
03:45
the lifecycle state for these selected files have
03:48
been changed from work in progress to review state.
03:51
we can change the lifecycle definition or lifecycle state