Reference Manager in Civil 3D

Reference Manager - Exercise

  1. From the Windows start menu, open the Reference Manager.
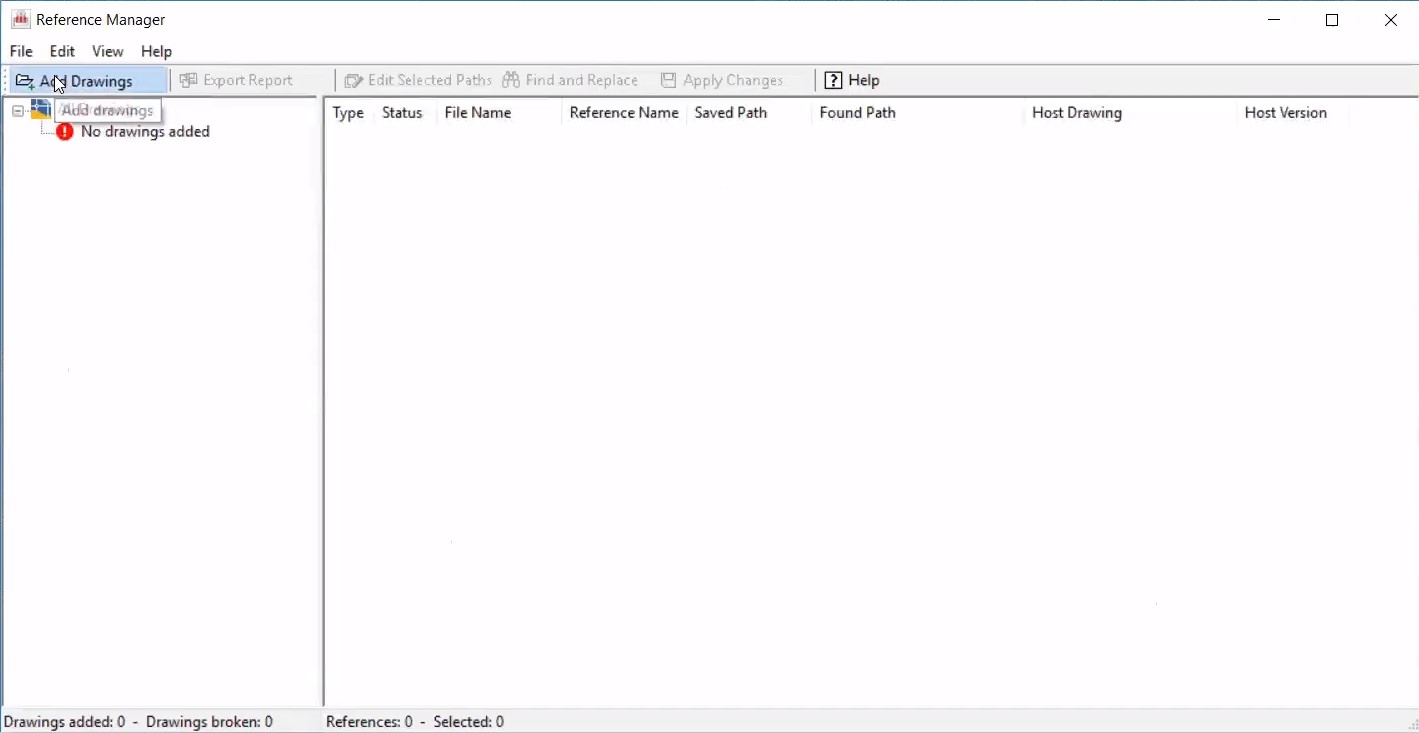
  2. In the Reference Manager window, click Add Drawings.


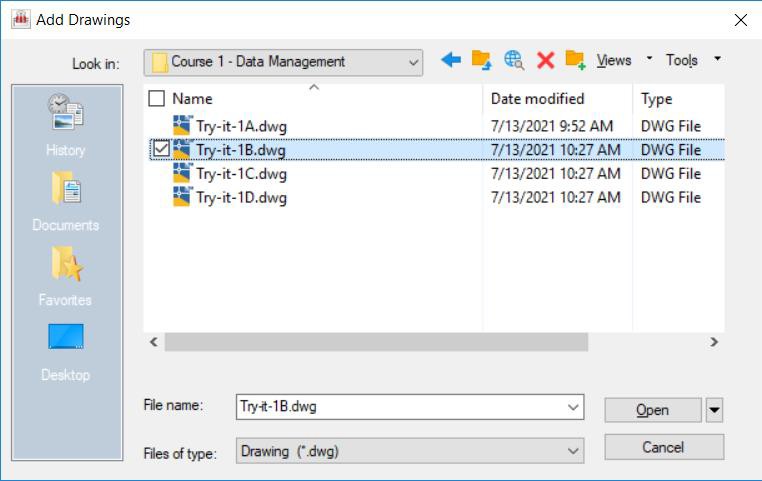
  3. In the Add Drawings dialog box, browse to the C:\Autodesk Learning\Setup C3D Projects\Course 1 - Data Management folder and select Try-it-1A.dwg. (If you did not complete the previous Try It, select Try-it-1B.dwg.)


  4. Click Open.
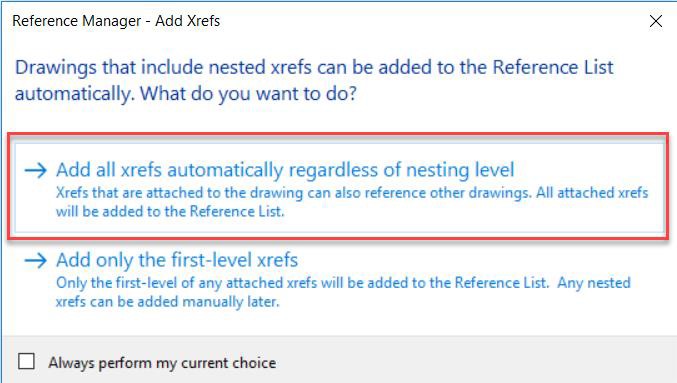
  5. In the Reference Manager – Add Xrefs dialog box that appears, select Add all xrefs automatically regardless of nesting level.


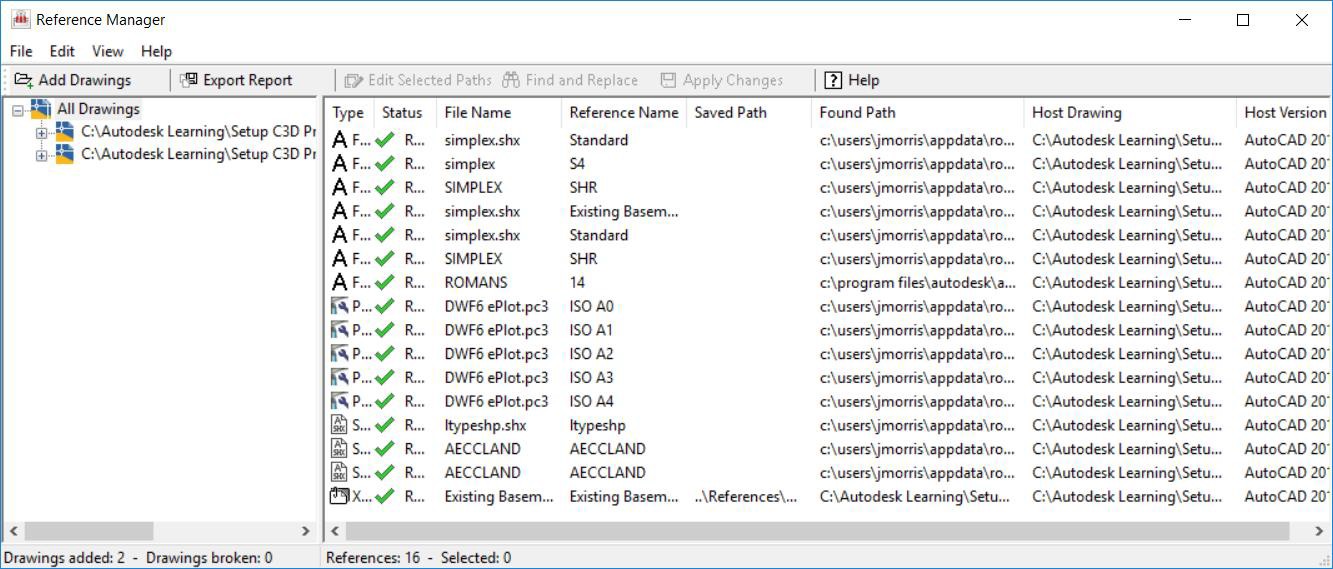
  6. The external references will be added to the Reference Manager.


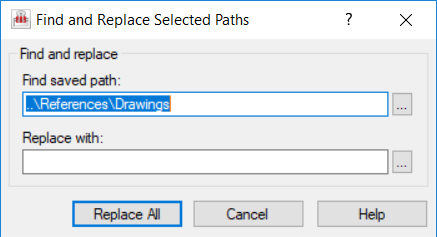
  7. To update a saved path for a reference, select the reference and click Find and Replace in the toolbar.


  8. In the Find and Replace Selected Paths dialog box, in the Replace with area, either type in the correct path or use the ellipses (…) to browse to the correct path for the files. Since you do not need to edit anything at this point, click Cancel to dismiss the Find and Replace dialog box.

Was this information helpful?