00:01
NARRATOR: Modeling cable tray vertically on a wall in Revit.
00:06
In this video, we're going to show you
00:08
the basics of adding cable tray and how to add a vertical cable
00:14
I'm in the Small Medical Center project on the O1 ground floor
00:19
electrical plan view.
00:21
I'm going to add cable tray down the edge
00:23
of this back wall over here, and then into the electrical room.
00:31
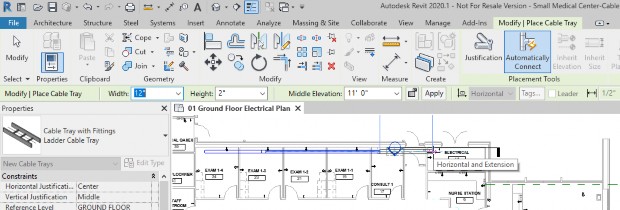
So in the Systems tab in the Electrical panel,
00:36
I'm going to click Cable tray.
00:39
First I'm going to set up my type
00:42
that I want to use, the ladder cable tray,
00:45
then I'm going to change my width.
00:46
We're just going to start with a small one, eight inches.
00:49
We only need a height of two inches for some data cable.
00:53
I'm going to change my middle elevation to 11 feet,
01:02
and then I'm going to come in and start drawing.
01:04
So I'm going to start here in the exam room,
01:07
just pull it over into the next one.
01:09
Just want to show you how you can change the size on the fly.
01:12
So we're going to go and change this one now to 10 inches.
01:17
Going to come on down here to the consulting room,
01:21
Going to change it one more time,
01:23
let it be a little bit larger picking up more cable
01:27
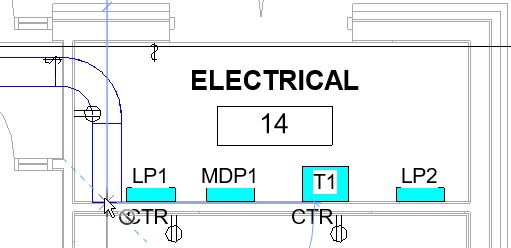
Then I'm going to come into the electrical room zooming in
01:30
to help you see it a little better.
01:32
I'm going to pick points.
01:34
I'm not going to turn now and pick
01:35
close to the wall exactly where it needs to be isn't exact yet.
01:41
Then I want to go down the wall.
01:43
So what I need to do is come to my middle elevation
01:50
I'm going to do two inches, so it'll
01:51
be two inches off the bottom of the wall.
01:54
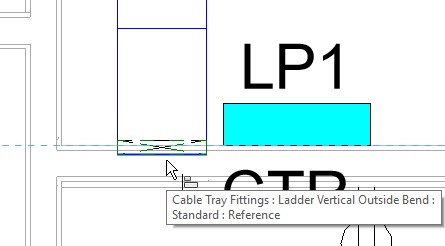
Move into my view, and then I come back and click Apply.
01:58
When I move back into the view, it actually
02:01
places the vertical cable tray.
02:03
I'm still in the command and I'm going
02:05
to hit Escape to get out of it because now I
02:08
want to use a line command.
02:10
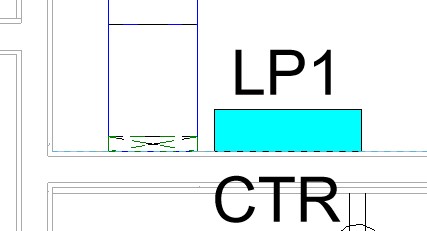
So modify a line, come against the back wall,
02:14
and align this to the wall.
02:18
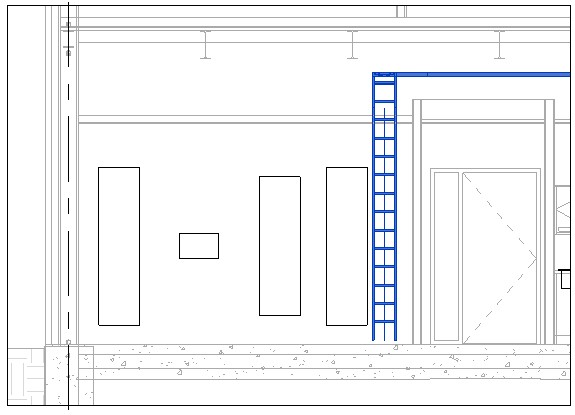
Now I want to see that vertical cable tray
02:20
and what it looks like.
02:21
I have a section already created.
02:24
As you can see here, the electrical room South wall
02:27
that's facing the panels.
02:29
I'm going to come in and double click on the arrow
02:33
so I can see my elevation view.
02:37
There's my vertical cable tray.
02:40
If I want to, I can drag this over a little bit.
02:43
If I want it to be closer to that wall,
02:45
I could use the move command, I could use align again
02:48
if I had something to align to.
02:50
And now you can see that the basics of adding cable
02:53
tray it's not much different from other linear elements
02:56
such as duct, pipe, and conduit.