00:04
Updating an existing model from GIS is common practice
00:08
if a model is constructed, well,
00:10
initially updating it becomes a straightforward process.
00:14
This is due to the use of a common ID in the GIS and the hydraulic model.
00:21
you can use the GIS gateway with the tabular joint feature
00:24
to either create new features or update changes to existing features
00:30
Double click the desired project dot APR
00:35
Once the project starts,
00:37
click the info water pro tab to open the info water pro ribbon
00:41
in the project panel, click initialize
00:46
in the model explorer from the scenario, drop down select base base data scenario.
00:52
Well, not specifically required.
00:54
It is often good practice to update a model while
00:56
in the base scenario where all elements are active,
01:00
being able to see all elements that are in the database is helpful to the modeler
01:08
layer panel. Click add data
01:11
for this example, double click the dot GDB sample file,
01:16
select the water mains feature class and click. OK.
01:21
This is the updated water main GIS file you will use to update the model
01:25
it is different from the one used to initially build the model.
01:29
The water mains feature class is added to the
01:31
Agis Pro contents panel.
01:34
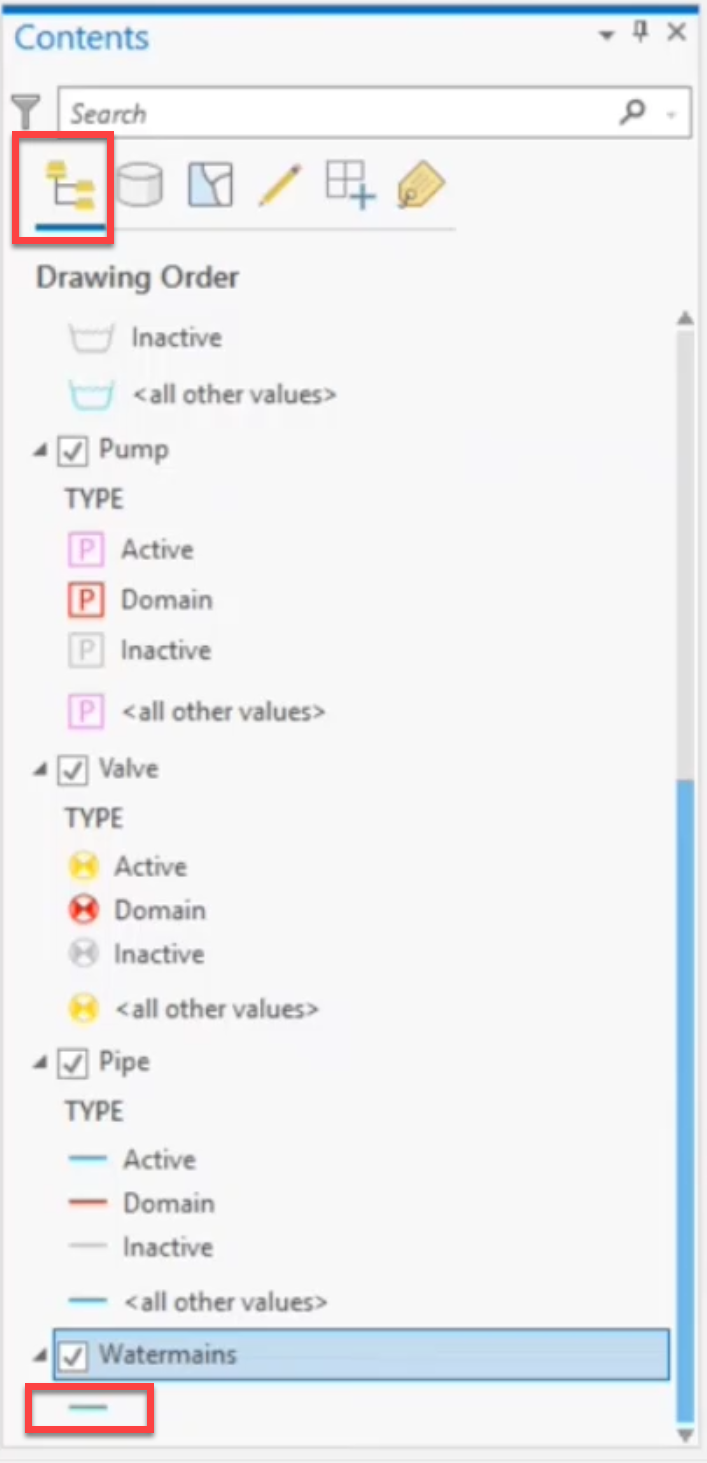
Locate the water mains layer in the contents panel
01:38
in the toolbar. Make sure list by drawing order is selected
01:42
then click and drag the water main layer to bring it below the pipe layer.
01:49
You can change the appearance of the water mains objects to make them easier to see.
01:54
Click the symbol under water mains to open the symbology panel
01:59
on the properties tab increase the line width to two point and click apply
02:07
close the symbology panel
02:10
on the info water pro ribbon
02:17
in the GIS gateway, click add
02:21
then in the pop-up, enter an id of pipe underscore update,
02:25
comma GS pipe update and then click OK.
02:30
The GIS exchange cluster dialogue opens where you
02:33
can create or edit the GIS exchange clusters.
02:37
A GIS exchange cluster defines a set of data exchange parameters that
02:41
control how data is loaded from GIS data to info Water pro
02:45
and saved data from info Water Pro to GEO databases
02:52
Click the file selector to browse two and select
02:54
the GIS feature class used in the exchange cluster.
02:58
For this example, double click the dot GDB sample file,
03:03
select the water means feature class and click OK.
03:08
Back in the GIS exchange cluster dialogue
03:10
in the network data source group, expand the type drop down and select pipe tables.
03:16
This tells info water pro which database to import data into
03:21
next on the tabular joint tab expand the GIS
03:24
ID mapping field dropdown and select fac
03:27
underscore ID as the field containing the unique facility IDS.
03:32
Now you can begin mapping the fields,
03:35
click the field mapping tab
03:37
in the GIS data fields. List select install yr
03:43
in the network slash GIS data field mapping list, select pipe yr inst
03:49
click the map arrow.
03:51
The GIS field install yr is mapped to the info water pro field pipe yr
03:59
during the import process, the data from this field and the GIS
04:02
will be transferred into the info water Pro database.
04:06
Repeat this process to map the GIS data field.
04:09
Comment to the info water pro description field pipe descript.
04:18
Now click auto map between the fields to auto map the
04:21
remaining GIS fields with the same name and data type,
04:25
scroll in the network slash GIS
04:27
data field mapping list.
04:29
And you can see that the material
04:31
length and diameter fields were automatically mapped
04:36
in the GIS data source group. Enter aware clause of status equals one.
04:41
This ware clause will restrict the import to pipes that exist in the system.
04:45
As identified using the field status
04:49
in the exchange options group,
04:51
select update existing records and update geometry data.
04:56
These two options ensure that any existing pipes with a matching ID and the G I S
05:01
that have any changes in their attributes and geometry
05:04
will be updated when this cluster is run.
05:07
Click, OK to save your changes to this exchange cluster,
05:11
click close to exit the GIS gateway.