Create Sheet Set Manager templates

Create a standard Sheet Set template and drawing template - Exercise

Task 1: Creating a standard Sheet Set template

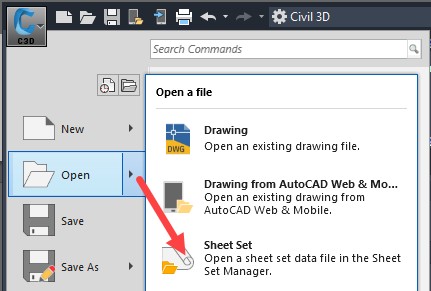
  1. Start Civil 3D and create a new Sheet Set by clicking on the application browser and selecting New > Sheet Set.


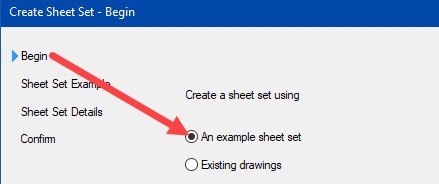
  2. Select An example sheet set, as shown.


  3. Select Civil Imperial Sheet Set for this example. You can select any one of these options – this will give us subsets and properties from the Civil example.


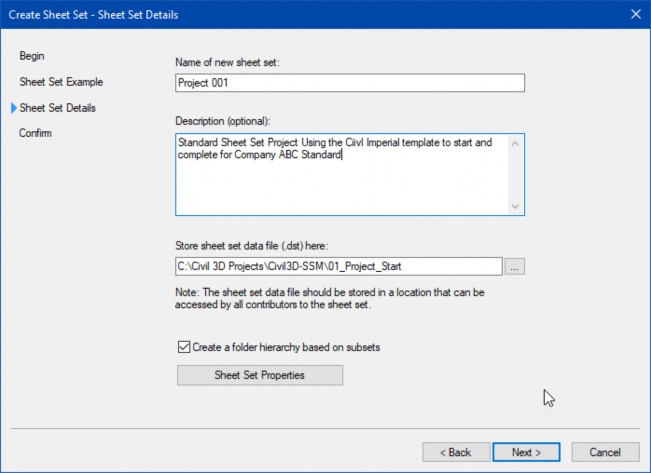
  4. Name your Sheet Set file Project-001.
  5. Give a description for the template you are creating.
  6. Select the ellipse and browse out to the folder where your (.dst) will be stored. We will move this to a template file location after we create the links with the title blocks.
  7. Select the hierarchy button. This will bring in any subsets that are created by the example sheet set.
  8. Browse to your project folder and select Open, select Next >, and then select Finish.


  9. You have now created a .dst file to start within your Project folder.
  10. Close the Sheet Set Manager (SSM).

Task 2: Creating the drawing template

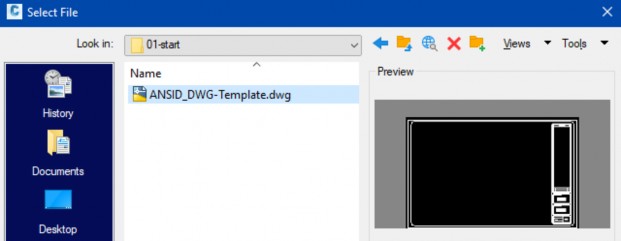
  1. Open the drawing named ANSID-24x36.dwg from the dataset.


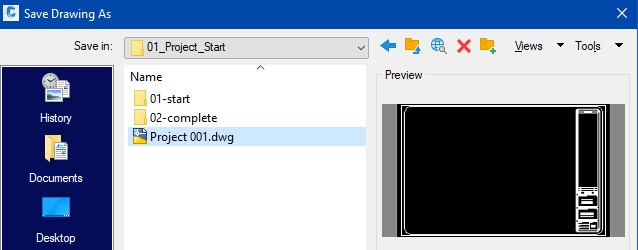
  2. Save the drawing to the same folder as your Sheet Set file (Project 001.dst).
  3. Name the drawing Project 001.dwg.


  4. Both files are now located in the same folder.


  5. Save your drawing.
Was this information helpful?