Using structured Point Cloud data in Recap

Using structured data in Recap - Exercise

Task 1: Import point cloud data files into Recap

  1. Start a New Project in Recap or Recap Pro and select Import Point Cloud.
  2. Type in a Project Name – in this example it is Structured Point Cloud Water Pipe Example – and
    then select the folder where you want to save this new project. Click Proceed.
  3. Drag and drop the 5 exercise point cloud data files. Alternatively, you can browse to them. The files are .FLS file types. They originated from Faro scanning equipment.
    • Pipe_000.fls
    • Pipe_001.fls
    • Pipe_003.fls
    • Pipe_004.fls
    • Pipe_005.fls
  4. Review the Filter Scan and Clip Points settings and accept the defaults.
  5. Select the Advanced tab and set the Decimation Grid to 0mm and keep both the Current and Target coordinate systems set to none. (This scan was done on assumed coordinates on-site so no system will be set.)
  6. Click Import Files.
  7. Verify that the five files were imported and see that the icons indicating that the data is structured are visible.

Task 2: Manually register the data

  1. Click on Manual Registration.


  2. Wait for the five scans to import – this may take a few minutes.
  3. When the scans are all imported you will see the individual scans on the left and a birds-eye top view on the upper right. Click on the New Registration Group icon to begin registration.


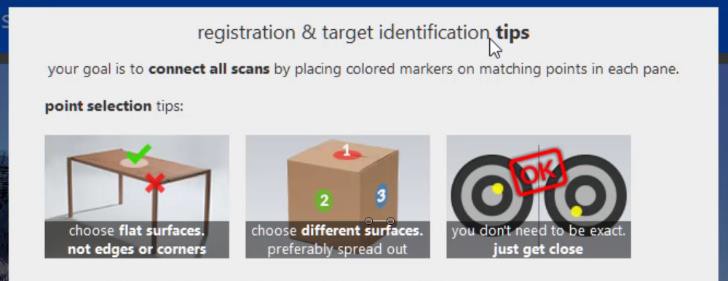
  4. Read the three point selection tips.


  5. Click on the Registration Mode icon to begin the matching process.


  6. Pick on the top center of one of the manhole covers in the left side scan view. Pick on the corresponding manhole center in the right side scan view.
  7. Repeat the process for the other manholes, selecting in the left view first and then in the right view.


  8. For the third registration point it is important to pick a location on a totally different plane. In this example a point on an appurtenance with a visible green and white label was used.


  9. Click on Merge Scan after the third points are selected.
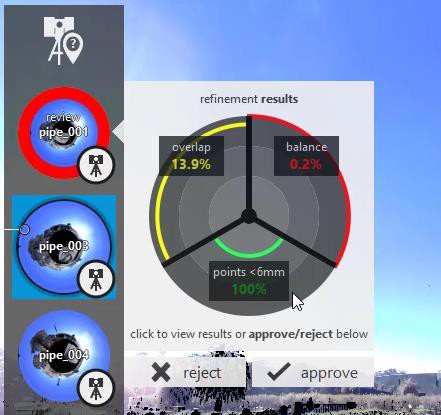
  10. View the Refinement Results and approve or if you want to try the registration again you can reject this first attempt and tray to get a better match result.


Repeat manual registration for the remaining scans

  1. Repeat this process of selecting 3 matching registration points for the remaining 4 scans.
  2. The scans will be registered and you can view a report of the results before clicking on Index Scans.

Launch project and navigate between the real view and the 3D Point view

  1. Wait a few minutes for the indexing to become 100% complete and then click on Launch Project.
  2. In the project navigate around and explore selecting on the 3D orbs (mirror balls). This will place you in the Real View mode.
  3. When inside one of the orbs, note the birds-eye view in the upper right.
  4. Use the Distance tool to check the approximate distance between the two pipes rising from the ground. The measurement should be about 2.7 meters. Delete the measurement.
  5. Return to the 3D view.
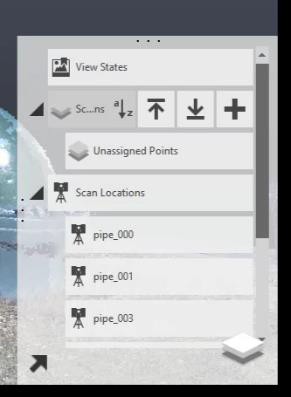
  6. Open the Scan Information panel on the right and see the export regions icon in the Scan Regions collection. If you want to try using this point cloud in your Autodesk applications, you can select export and export as either an RCP or an RCS file. To complete the export select Unify my Project Scans.
  7. Exit Recap from the Home menu at the top left. Optional to save your project.

Was this information helpful?