Performing a run
Successfully run a model through a simulation.
Tutorial resources
These downloadable resources will be used to complete this tutorial:
Step-by-step Guide
Once a model has been validated and committed in InfoWorks WS Pro, it is ready to be run through a simulation.
- From the Model Group window, expand the Session 03 model group.
- Right-click Run Group and select New > Run.

- In the Schedule Hydraulic Run dialog box, enter a name, such as “Validation Run”, in the Title field.
- Select the box next to Experimental.
Note: If Experimental is left unselected, the run dialog box and any model objects that are not version-controlled will become read-only after the simulation runs.
- From the Model Group window, drag the BridgeNet! network into the Schedule Hydraulic Run dialog box and drop it into the Network group box.
In this example, a control has been associated with the network, so the Control and Demand Diagram group boxes populate as well.
- In the lower left corner of the dialog box, expand the drop-down menu and select Simulation Options to turn on additional diagnostic error messaging.
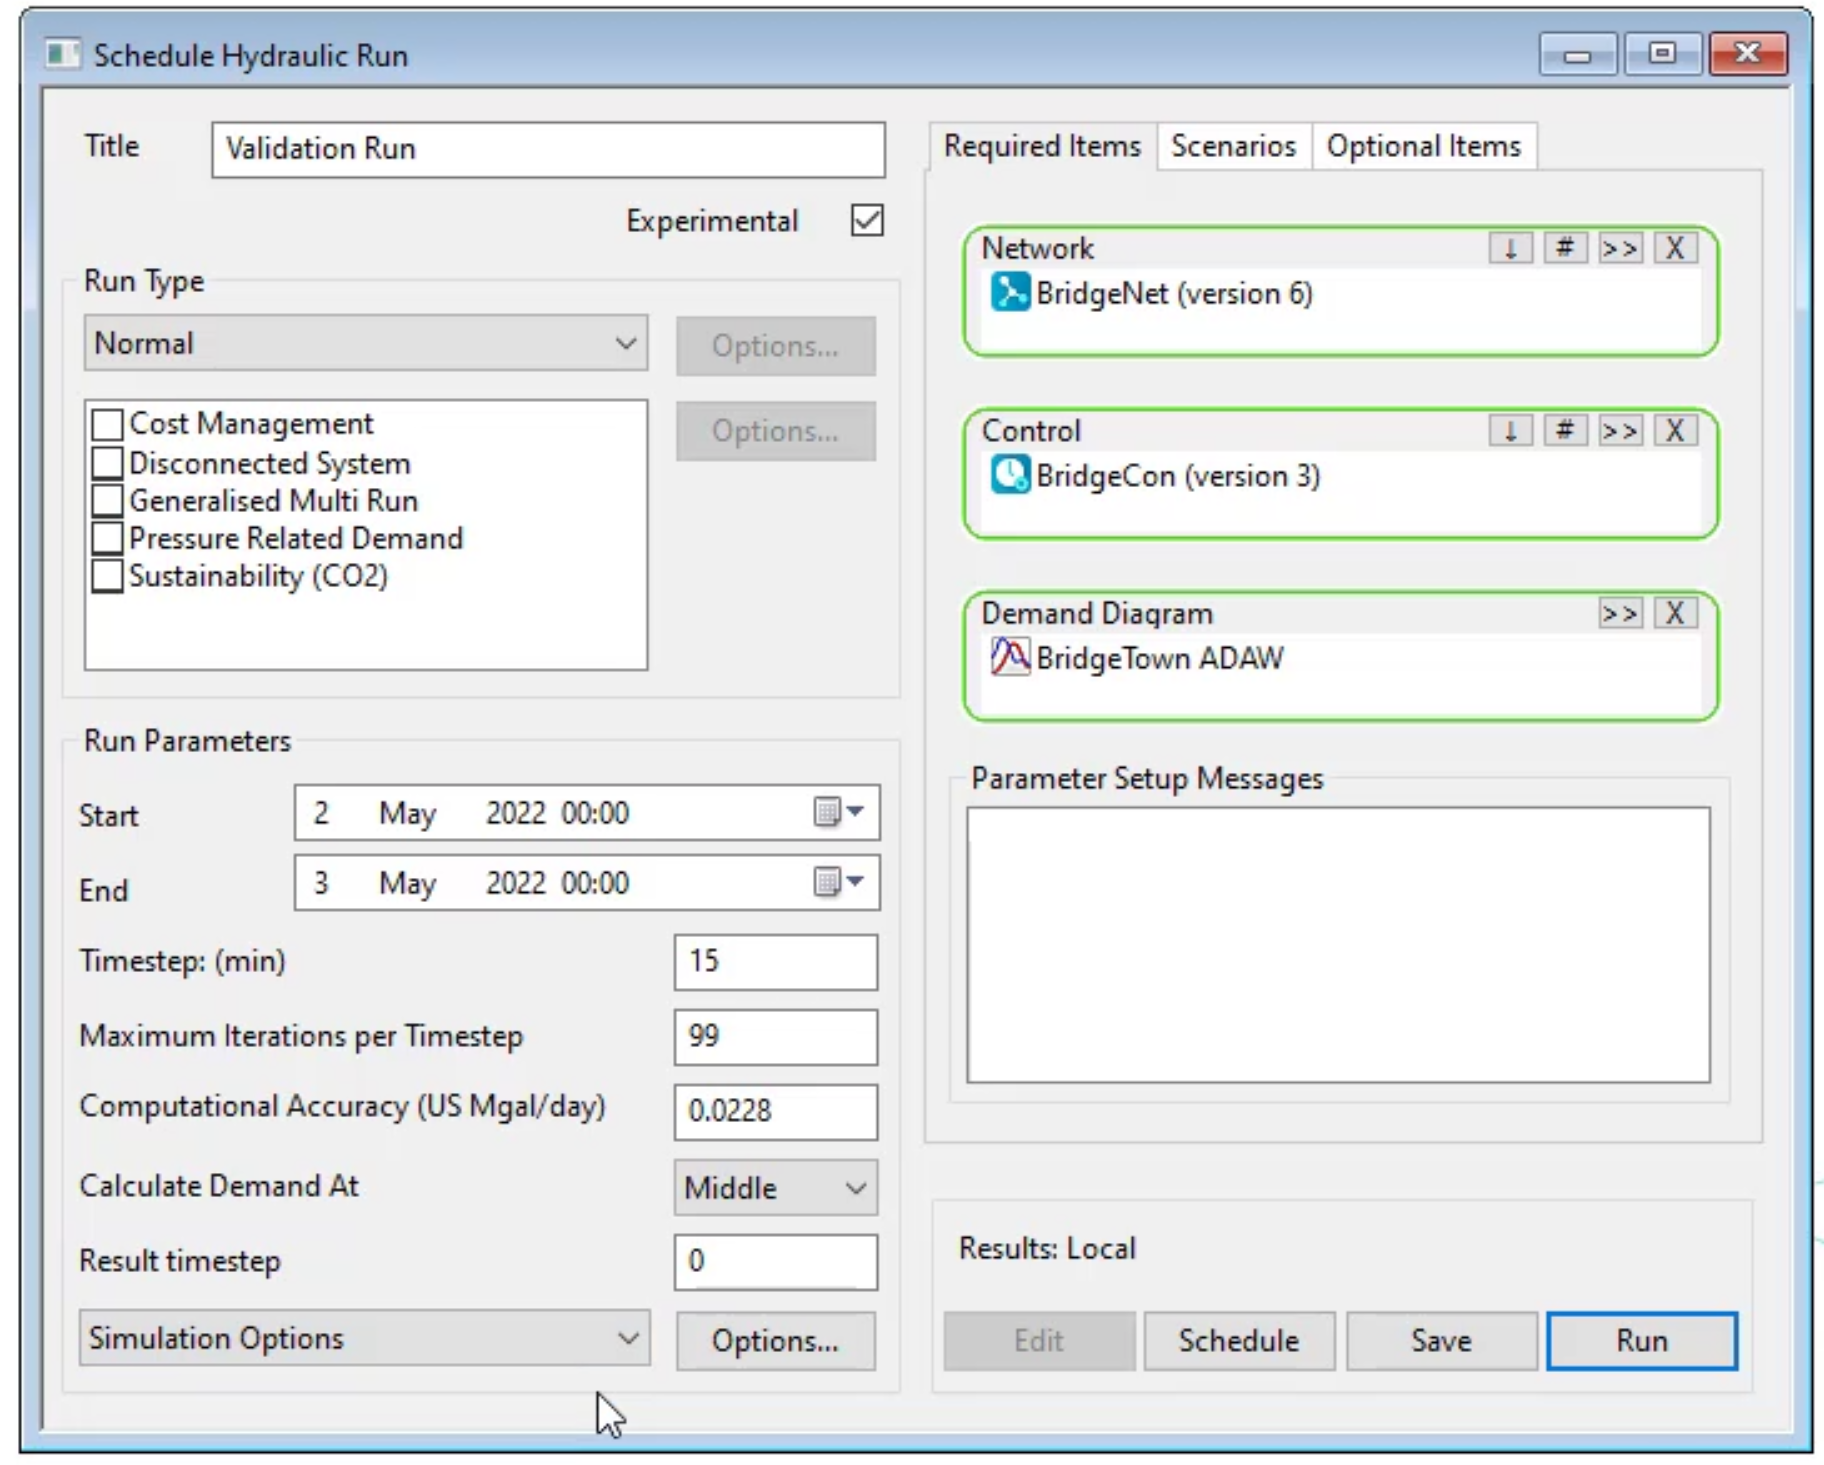
- Next to the drop-down menu, click Options.
- In the Simulation Options dialog box, set Additional diagnostic messages in the log file to “Yes” by clicking in its Value
- Click OK.

- In the Schedule Hydraulic Run dialog box, click Save.
- Click Run.
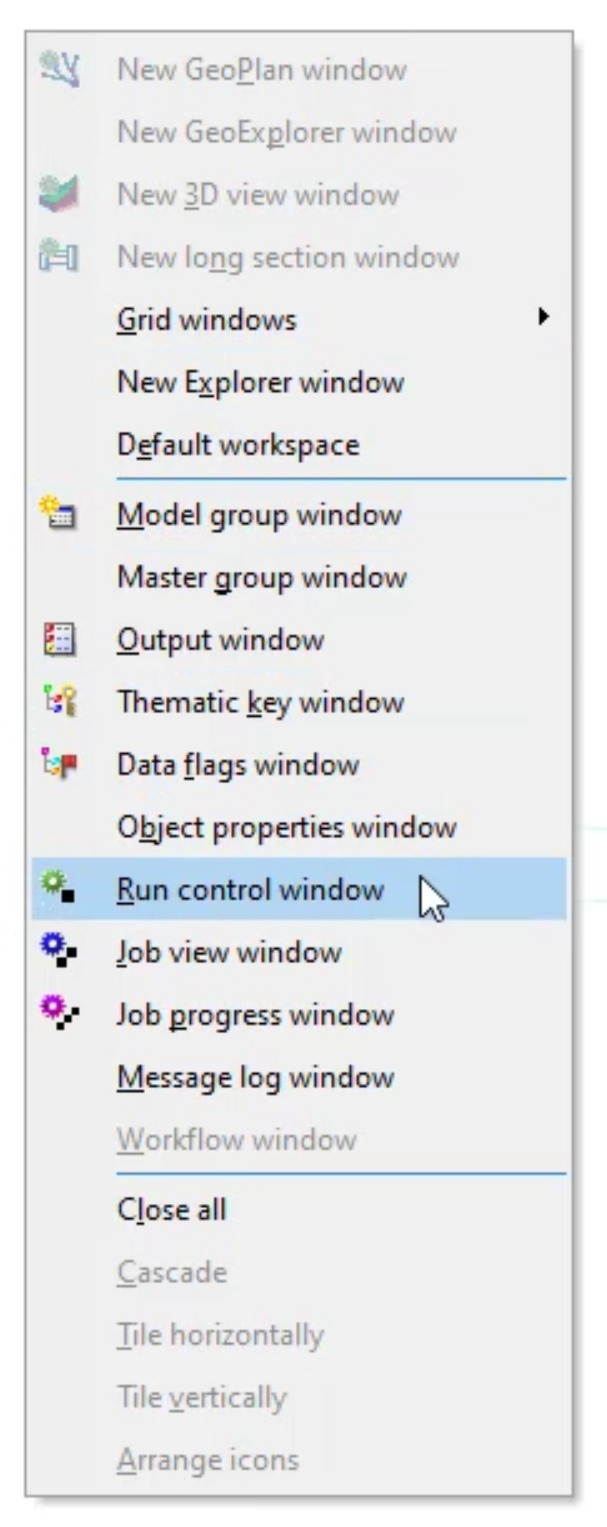
- In an empty area of the workspace, right-click and select Run control window.
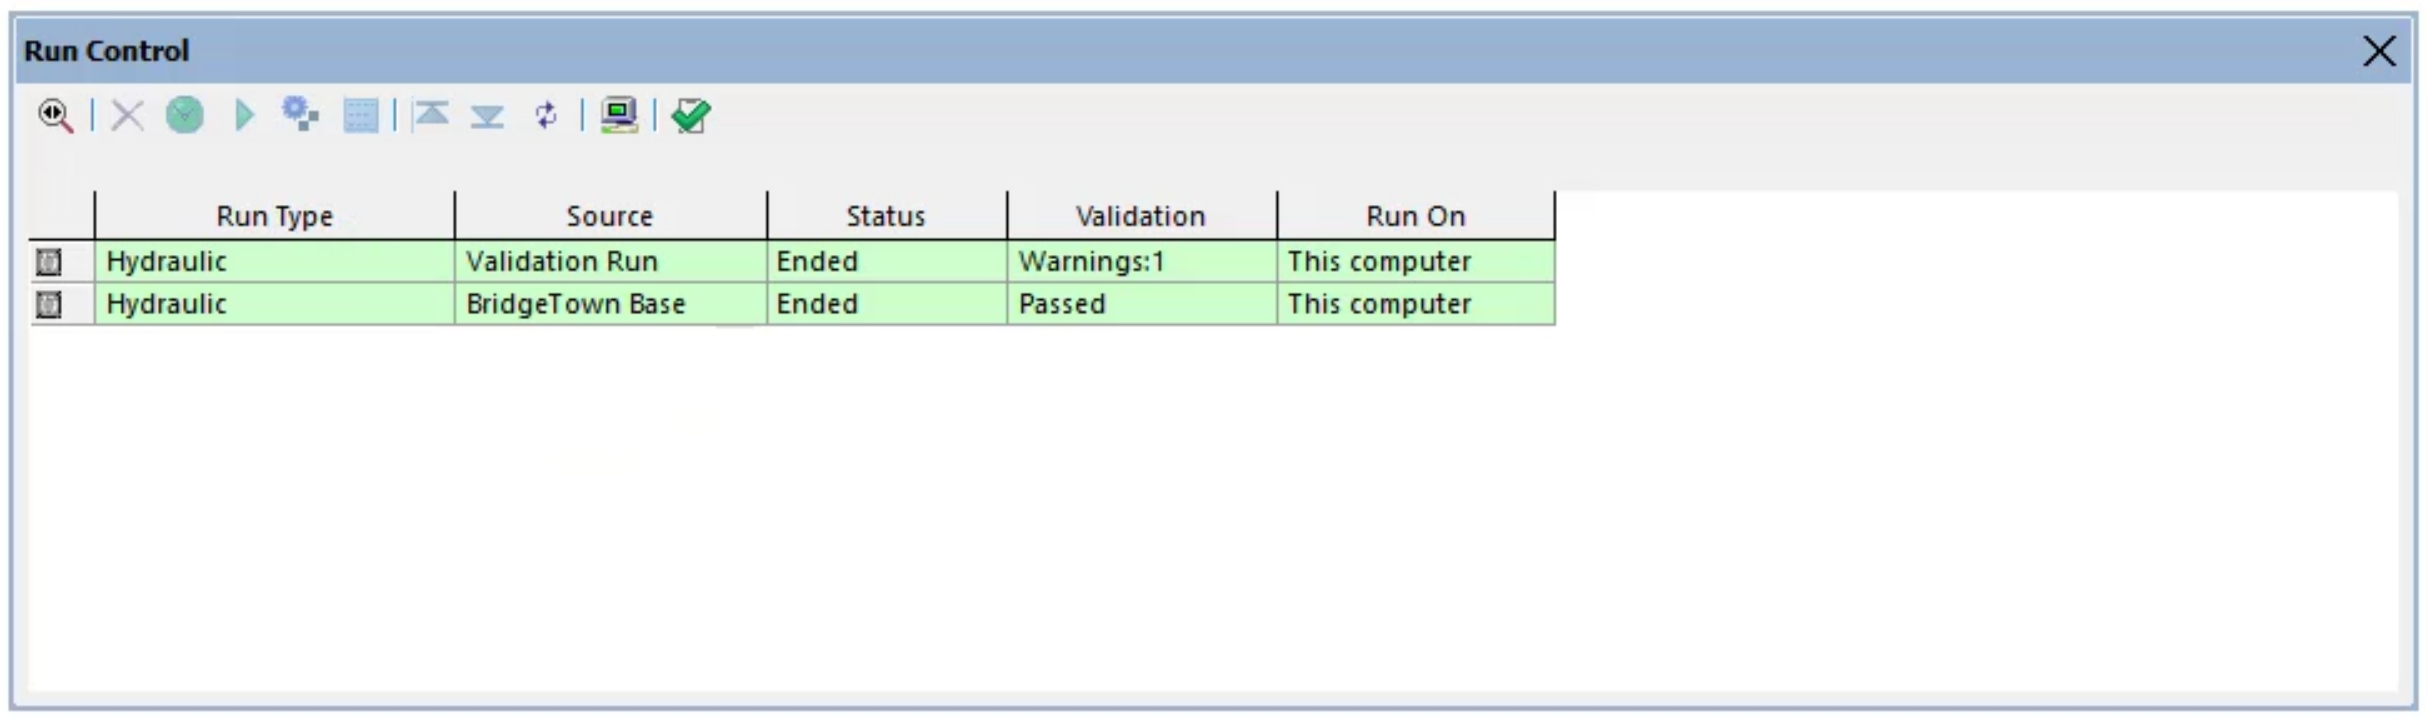
- In the Run Control dialog box, review previous runs completed for the model.
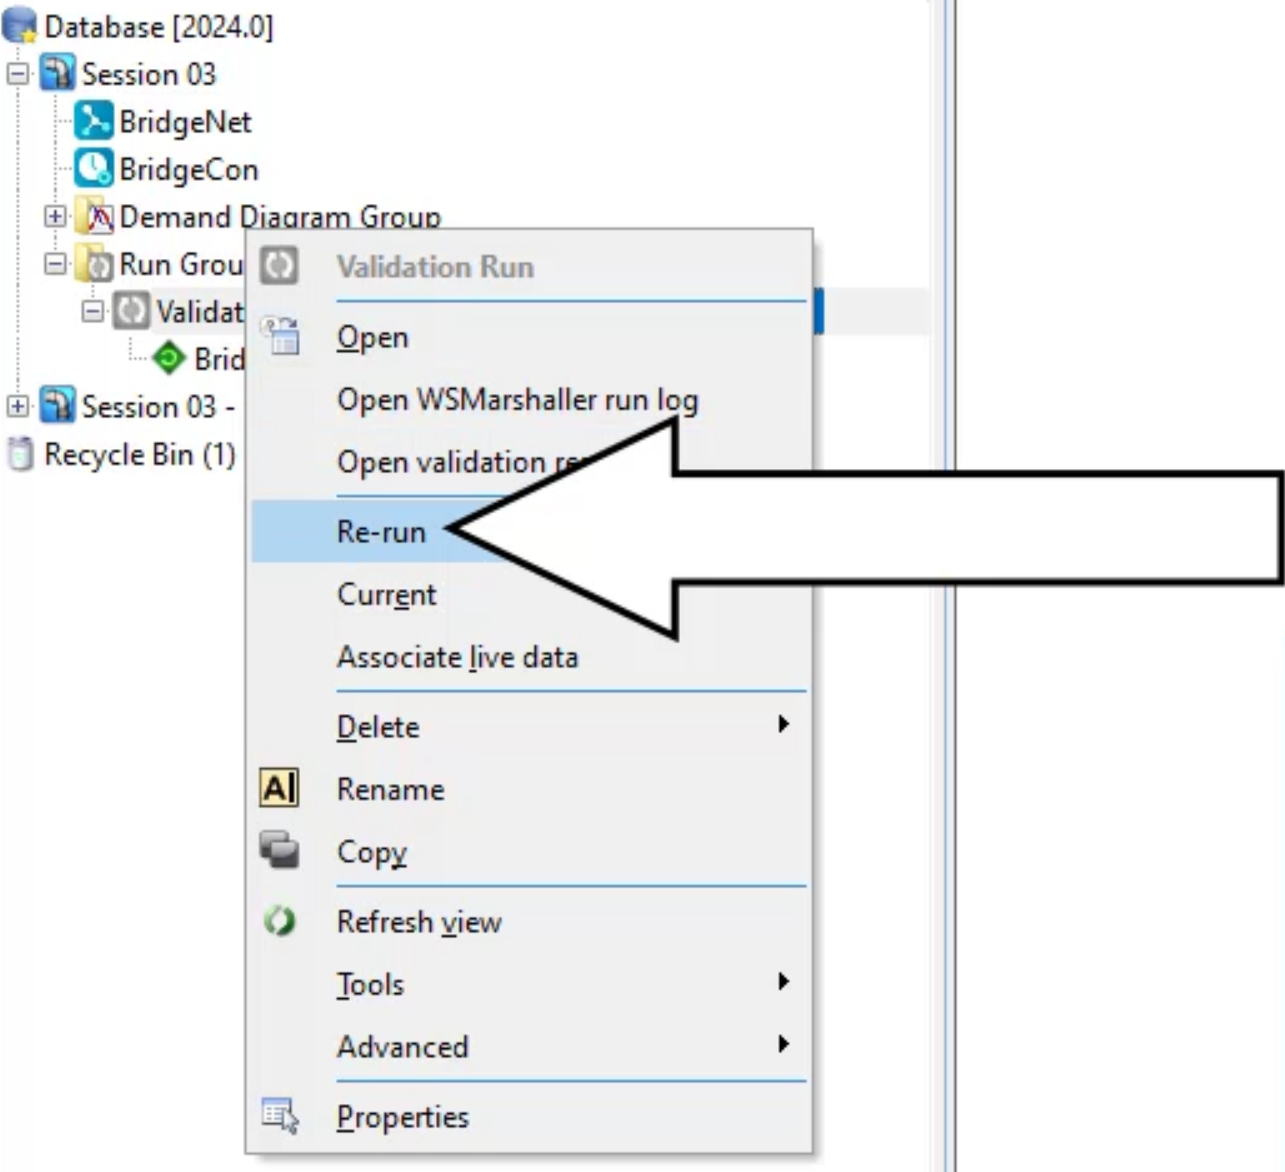
- In the Model Group window, right-click the Validation Run and select Re-run.
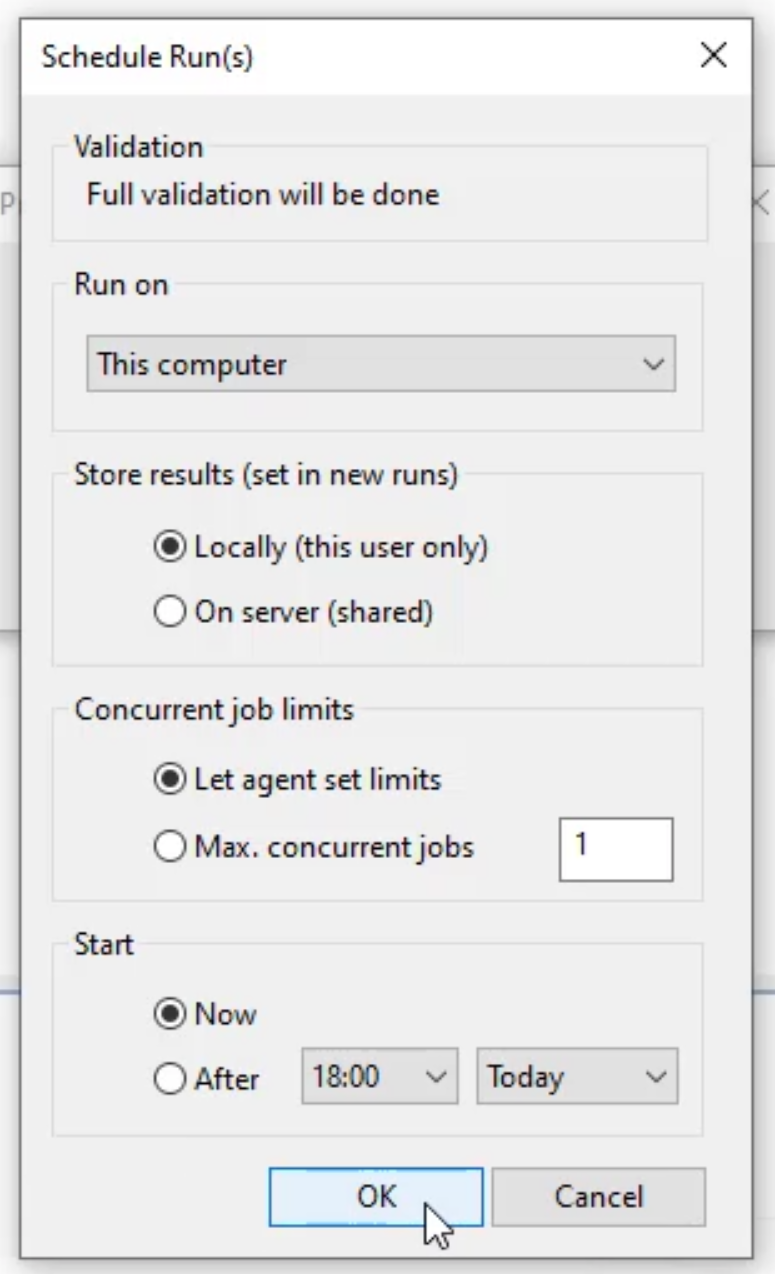
- In the Schedule Run(s) dialog box, click OK.
- In the Run Control dialog box, in the Status column of the Validation Run, observe the progress bar that appears.
- Notice that in this example, once the status changes to Ended, the Validation column indicates that the run Passed.
- In the Model Group window, expand the Validation Run and notice the diamond-shaped icon next to BridgeCon!
- A green icon means that the model has run successfully.
- An amber icon means that there is an unconverged snapshot(s) that needs to be addressed.
- An icon with a red cross through it means that there is an error, and the model has not run.
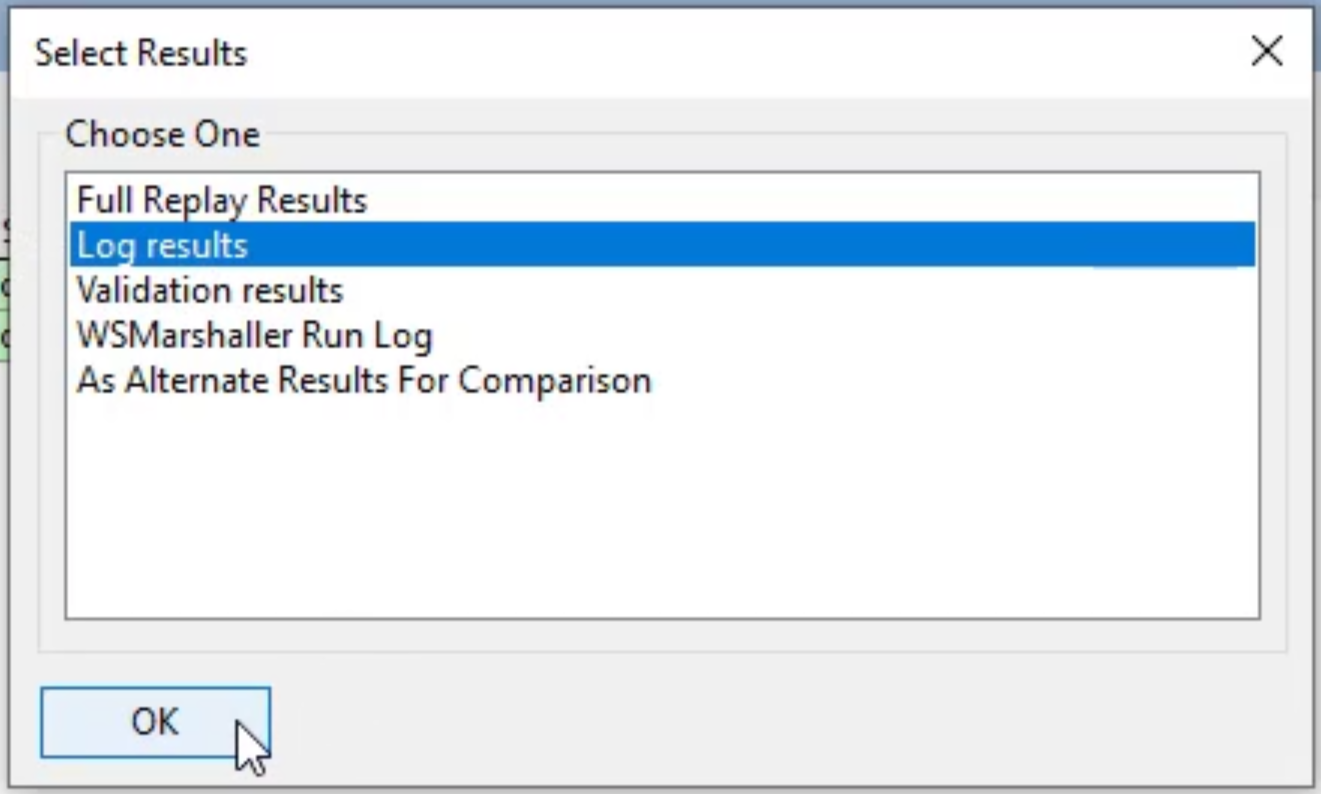
- In the Model Group Window, right-click the BridgeCon! run and select Open as.

- In the Select Results dialog box, pick Log results.
- Click OK.
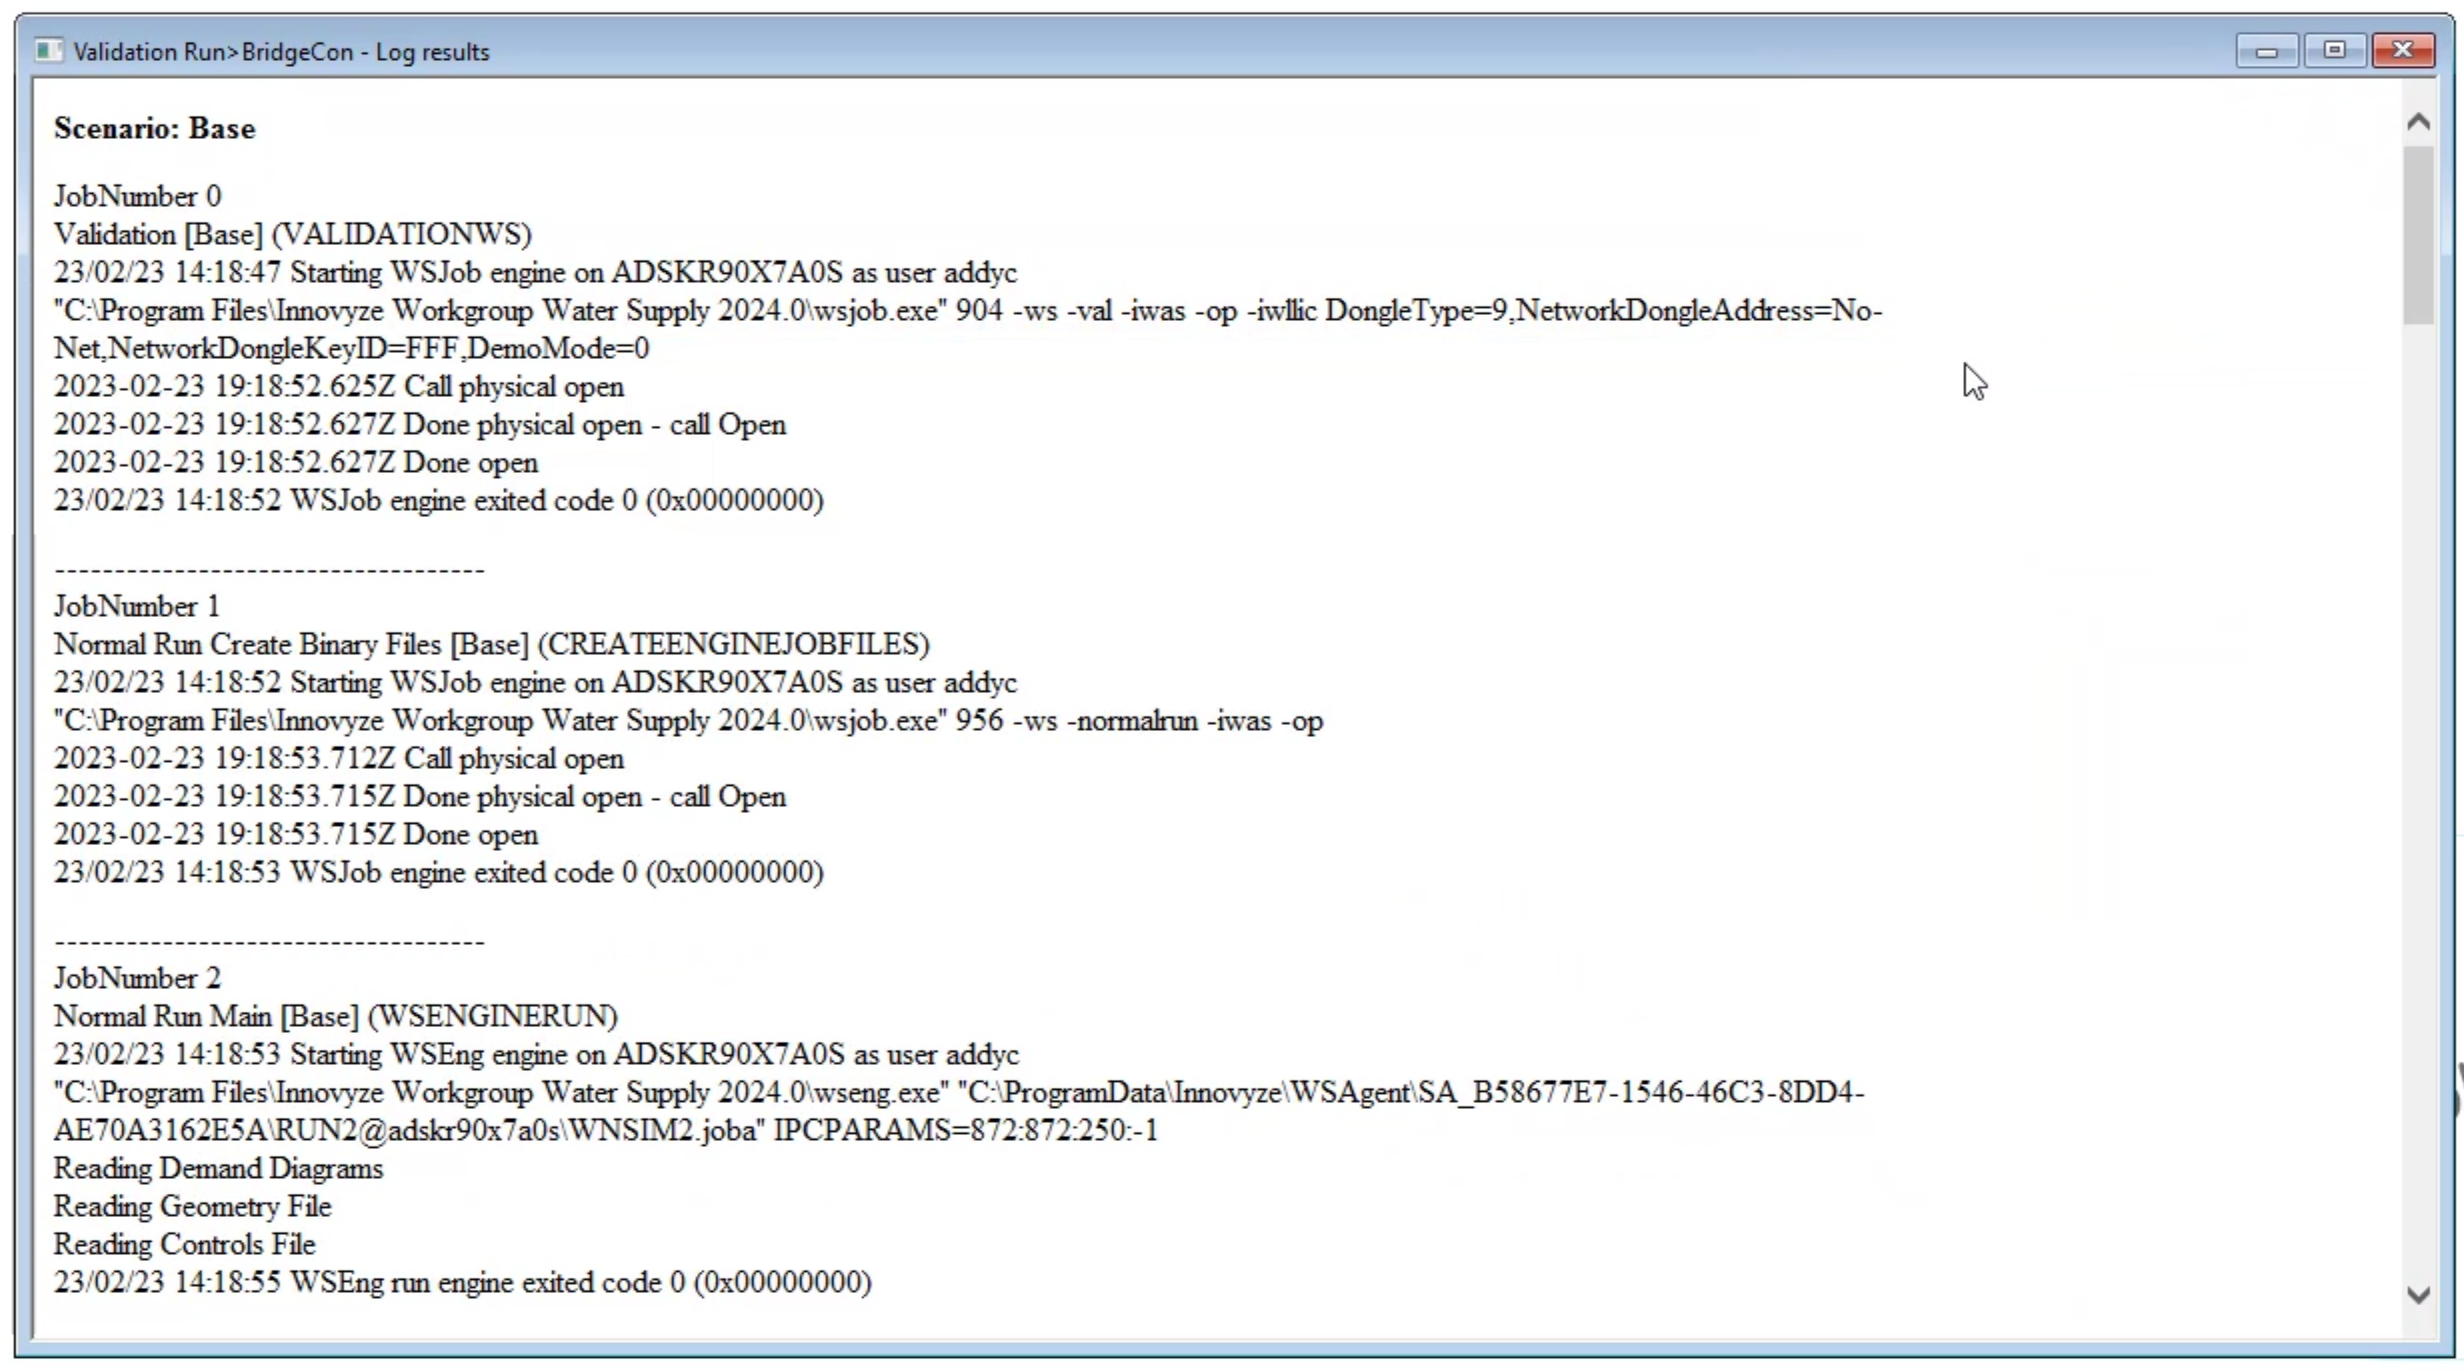
- Review the log results in the Validation Run window.
Note: Any issues that need to be fixed will be listed here in bright red.
- Close the window.