Saving changes and using branches
Save changes to a model and branch an earlier version of a model to fix mistakes.
Tutorial resources
These downloadable resources will be used to complete this tutorial:
Step-by-step Guide
After making changes to an object in InfoWorks WS Pro, you are notified of any uncommitted (unsaved) changes. You can also see details of different object versions, view differences between two versions, and branch an earlier version to address mistakes in a later one.
- From the Model Group window, expand the Session 03 model group.
- Drag-and-drop BridgeNet into the workspace to open the GeoPlan.
- In the Tools toolbar, click the Properties tool.
- On the GeoPlan, select the ENMORE_B reservoir.

- In the Properties panel, Reservoir Parameters section, change the user flag of the Top Water Level to #A.
- In the Reservoir Control section, change the user flag of the Initial Depth to #A.

Notice that in the Model Group window, both BridgeNet and BridgeCon have a red circle with an exclamation mark (!). This symbol indicates that both networks have uncommitted changes.

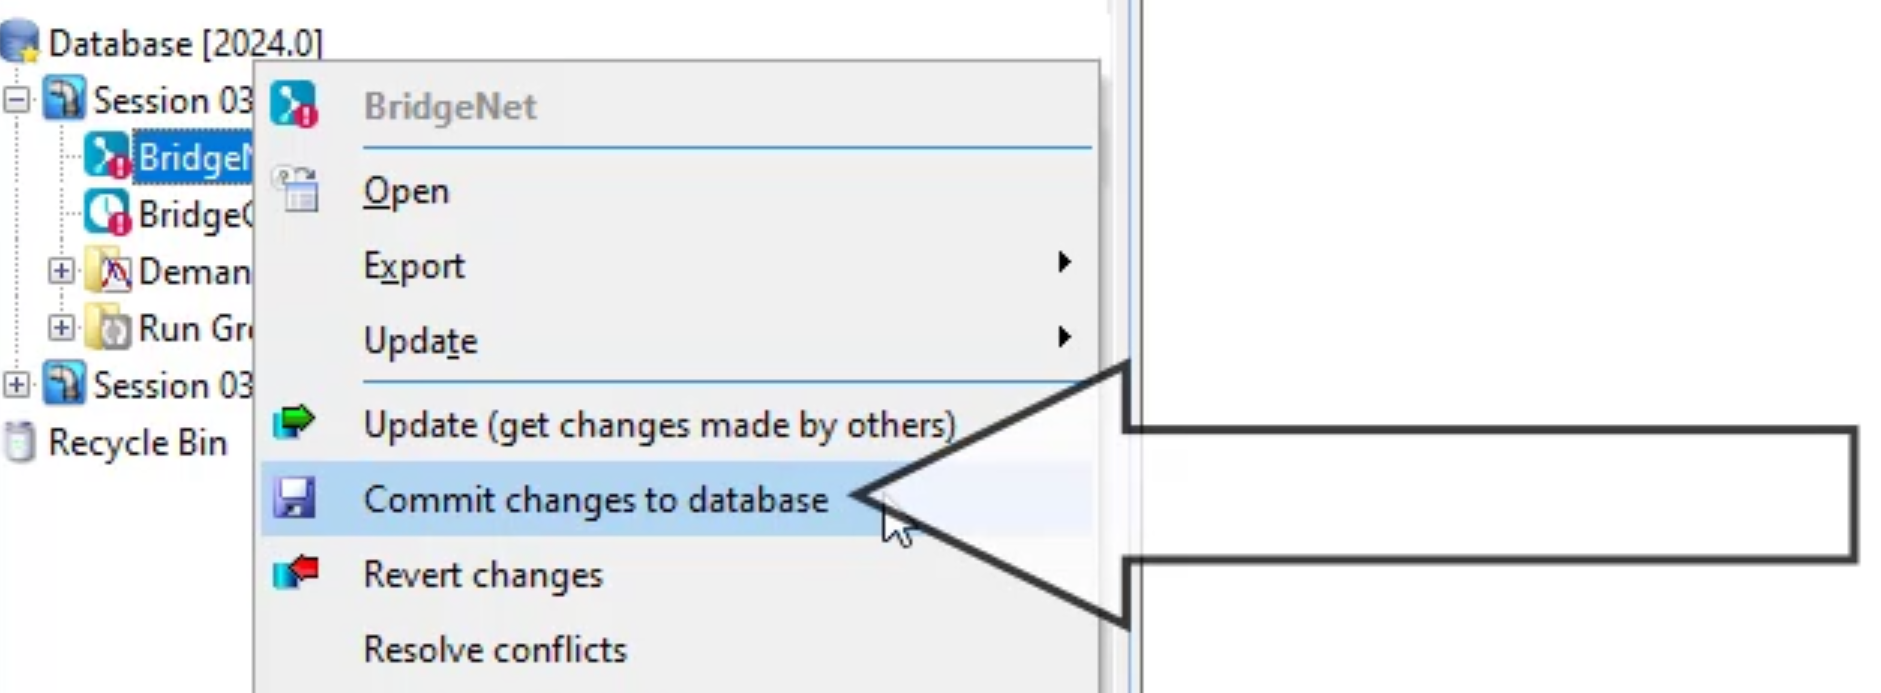
To commit changes to the network:
- Right-click the BridgeNet network and select Commit changes to database.
- In the Commit change to server dialog box, review the uncommitted changes made to the network, and if desired, enter comments.
- Click OK.

- Repeat Steps 6-8 for the BridgeCon control.
- To commit changes to all version-controlled objects in one step, in the File toolbar, click Commit changes to database.
- To see a history of all the changes made to a network, in the Model Group window, right-click the network and select Show commit history.

- In the Commit history dialog box, review the list of changes, including the version number, the date changes were made, and the user who made them.
To review a list of differences between two versions of the network:
- Select one version and, while holding the CTRL key, click another version.
- Click Diff.

- In the Compare Object dialog box, click Show differences.

- In the Differences dialog box, compare the two different versions of the object you selected.

- Close the Commit history dialog box and the Differences window.
- Repeat Steps 11-16 for the BridgeCon control.
To see the details of a network:
- In the Model Group window, right-click the network and select Show commit history.
- Select only one version of the network.
- Click Details.

- In the Commit details dialog box, review the network name, the version number, and user, as well as the number and type of changes made.

- Click Close.
To fix a design error:
- In the Commit history dialog box, select the desired version of your network.
- Click Branch.

- In the Network confirmation dialog box, click OK.
The selected version of the network becomes active, so you can revise it.
- Click Close.
To see the version history of a specific object:
- In the Tools toolbar, select Properties.
- In the GeoPlan, select an object.

- In the Properties panel, select Commit History.

- Review the commit history of the object.
Note: Conflicts may arise if more than one user commits a change of the same description to the same object in the same database. For example, one user may change the depth of a reservoir, and then another user may attempt to change it to a different depth. When this happens, InfoWorks WS Pro prompts you to resolve the conflict by right-clicking on the BridgeNet network or control and clicking Resolve conflicts. This provides a description of who made the change and when, with options to keep or to overwrite the change.